How to Build a Vintage-Style Crate Storage Ottoman
Building a Vintage-Style Crate Storage Ottoman
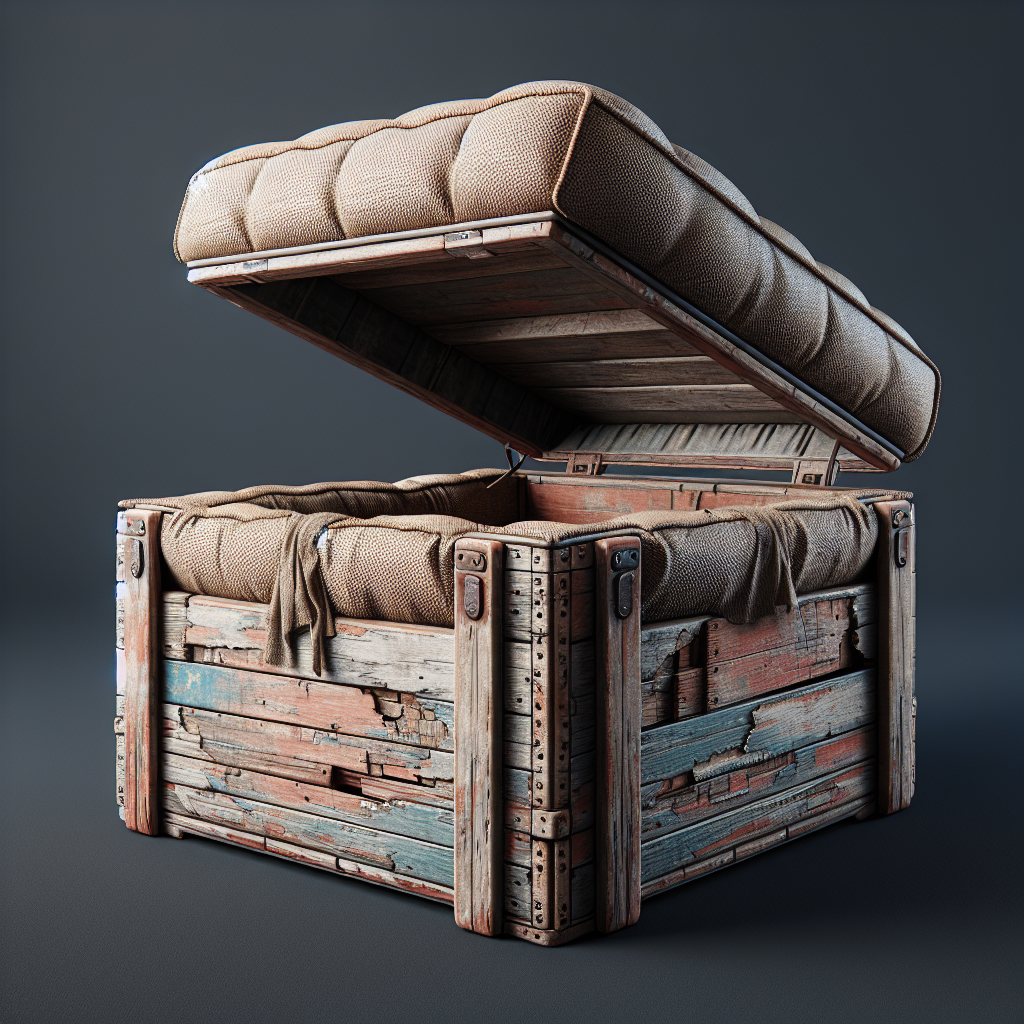
Are you looking for a unique and stylish way to add storage to your home? Look no further than a vintage-style crate storage ottoman. This DIY project combines functionality with a touch of nostalgia, creating a piece that not only serves as a storage solution but also adds a charming vintage vibe to any room. In this article, we will guide you through the process of building your own vintage-style crate storage ottoman, providing step-by-step instructions and helpful tips along the way.
To begin, you will need a few materials. First and foremost, you will need wooden crates. These can often be found at flea markets, antique stores, or even online. Look for crates that are sturdy and in good condition. You will also need a piece of plywood that is slightly larger than the dimensions of your crates. This will serve as the top of your ottoman. Additionally, you will need foam padding, fabric of your choice, a staple gun, and some basic tools such as a saw, drill, and screws.
Once you have gathered all your materials, it’s time to get started. Begin by measuring and cutting the plywood to fit the dimensions of your crates. This will serve as the base of your ottoman. Next, attach the crates to the plywood using screws, ensuring that they are securely fastened. This will create the storage compartments of your ottoman.
Now it’s time to add some comfort to your ottoman. Cut the foam padding to fit the top of your plywood base. You can use a utility knife or scissors for this task. Once the foam is cut, attach it to the plywood using adhesive or spray adhesive. Make sure the foam is evenly distributed and firmly attached.
With the foam in place, it’s time to add the fabric. Choose a fabric that complements the style of your room and the vintage aesthetic you are aiming for. Lay the fabric flat on a clean surface and place the plywood with the foam side down on top of it. Begin wrapping the fabric around the plywood, pulling it taut and securing it with a staple gun. Start with the corners, folding them neatly, and then work your way around the edges, stapling as you go. Make sure the fabric is smooth and free of wrinkles.
Once the fabric is securely attached, trim any excess fabric using scissors. This will give your ottoman a clean and polished look. Finally, flip the ottoman over and admire your handiwork. You now have a beautiful vintage-style crate storage ottoman that not only provides extra storage but also adds a touch of charm to your home.
In conclusion, building a vintage-style crate storage ottoman is a fun and rewarding DIY project that allows you to combine functionality with style. By following these step-by-step instructions, you can create a unique piece of furniture that not only serves as a storage solution but also adds a touch of nostalgia to any room. So why not give it a try? Start gathering your materials and get ready to build your very own vintage-style crate storage ottoman.


