Step-by-Step Guide to Crafting a Hand-Painted Geometric Accent Table
Crafting a Hand-Painted Geometric Accent Table
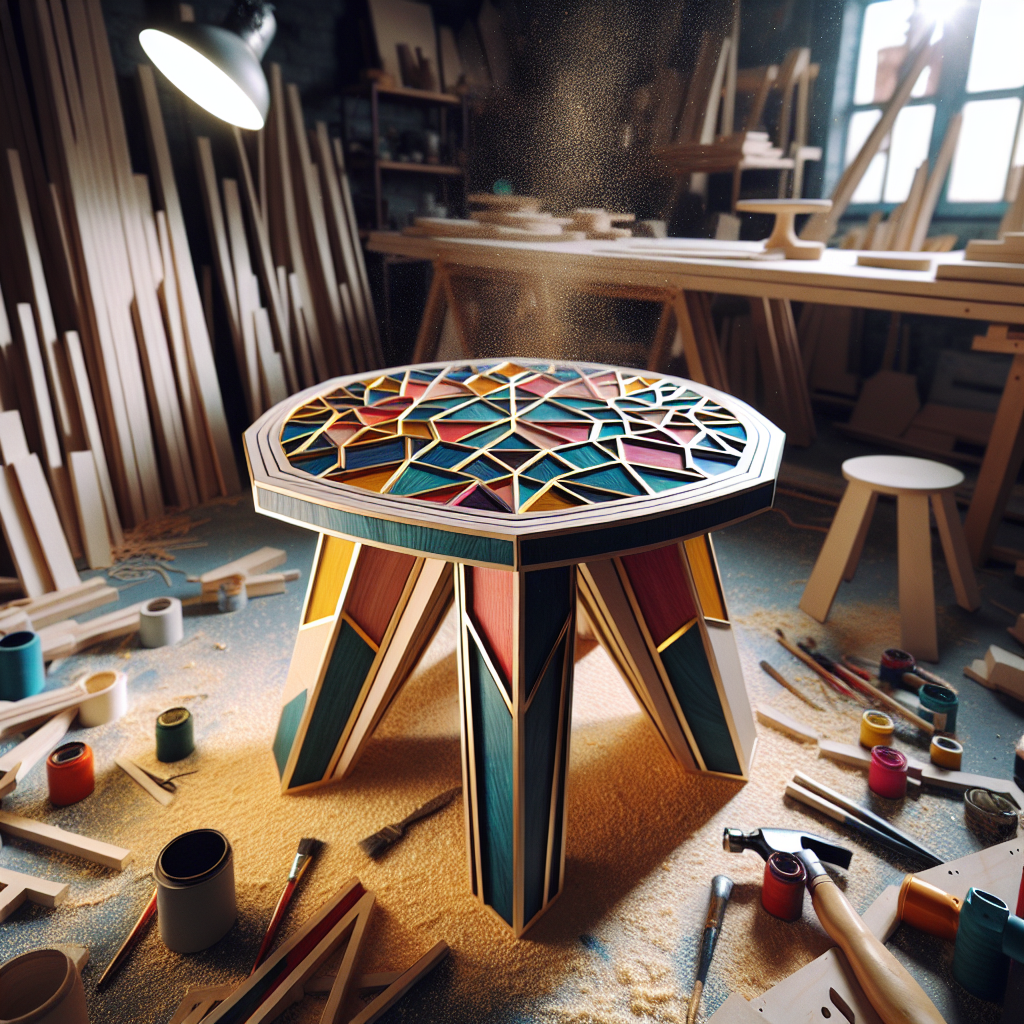
Are you looking to add a touch of creativity and personality to your living space? A hand-painted geometric accent table might be just the thing you need! Not only will it serve as a functional piece of furniture, but it will also become a unique and eye-catching centerpiece in any room. In this step-by-step guide, we will walk you through the process of creating your very own hand-painted geometric accent table.
First and foremost, you will need to gather all the necessary materials. These include a wooden accent table, sandpaper, primer, acrylic paint in various colors, painter’s tape, a ruler, a pencil, and a paintbrush. Once you have everything ready, it’s time to get started!
Step 1: Prepare the Table
Begin by sanding the surface of the table to create a smooth and even base for painting. This will help the paint adhere better and ensure a professional-looking finish. Once you have sanded the entire surface, wipe away any dust with a clean cloth.
Step 2: Apply Primer
Next, apply a coat of primer to the table. This will help the paint colors appear more vibrant and prevent the wood from absorbing too much paint. Allow the primer to dry completely before moving on to the next step.
Step 3: Plan Your Design
Now it’s time to plan your geometric design. Use a ruler and a pencil to lightly mark the areas where you want to create your patterns. You can choose to create a simple design with straight lines or get more creative with intricate shapes and angles. The choice is yours!
Step 4: Tape Off the Design
Once you have your design planned out, use painter’s tape to tape off the areas that you want to keep unpainted. This will create clean and crisp lines in your final design. Make sure the tape is securely pressed down to prevent any paint from bleeding through.
Step 5: Start Painting
Now comes the fun part – painting! Use your chosen acrylic paint colors to fill in the areas between the tape. Take your time and apply thin, even coats of paint to achieve a smooth and professional finish. Allow each coat to dry before applying the next one.
Step 6: Remove the Tape
Once the paint is completely dry, carefully remove the painter’s tape to reveal your hand-painted geometric design. Take a moment to admire your work – you’ve just created a stunning piece of art!
Step 7: Finishing Touches
To protect your hand-painted design and ensure its longevity, apply a clear coat of varnish or sealant to the entire table. This will also give it a glossy and polished look. Allow the varnish to dry completely before using the table.
And there you have it – a step-by-step guide to crafting your very own hand-painted geometric accent table. Not only will this project allow you to unleash your creativity, but it will also add a personal touch to your home decor. So gather your materials, let your imagination run wild, and get ready to create a one-of-a-kind masterpiece!


