Cable Knitting Patterns: Choose from a Variety of Contemporary Designs Including Sweaters, Vests, and Hats, All Featuring Cable Knitting
Are you looking to add a touch of elegance and sophistication to your knitting projects? Cable knitting patterns are the perfect choice for you! With their intricate designs and timeless appeal, cable knits can elevate any garment or accessory to a whole new level. In this comprehensive guide, we will explore a variety of contemporary cable knitting patterns, including sweaters, vests, and hats. Whether you are a beginner or an experienced knitter, this article will provide you with step-by-step instructions, detailed insights, and inspiring images to help you create stunning cable knit projects.
Materials Needed
Before we dive into the world of cable knitting patterns, let’s gather all the materials you will need to complete your project:
- Yarn: Choose a high-quality yarn that is suitable for cable knitting. Look for yarns with good stitch definition and a composition that matches your desired project.
- Knitting Needles: Select the appropriate size of knitting needles based on the yarn weight and your desired gauge. Circular needles are recommended for larger projects like sweaters.
- Cable Needle: This specialized needle is used to hold stitches while you create the cable pattern.
- Tapestry Needle: You will need this needle to weave in loose ends and finish your project.
- Stitch Markers: These small rings or clips help you keep track of your stitches and pattern repeats.
- Scissors: A good pair of scissors is essential for cutting yarn and trimming loose ends.
- Measuring Tape: Use a measuring tape to check your gauge and ensure the correct sizing of your project.
- Pattern: Choose a cable knitting pattern that suits your skill level and desired project. You can find patterns in knitting books, magazines, or online.
Now that you have gathered all the necessary materials, let’s get started on your cable knitting journey!
Step 1: Understanding Cable Knitting
Before we dive into specific cable knitting patterns, it’s important to understand the basics of cable knitting. Cable knitting involves crossing stitches over each other to create intricate designs that resemble twisted ropes or cables. These designs are achieved by working stitches out of order and using a cable needle to hold stitches temporarily.
To create a cable, follow these steps:
- Identify the cable stitch in your pattern. It will be indicated by a symbol or abbreviation.
- Slip the specified number of stitches onto your cable needle, either in front or behind your work.
- Hold the cable needle to the front or back of your work, depending on the pattern instructions.
- Knit or purl the next set of stitches from your main needle.
- Transfer the stitches from the cable needle back onto your main needle.
- Continue knitting or purling the remaining stitches as instructed.
Practice this technique on a small swatch before starting your project to familiarize yourself with the process.
Step 2: Choosing the Right Cable Knitting Pattern
Now that you have a good understanding of cable knitting, it’s time to choose the perfect pattern for your project. Cable knitting patterns come in a wide variety of designs, ranging from simple and classic to intricate and complex. Consider the following factors when selecting your pattern:
- Skill Level: Choose a pattern that matches your skill level. If you are a beginner, start with simpler designs and gradually work your way up to more challenging patterns.
- Garment or Accessory: Decide whether you want to knit a sweater, vest, hat, or another accessory. Each type of project requires different techniques and construction methods.
- Style and Fit: Consider your personal style and body shape when selecting a pattern. Look for designs that flatter your figure and align with your fashion preferences.
- Yarn Choice: Take into account the recommended yarn weight and fiber content specified in the pattern. Choose a yarn that suits your climate and desired drape.
Once you have chosen your pattern, read through it carefully to familiarize yourself with the instructions and any special techniques required. Make sure you have all the necessary supplies and gauge information before starting your project.
Step 3: Starting Your Cable Knitting Project
Now that you have your pattern and materials ready, it’s time to cast on and start your cable knitting project. Follow these steps to begin:
- Review the pattern’s cast-on instructions and determine the number of stitches you need to cast on.
- Choose your preferred cast-on method. The long-tail cast-on is commonly used for cable knitting projects.
- Using your chosen cast-on method, cast on the required number of stitches onto your knitting needle.
- Place stitch markers if indicated in the pattern to mark important sections or pattern repeats.
- Begin knitting according to the pattern instructions, following any cable charts or written directions provided.
As you work through your project, pay close attention to the cable pattern and any shaping instructions. Take your time and enjoy the process of creating beautiful cable knits.
Step 4: Finishing Your Cable Knitting Project
Once you have completed all the necessary rows and reached the desired length of your project, it’s time to finish off your cable knitting masterpiece. Follow these steps to finish your project:
- Review the pattern’s finishing instructions, including any bind-off methods or edging details.
- Bind off your stitches using the specified method, ensuring a neat and even edge.
- Weave in any loose ends using a tapestry needle, making sure to secure them tightly.
- Block your finished project by gently washing or steaming it to relax the stitches and enhance the overall appearance.
- Allow your project to dry completely before wearing or gifting it.
Once your cable knitting project is complete, take a moment to admire your handiwork. The intricate cable patterns and luxurious texture will surely impress everyone who sees it!
Inspiring Cable Knitting Patterns
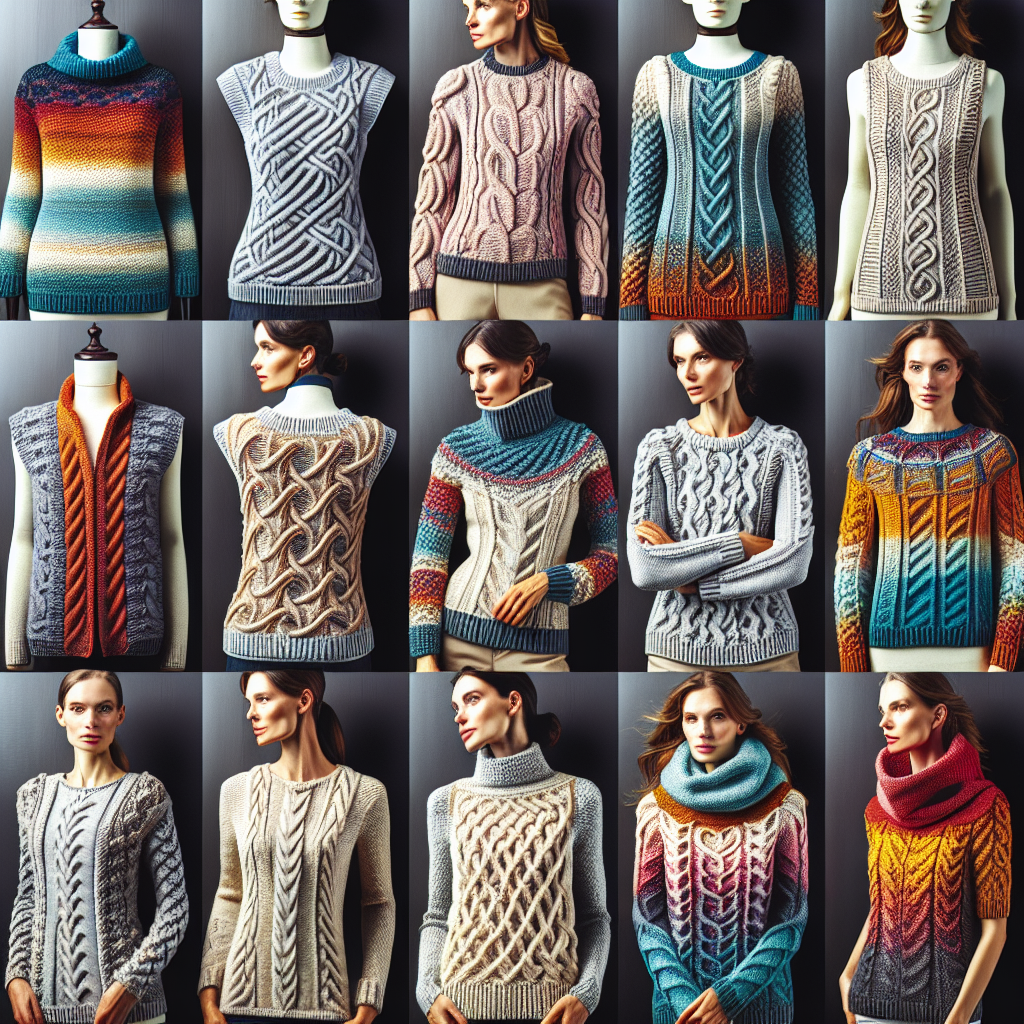
Now that you have mastered the basics of cable knitting, let’s explore some inspiring cable knitting patterns to get your creative juices flowing:
1. Classic Cable Sweater
This timeless cable knit sweater features a classic design with a twist. The intricate cable patterns adorn the front and back, adding a touch


