Patchwork Blanket Knitting: Create a Charming and Cozy Project
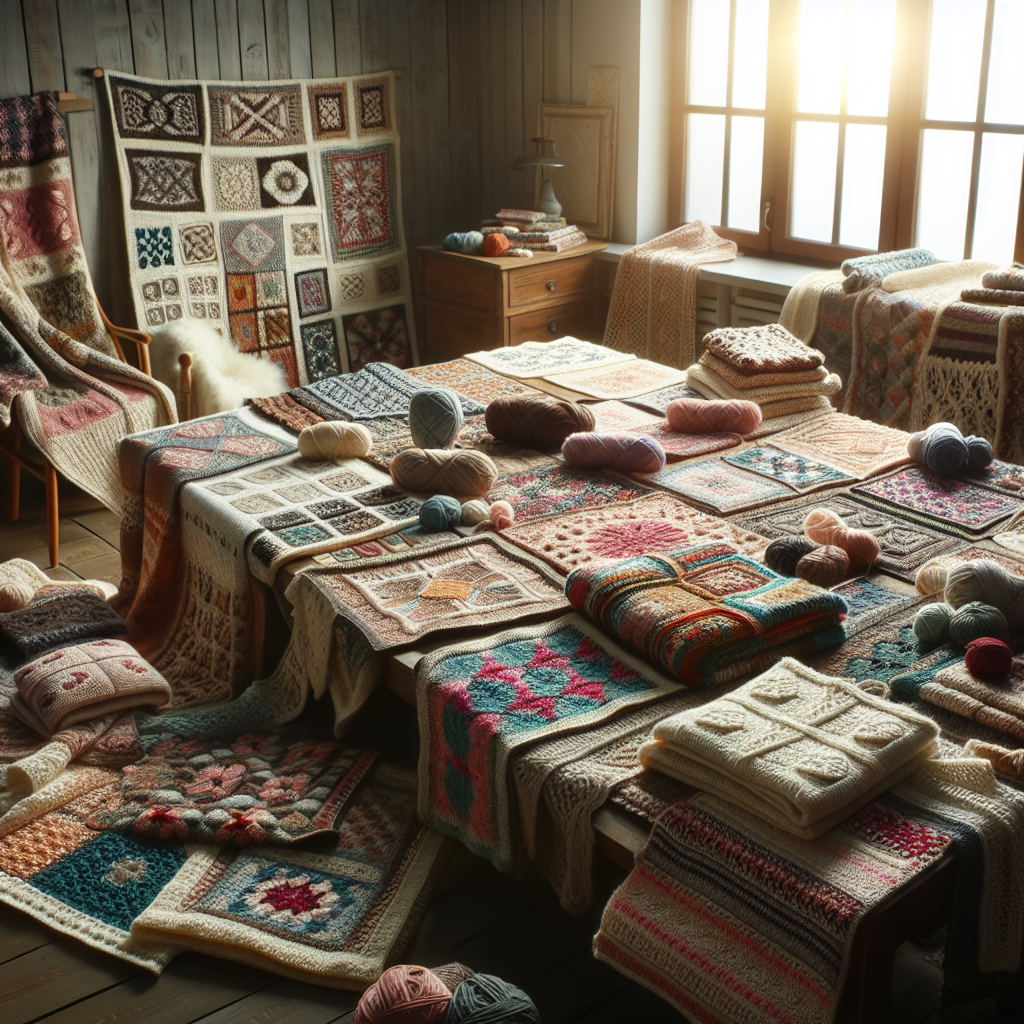
Are you looking for a creative and rewarding knitting project? Look no further than patchwork blanket knitting! These blankets range from basic designs to more complex ones, offering a charming and cozy project that will keep you warm and stylish. In this article, we will guide you through the step-by-step process of creating your own patchwork blanket, providing detailed insights and instructions along the way. So grab your knitting needles and let’s get started!
Materials Needed
Before we dive into the knitting process, let’s gather all the materials you’ll need to complete this project:
- Knitting needles (size and type will depend on your preference and yarn weight)
- Yarn (choose a variety of colors and textures to create a patchwork effect)
- Tapestry needle
- Scissors
- Measuring tape
- Stitch markers (optional)
Step 1: Planning Your Design
Before you start knitting, it’s important to plan your design. Decide on the size of your blanket and the overall pattern you want to achieve. You can choose to create a simple patchwork design using squares or rectangles, or you can get more creative with different shapes and motifs. Sketch out your design on paper to get a visual representation of how your blanket will look.
Step 2: Choosing Yarn Colors
One of the most exciting parts of patchwork blanket knitting is selecting the yarn colors. Choose a variety of colors that complement each other and create a harmonious blend. You can opt for a monochromatic color scheme or go for a bold and vibrant mix. Remember to consider the overall aesthetic you want to achieve and how the colors will work together in your design.
Step 3: Casting On
Once you have your design and yarn colors ready, it’s time to cast on and start knitting. The number of stitches you cast on will depend on the size of your blanket and the desired width of each patchwork square. Use your measuring tape to determine the appropriate width and cast on the required number of stitches.
For example, if you want each square to be 10 inches wide and your yarn gauge is 5 stitches per inch, you would cast on 50 stitches.
Step 4: Knitting the Squares
Now that you have cast on, it’s time to start knitting the squares for your patchwork blanket. Follow your design and knit each square according to the pattern you have chosen. You can experiment with different stitch patterns, textures, and colors to create a unique and visually appealing blanket.
Here are a few stitch patterns you can try:
- Garter stitch: Knit every row
- Stockinette stitch: Knit one row, purl one row
- Rib stitch: Alternate between knit and purl stitches
- Moss stitch: Alternate between knit and purl stitches, but stagger them to create a textured pattern
Continue knitting squares until you have completed the desired number for your blanket.
Step 5: Joining the Squares
Once you have knitted all the squares, it’s time to join them together to create your patchwork blanket. There are several methods you can use to join the squares, such as mattress stitch, whip stitch, or crochet slip stitch. Choose the method that you find most comfortable and that gives you the desired result.
Here’s a simple method using mattress stitch:
- Lay two squares side by side, with the right sides facing up.
- Thread your tapestry needle with yarn in a contrasting color.
- Insert the needle under the first horizontal bar of the edge stitch on the right square, from back to front.
- Insert the needle under the corresponding horizontal bar on the left square, from front to back.
- Continue alternating between the two squares, working your way up.
- Once you reach the top, secure the yarn and weave in the loose ends.
Repeat this process until all the squares are joined together to form your blanket.
Step 6: Finishing Touches
Now that your patchwork blanket is complete, it’s time to add the finishing touches. Weave in any loose ends and trim off excess yarn. You can also block your blanket to give it a neater and more polished look. Blocking involves wetting the blanket, shaping it to the desired dimensions, and allowing it to dry flat.
Step 7: Enjoy Your Cozy Creation
Congratulations! You have successfully completed your patchwork blanket knitting project. Wrap yourself up in your cozy creation and enjoy the warmth and comfort it provides. Admire the beautiful patchwork design you have created and take pride in your knitting skills.
Conclusion
Patchwork blanket knitting offers a delightful and rewarding project for knitters of all skill levels. Whether you choose a simple design or a more intricate pattern, the end result will be a charming and cozy blanket that you can cherish for years to come. By following the step-by-step instructions provided in this article, you can confidently embark on your patchwork blanket knitting journey. So gather your materials, unleash your creativity, and start knitting your way to a beautiful and unique patchwork blanket!


