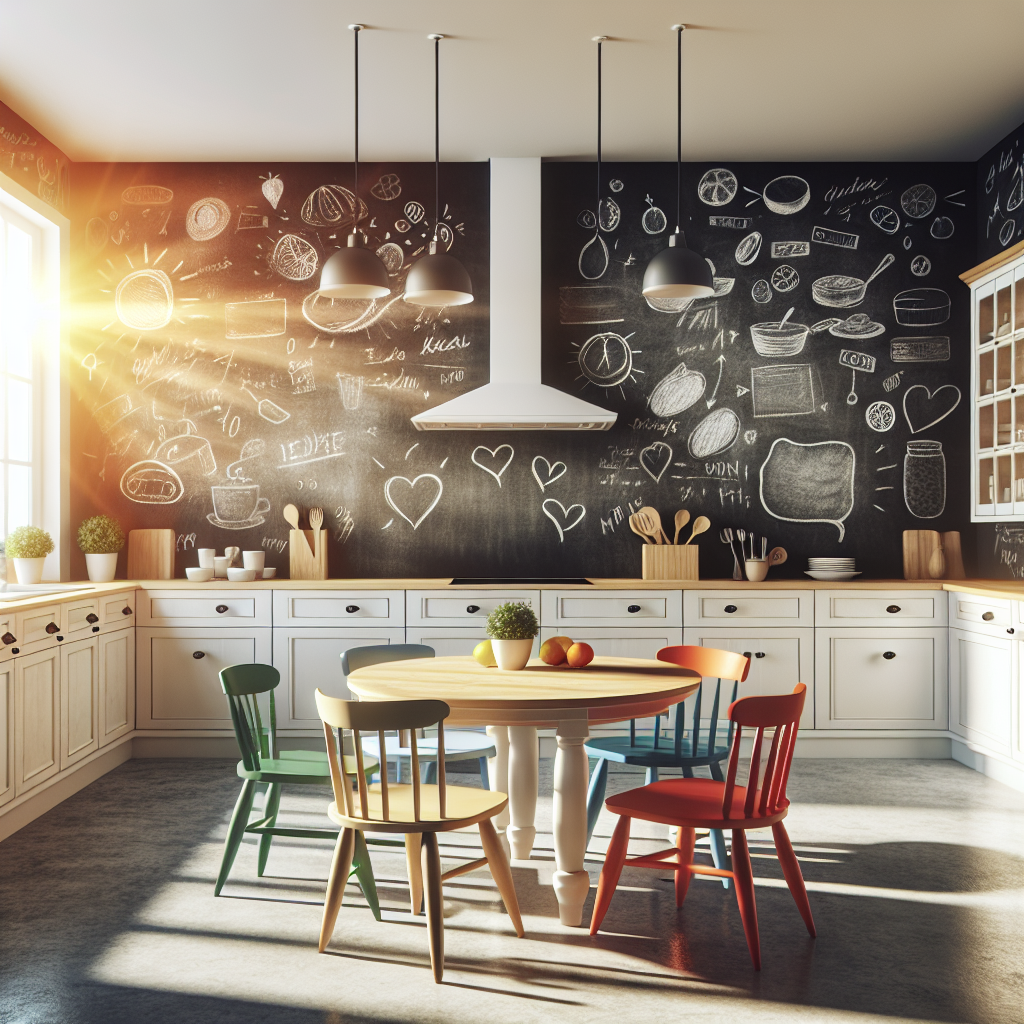
Chalkboard Walls: Functional and Fun Kitchen Update
Are you looking to add a unique and functional touch to your kitchen? Look no further than chalkboard walls! Not only do they provide a fun and creative element to your space, but they also serve a practical purpose. In this article, we will guide you through the step-by-step process of creating your own chalkboard walls, from preparation to completion. Get ready to transform your kitchen into a functional and fun space!
Materials You Will Need
- Chalkboard paint
- Primer
- Painter’s tape
- Paint roller
- Paint tray
- Paintbrush
- Sandpaper
- Dust cloth
- Drop cloth
- Chalk
Step 1: Prepare the Wall
The first step in creating your chalkboard wall is to prepare the surface. Start by cleaning the wall thoroughly with a damp cloth to remove any dirt or grease. Once the wall is clean, use sandpaper to lightly roughen the surface. This will help the paint adhere better. After sanding, wipe away any dust with a dust cloth.
Step 2: Apply Primer
Before applying the chalkboard paint, it is important to apply a primer. This will ensure that the paint adheres properly and provides a smooth finish. Use a paint roller to apply the primer evenly to the wall. Allow the primer to dry completely before moving on to the next step.
Step 3: Tape Off the Area
Next, use painter’s tape to create a border around the area where you want your chalkboard wall to be. Make sure the tape is straight and secure, as it will act as a barrier to prevent the paint from spreading to unwanted areas. Take your time with this step to ensure clean and crisp edges.
Step 4: Apply the Chalkboard Paint
Now it’s time to apply the chalkboard paint! Pour the paint into a paint tray and use a paint roller to apply it to the wall. Start from the top and work your way down, using long and even strokes. Make sure to apply a thick and even coat of paint. Once the first coat is complete, allow it to dry according to the manufacturer’s instructions. Apply a second coat for a more opaque finish, if desired.
Step 5: Remove the Tape
After the second coat of paint has dried, carefully remove the painter’s tape. This will reveal clean and defined edges for your chalkboard wall. Take your time and peel the tape slowly to avoid any damage to the paint.
Step 6: Season the Chalkboard
Before you start drawing on your new chalkboard wall, it is important to season it. This involves rubbing the entire surface with the side of a piece of chalk and then erasing it. Seasoning the chalkboard will prevent any ghosting or permanent marks from appearing when you write on it in the future.
Step 7: Get Creative!
Now that your chalkboard wall is complete, it’s time to let your creativity shine! Use colorful chalk to write messages, draw pictures, or jot down recipes. The possibilities are endless! You can even use the chalkboard wall as a menu board or a place to write down your grocery list. Have fun and experiment with different designs and ideas.
Estimated Time and Final Thoughts
The time it takes to complete this project will vary depending on the size of your wall and the number of coats of paint you choose to apply. On average, it can take anywhere from a few hours to a full day. It is important to allow each coat of paint to dry completely before moving on to the next step.
Chalkboard walls are a fantastic way to add both functionality and fun to your kitchen. They provide a unique and customizable space for you to express your creativity and keep track of important information. Whether you use it to write down recipes, leave messages for your family, or simply as a decorative element, a chalkboard wall is sure to become a focal point in your kitchen.
So why wait? Gather your materials, follow the step-by-step instructions, and get ready to transform your kitchen into a functional and fun space with a chalkboard wall. Let your imagination run wild and enjoy the endless possibilities that this DIY project has to offer!