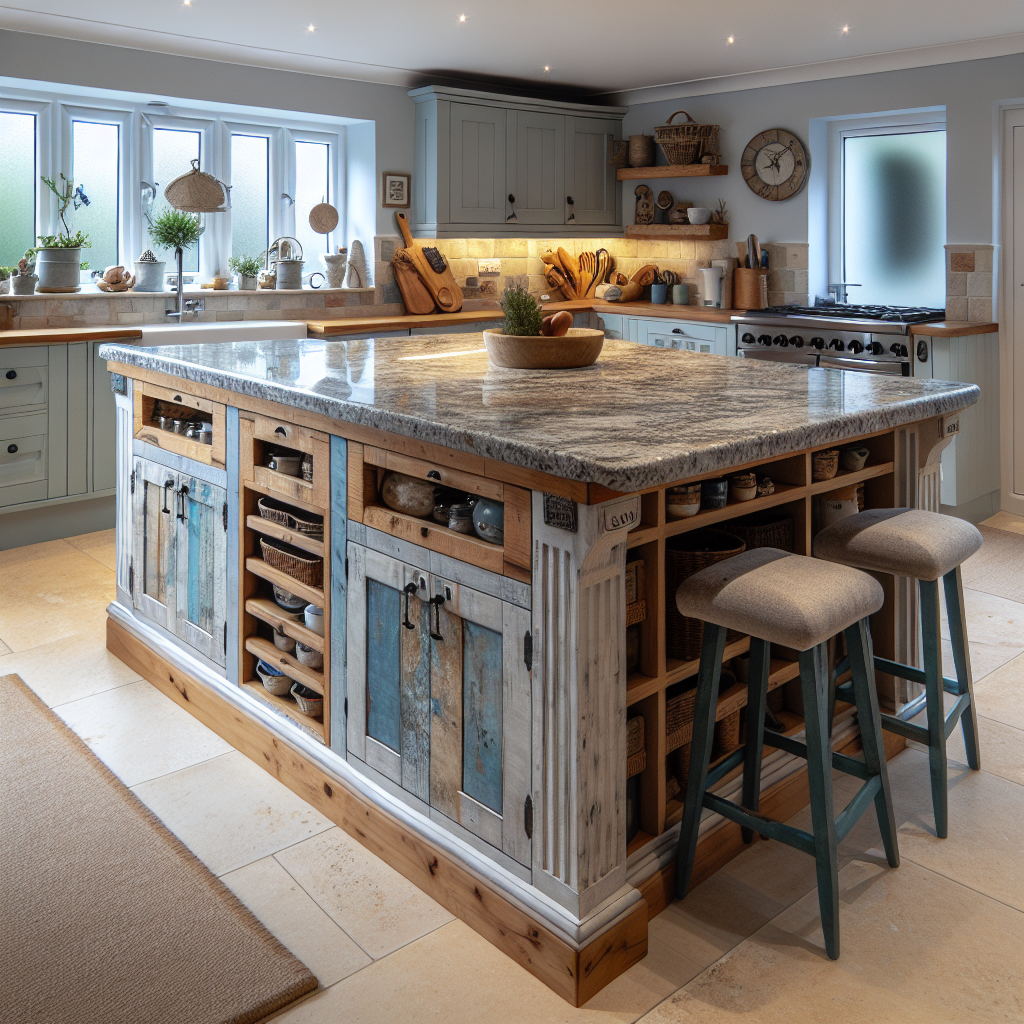
DIY Kitchen Island: Custom Creation for Extra Space
Are you tired of your cramped kitchen? Do you dream of having more counter space and storage? Look no further than a DIY kitchen island! With just a few materials and some basic tools, you can create a custom island that will not only provide you with extra space but also add a touch of style to your kitchen. In this article, we will guide you through the step-by-step process of building your own kitchen island, from planning and measuring to assembly and finishing touches. So roll up your sleeves and let’s get started!
Materials You Will Need
- 2×4 lumber
- 3/4-inch plywood
- Countertop material (such as butcher block or granite)
- Screws
- Wood glue
- Paint or stain
- Drawer slides
- Cabinet hardware
- Power drill
- Saw
- Sander
- Measuring tape
- Pencil
- Clamps
Step 1: Planning and Measuring
The first step in building your DIY kitchen island is to plan and measure the space where you want to place it. Consider the size and layout of your kitchen, as well as any existing cabinets or appliances that may affect the placement of your island. Measure the dimensions of the area and make note of any obstacles or constraints.
Once you have a clear idea of the space available, you can start designing your island. Decide on the shape and size that will work best for your needs. Do you want a rectangular island, or would a square or L-shaped design be more suitable? Consider the height of your island as well, keeping in mind that standard countertop height is around 36 inches.
Use your measurements and design ideas to create a detailed plan for your island. Sketch out the dimensions and layout, and make a list of the materials you will need. This will help you stay organized and ensure that you have everything you need before you begin construction.
Step 2: Building the Frame
Now that you have your plan in place, it’s time to start building the frame of your kitchen island. Begin by cutting the 2×4 lumber to the desired lengths, according to your measurements. Use a saw to make clean, straight cuts.
Assemble the pieces of lumber to create the frame of your island. Use wood glue and screws to secure the joints, making sure everything is sturdy and level. Use clamps to hold the pieces in place while the glue dries.
Once the frame is complete, double-check that it fits perfectly in the designated space in your kitchen. Make any necessary adjustments before moving on to the next step.
Step 3: Adding the Countertop
With the frame in place, it’s time to add the countertop to your DIY kitchen island. Measure and cut the 3/4-inch plywood to fit the dimensions of your frame. This will serve as the base for your countertop.
Attach the plywood to the top of the frame using screws, making sure it is secure and level. If desired, you can also add additional support underneath the plywood for added stability.
Once the plywood is in place, it’s time to install the actual countertop material. Whether you choose butcher block, granite, or another type of material, follow the manufacturer’s instructions for installation. Use screws or adhesive to secure the countertop to the plywood base.
Step 4: Adding Storage
No kitchen island is complete without storage options. To add drawers to your DIY kitchen island, start by measuring and cutting the pieces of plywood for the drawer boxes. Use a saw to make precise cuts.
Assemble the drawer boxes using wood glue and screws. Attach the drawer slides to the sides of the boxes, following the manufacturer’s instructions. Install the slides inside the frame of your island, making sure they are level and aligned.
Once the slides are in place, attach the drawer fronts to the boxes using screws or cabinet hardware. Make any necessary adjustments to ensure that the drawers open and close smoothly.
Step 5: Finishing Touches
Now that the construction of your DIY kitchen island is complete, it’s time to add the finishing touches. Sand any rough edges or surfaces to create a smooth finish. Fill any visible screw holes or gaps with wood filler, and sand again once it’s dry.
Choose a paint or stain color that complements your kitchen decor, and apply it to the entire island. Use a brush or roller for larger areas and a smaller brush for corners and edges. Allow the paint or stain to dry completely before moving on to the next step.
Finally, install any additional cabinet hardware or accessories, such as knobs or hooks, to enhance the functionality and style of your kitchen island.
Step 6: Enjoy Your Custom Creation
Congratulations! You have successfully built your own DIY kitchen island. Step back and admire your handiwork, and enjoy the extra space and functionality it brings to your kitchen.
Whether you use your island for meal prep, as a gathering place for family and friends, or simply as a beautiful focal point in your kitchen, you can take pride in the fact that you created it yourself.
Conclusion
Building a DIY kitchen island is a rewarding project that can transform your kitchen and provide you with the extra space you’ve always wanted. By following the step-by-step instructions in this article, you can create a custom island that fits your needs and style perfectly.
Remember to plan and measure carefully, use quality materials, and take your time during each step of the construction process. With patience and attention to detail, you can create a kitchen island that will be the envy of all your friends and neighbors.
So what are you waiting for? Get started on your DIY kitchen island today and enjoy the benefits of extra space and style in your kitchen!


