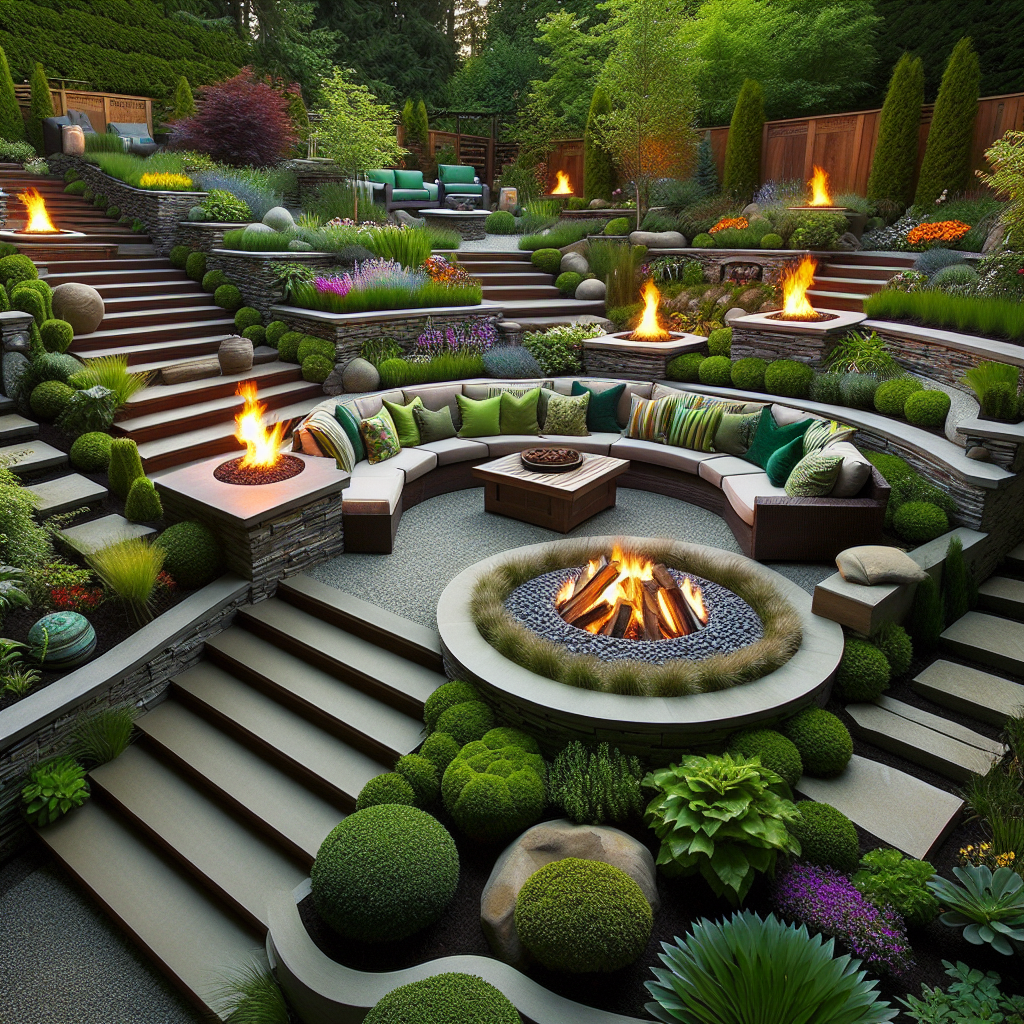
Creating a Living Fence: Natural Privacy Options
Are you tired of prying eyes and nosy neighbors invading your privacy? Do you long for a peaceful oasis in your backyard where you can relax and unwind? Look no further than a living fence! A living fence is not only a beautiful addition to your outdoor space, but it also provides natural privacy and acts as a barrier against noise and wind. In this comprehensive guide, we will walk you through the step-by-step process of creating your own living fence using various natural privacy options. Get ready to transform your backyard into a private sanctuary!
Step 1: Planning and Design
Before you start digging and planting, it’s essential to plan and design your living fence. Consider the following factors:
- Height: Determine how tall you want your living fence to be. This will depend on the level of privacy you desire and any local regulations or restrictions.
- Width: Decide on the width of your living fence, taking into account the available space in your backyard.
- Plant Selection: Research different plant options that are suitable for creating a living fence. Consider factors such as growth rate, maintenance requirements, and climate compatibility.
- Spacing: Determine the spacing between each plant to ensure proper growth and coverage.
- Support: Decide whether you will need any support structures, such as trellises or stakes, to help your plants grow vertically.
Once you have a clear plan in mind, it’s time to move on to the next step.
Step 2: Gather Materials and Tools
Creating a living fence requires a few essential materials and tools. Here’s a list of what you’ll need:
- Plants: Choose the plants that best suit your needs and preferences. Consider options like bamboo, evergreen shrubs, or climbing vines.
- Soil: Ensure you have enough high-quality soil to provide a healthy growing environment for your plants.
- Support Structures: If necessary, gather trellises, stakes, or other support structures to assist your plants in growing vertically.
- Gardening Gloves: Protect your hands while working with soil and plants.
- Shovel: Use a shovel to dig holes for planting.
- Watering Can or Hose: Provide regular water to your plants to promote healthy growth.
- Pruning Shears: Keep your living fence neat and tidy by trimming and pruning as needed.
Once you have all the necessary materials and tools, you’re ready to start creating your living fence.
Step 3: Prepare the Ground
Before planting your chosen plants, it’s crucial to prepare the ground properly. Follow these steps:
- Clear the Area: Remove any existing vegetation, rocks, or debris from the area where you plan to create your living fence.
- Loosen the Soil: Use a shovel or garden fork to loosen the soil in the planting area. This will help the roots of your plants penetrate the soil more easily.
- Amend the Soil: If your soil is poor in quality, consider adding organic matter, such as compost or well-rotted manure, to improve its fertility and drainage.
Once the ground is prepared, it’s time to start planting!
Step 4: Planting Your Living Fence
Follow these steps to plant your chosen plants and create your living fence:
- Dig Planting Holes: Dig holes in the prepared ground, ensuring they are deep and wide enough to accommodate the root balls of your plants.
- Place Plants in Holes: Gently place each plant in its respective hole, ensuring the top of the root ball is level with the surrounding ground.
- Backfill with Soil: Fill the holes with soil, gently firming it around the roots of the plants. Avoid compacting the soil too much, as it can hinder root growth.
- Water Thoroughly: Give your newly planted living fence a good soak to settle the soil and provide moisture to the plants.
- Add Support Structures: If necessary, install trellises, stakes, or other support structures to assist your plants in growing vertically.
Once your plants are in the ground, it’s time to care for and maintain your living fence.
Step 5: Care and Maintenance
Proper care and maintenance are essential for the health and longevity of your living fence. Follow these tips:
- Watering: Provide regular water to your plants, especially during dry periods. Aim to keep the soil consistently moist but not waterlogged.
- Fertilizing: Feed your plants with a balanced fertilizer according to the manufacturer’s instructions. This will promote healthy growth and vibrant foliage.
- Pruning: Trim and prune your living fence as needed to maintain its desired shape and size. Remove any dead or diseased branches to prevent the spread of pests or diseases.
- Weeding: Keep the area around your living fence free from weeds, as they can compete with your plants for nutrients and water.
- Pest and Disease Control: Monitor your plants regularly for any signs of pests or diseases. Take appropriate measures, such as using organic insecticides or fungicides, to control and prevent infestations.
By following these care and maintenance practices, your living fence will thrive and provide you with the privacy and beauty you desire.
Step 6: Enjoy Your Private Oasis
Once your living fence has grown and matured, it’s time to sit back, relax, and enjoy your private oasis. Imagine the tranquility of sipping your morning coffee or hosting a dinner party in the seclusion of your own backyard. Your living fence will not only provide privacy but also enhance the aesthetic appeal of your outdoor space.
Remember to take pride in your creation and share your success with others. Inspire your friends and neighbors to create their own living fences and enjoy the benefits of natural privacy.
Conclusion
Creating a


