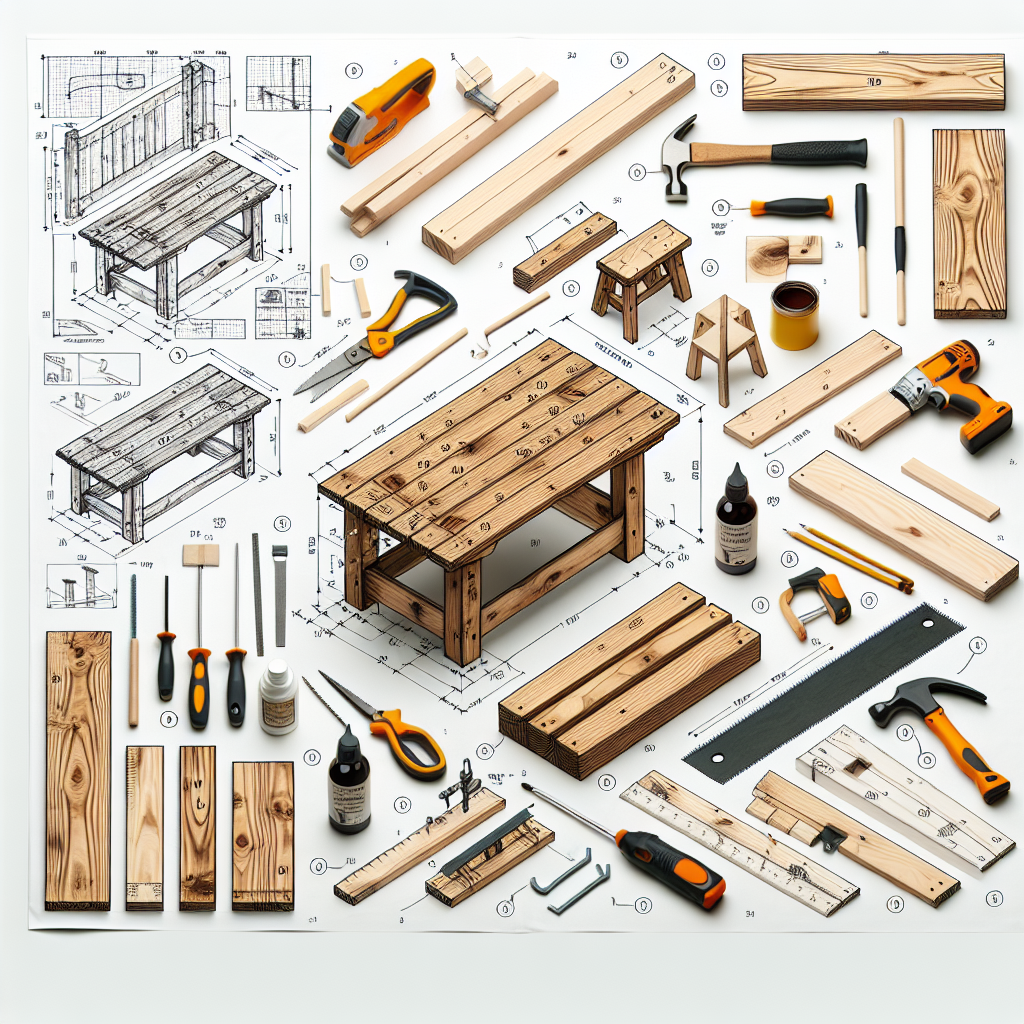
DIY Garden Bench: Easy Woodworking Project
Are you looking to add a touch of charm and functionality to your garden? A DIY garden bench is the perfect solution! Not only will it provide a comfortable seating area, but it will also enhance the overall aesthetic appeal of your outdoor space. In this step-by-step guide, we will walk you through the process of building your very own garden bench. So grab your tools and let’s get started!
Materials You Will Need
- 4 pieces of 2×4 lumber (8 feet long)
- 2 pieces of 1×4 lumber (8 feet long)
- 1 piece of 2×6 lumber (8 feet long)
- Wood screws
- Wood glue
- Sandpaper
- Drill
- Saw
- Tape measure
- Pencil
- Paint or stain (optional)
Step 1: Measure and Cut the Lumber
Start by measuring and cutting the lumber according to the following dimensions:
- 2×4 lumber: 4 pieces measuring 36 inches each (for the legs)
- 2×4 lumber: 2 pieces measuring 48 inches each (for the seat supports)
- 1×4 lumber: 2 pieces measuring 48 inches each (for the seat slats)
- 2×6 lumber: 2 pieces measuring 48 inches each (for the armrests)
Use a saw to make precise cuts, and don’t forget to wear safety goggles and gloves for protection.
Step 2: Assemble the Legs
Take the four 36-inch pieces of 2×4 lumber and arrange them in a rectangular shape, with two pieces on each side. Use wood screws and wood glue to secure the corners. This will serve as the base of your garden bench.
Step 3: Attach the Seat Supports
Place the two 48-inch pieces of 2×4 lumber across the top of the legs, parallel to each other. These will act as the seat supports. Use wood screws and wood glue to attach them securely to the legs.
Step 4: Add the Seat Slats
Take the two 48-inch pieces of 1×4 lumber and lay them horizontally across the seat supports. Space them evenly and use wood screws to attach them to the supports. These slats will provide a comfortable seating surface.
Step 5: Install the Armrests
Attach the two 48-inch pieces of 2×6 lumber to the top of the legs, perpendicular to the seat supports. These will serve as the armrests of your garden bench. Use wood screws and wood glue to secure them in place.
Step 6: Sand and Finish
Once the bench is fully assembled, use sandpaper to smooth out any rough edges or surfaces. This will ensure a comfortable seating experience. If desired, you can also apply a coat of paint or stain to protect the wood and enhance its appearance.
Step 7: Enjoy Your New Garden Bench!
Now that your DIY garden bench is complete, it’s time to sit back, relax, and enjoy your outdoor oasis. Whether you use it for reading, sipping your morning coffee, or simply admiring the beauty of your garden, this bench will undoubtedly become a favorite spot in your home.
Summary
Building a DIY garden bench is a rewarding woodworking project that allows you to create a functional and beautiful piece of furniture for your outdoor space. By following these step-by-step instructions and using the right materials, you can easily build a bench that will withstand the test of time. Remember to measure and cut the lumber accurately, assemble the legs and supports securely, and finish the bench with sanding and optional paint or stain. Once completed, your garden bench will provide a cozy seating area where you can relax and enjoy the beauty of nature.


