DIY Garden Shed: Storage Solutions
Are you tired of clutter in your backyard? Do you find yourself constantly searching for tools or struggling to find a place to store your gardening supplies? If so, it’s time to consider building your own garden shed. Not only will a garden shed provide you with much-needed storage space, but it can also enhance the overall aesthetic of your outdoor area. In this comprehensive guide, we will walk you through the step-by-step process of building your own DIY garden shed, complete with storage solutions that will help you keep your backyard organized and tidy.
Step 1: Planning and Preparation
Before you start building your garden shed, it’s important to spend some time planning and preparing. This will ensure that you have all the necessary materials and tools, as well as a clear understanding of the project’s scope.
Gather Your Materials
Here’s a list of the materials you’ll need to build your DIY garden shed:
- Pressure-treated lumber for the foundation
- Plywood for the walls, roof, and floor
- 2x4s for framing
- Nails and screws
- Roofing materials (shingles or metal sheets)
- Door and window hardware
- Paint or stain
Tools You’ll Need
Make sure you have the following tools on hand:
- Tape measure
- Level
- Circular saw
- Hammer
- Drill
- Screwdriver
- Paintbrush or roller
Step 2: Building the Foundation
The foundation is the most important part of your garden shed, as it provides stability and prevents moisture from seeping into the structure. Follow these steps to build a solid foundation:
- Clear the area where you plan to build your shed, ensuring it is level and free from any debris.
- Measure and mark the dimensions of your shed using stakes and string.
- Dig holes for the foundation posts, making sure they are deep enough to provide stability.
- Place the pressure-treated lumber posts in the holes and secure them with concrete.
- Allow the concrete to dry completely before moving on to the next step.
Step 3: Framing the Walls
Now that you have a solid foundation, it’s time to start framing the walls of your garden shed. Follow these instructions:
- Measure and cut the 2x4s to the desired height and length of your shed walls.
- Attach the 2x4s together using nails or screws, creating a rectangular frame.
- Repeat this process for each wall of your shed.
- Once all the walls are framed, stand them up and secure them to the foundation using nails or screws.
Step 4: Installing the Roof and Floor
With the walls in place, it’s time to install the roof and floor of your garden shed. Follow these steps:
- Measure and cut the plywood to the dimensions of your shed roof and floor.
- Attach the plywood to the top of the walls to create the roof.
- Secure the plywood to the bottom of the walls to create the floor.
- Make sure the roof is sloped to allow for proper drainage.
Step 5: Adding Doors and Windows
Now that the basic structure of your garden shed is complete, it’s time to add doors and windows for easy access and ventilation. Follow these instructions:
- Measure and cut an opening for the door, ensuring it is large enough to accommodate your needs.
- Attach the door frame to the opening using hinges.
- Install the door, making sure it opens and closes smoothly.
- Measure and cut openings for windows, if desired.
- Install the window frames and secure the glass or plexiglass panels.
Step 6: Finishing Touches
With the main structure of your garden shed complete, it’s time to add some finishing touches to make it functional and visually appealing. Follow these steps:
- Paint or stain the exterior of your shed to protect it from the elements and enhance its appearance.
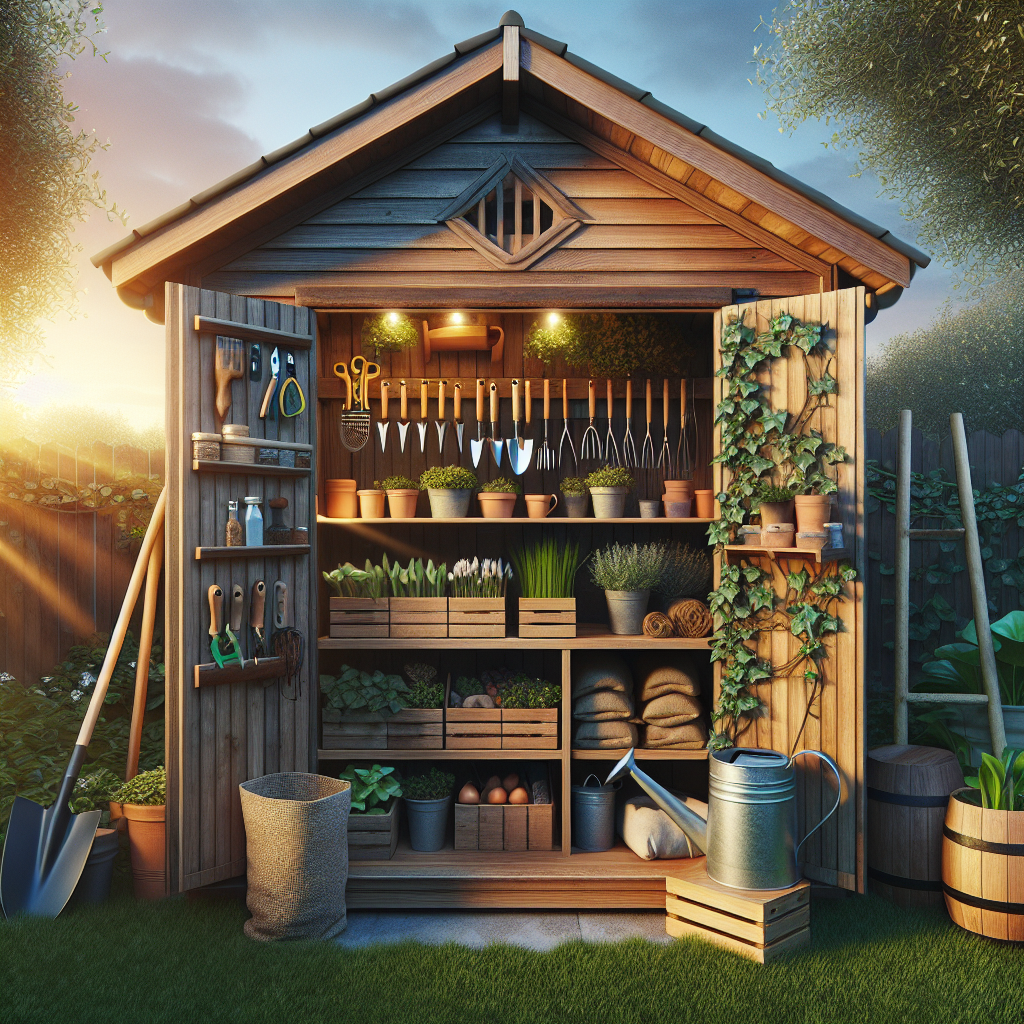
- Add shelves, hooks, and other storage solutions to maximize the space inside your shed.
- Install lighting fixtures to make it easier to find what you need, even in the dark.
- Consider adding a workbench or table for potting plants or other gardening tasks.
Step 7: Enjoy Your New Garden Shed
Congratulations! You have successfully built your own DIY garden shed. Take a step back and admire your hard work. Not only have you created a functional storage space, but you have also added value to your property and created a beautiful focal point in your backyard.
Now it’s time to start organizing your gardening supplies, tools, and equipment. With your new garden shed, everything will have its place, making it easier for you to maintain a tidy and organized outdoor area.
Conclusion
Building your own DIY garden shed is a rewarding project that can provide you with valuable storage space and enhance the overall look of your backyard. By following the step-by-step instructions outlined in this guide, you can create a functional and aesthetically pleasing shed that meets your specific needs.
Remember to plan and prepare before you start, gather all the necessary materials and tools, and take your time to ensure each step is completed accurately. With patience and dedication, you’ll soon have a beautiful garden shed that will serve you well for years to come.


