DIY Outdoor Kitchen: Building Basics
Are you tired of cooking indoors and missing out on the beautiful weather outside? Why not create your own outdoor kitchen and enjoy the best of both worlds? Building an outdoor kitchen may seem like a daunting task, but with the right guidance and a little bit of effort, you can have your very own outdoor culinary oasis. In this article, we will provide you with step-by-step instructions on how to build your DIY outdoor kitchen, from planning to completion. So, let’s get started!
Step 1: Planning and Design
Before you start building your outdoor kitchen, it’s important to have a clear plan and design in mind. Consider the following factors:
- Location: Choose a suitable location for your outdoor kitchen. It should be easily accessible from your indoor kitchen and have enough space for all the necessary appliances and amenities.
- Layout: Decide on the layout of your outdoor kitchen. Will it be a straight line, an L-shape, or a U-shape? Consider the flow of traffic and the functionality of the space.
- Appliances: Determine the appliances you want to include in your outdoor kitchen. Common options include a grill, a sink, a refrigerator, and a countertop for food preparation.
- Materials: Choose the materials for your outdoor kitchen. Opt for weather-resistant materials such as stainless steel, stone, or tile.
- Budget: Set a budget for your project and make sure to stick to it. Outdoor kitchens can range from simple and affordable to extravagant and expensive.
Once you have a clear plan and design in mind, you can move on to the next step.
Step 2: Gathering Materials and Tools
Now that you have a plan, it’s time to gather all the necessary materials and tools for your outdoor kitchen project. Here’s a list of items you may need:
- Grill
- Sink
- Refrigerator
- Countertop
- Cabinets
- Weather-resistant flooring
- Lighting fixtures
- Plumbing and electrical supplies
- Hand tools (screwdriver, hammer, etc.)
- Power tools (drill, saw, etc.)
Make sure to check the specifications of each item and ensure they are suitable for outdoor use. Additionally, gather any necessary permits or approvals required by your local authorities.
Step 3: Preparing the Site
Before you start building, you need to prepare the site for your outdoor kitchen. Follow these steps:
- Clear the area: Remove any obstacles, debris, or vegetation from the site.
- Level the ground: Use a shovel and a level to ensure the ground is even and stable.
- Mark the layout: Use stakes and string to mark the layout of your outdoor kitchen according to your design.
- Excavate the area: Dig a trench for the foundation and any necessary utility lines.
Once the site is prepared, you can move on to the next step.
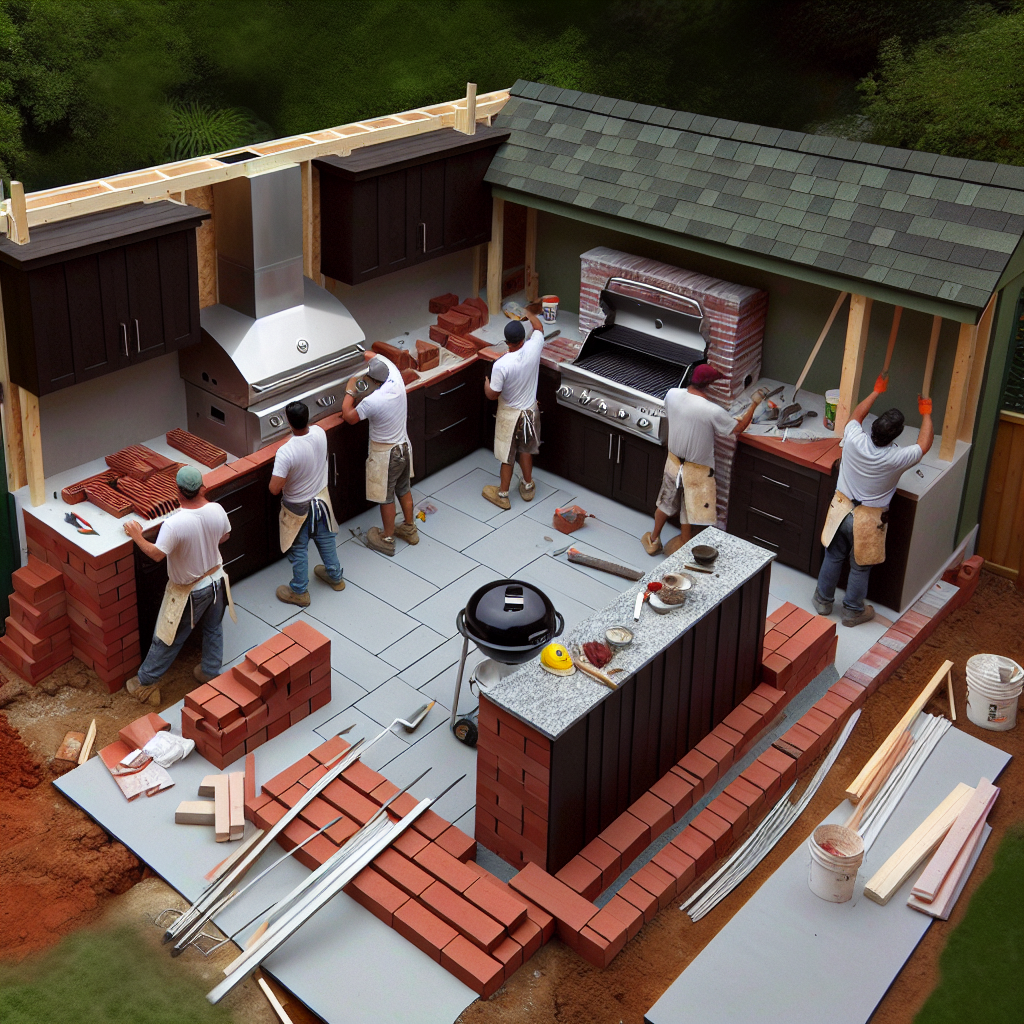
Step 4: Building the Foundation
The foundation is crucial for the stability and durability of your outdoor kitchen. Follow these steps to build a solid foundation:
- Install footings: Dig holes for the footings and pour concrete into them. Place metal post anchors in the wet concrete for attaching the frame.
- Build the frame: Use pressure-treated lumber to build the frame of your outdoor kitchen. Attach it to the post anchors using screws or bolts.
- Level the frame: Use a level to ensure the frame is perfectly level and adjust if necessary.
- Pour the concrete slab: Pour concrete into the frame and smooth it out using a trowel. Let it cure according to the manufacturer’s instructions.
Once the foundation is complete, you can move on to the next step.
Step 5: Installing the Appliances and Amenities
Now comes the exciting part – installing the appliances and amenities in your outdoor kitchen. Follow these steps:
- Install the grill: Place the grill in the designated area and connect it to the gas or propane line. Follow the manufacturer’s instructions for proper installation.
- Install the sink: Place the sink in the designated area and connect it to the water supply and drainage system. Hire a professional plumber if necessary.
- Install the refrigerator: Place the refrigerator in the designated area and connect it to a power source. Make sure it is properly insulated to withstand outdoor conditions.
- Install the countertop: Cut the countertop material to fit the designated area and secure it to the frame using adhesive or screws.
- Install cabinets and storage: Install cabinets and storage units to keep your outdoor kitchen organized and functional.
- Install lighting fixtures: Install lighting fixtures to illuminate your outdoor kitchen during nighttime use.
Once all the appliances and amenities are installed, you can move on to the final step.
Step 6: Finishing Touches
Now that your outdoor kitchen is almost complete, it’s time to add the finishing touches. Follow these steps:
- Apply a sealant: Apply a weather-resistant sealant to protect the materials and enhance their longevity.
- Add decorative elements: Add decorative elements such as plants, outdoor furniture, and artwork to personalize your outdoor kitchen.
- Test everything: Test all the appliances, plumbing, and electrical connections to ensure they are functioning properly.
Once you have completed these steps, your DIY outdoor kitchen is ready to be enjoyed!
Conclusion
Building your own outdoor kitchen can be a rewarding and enjoyable project. By following the step-by-step instructions provided in this article, you can create a functional and beautiful outdoor space where you can cook, entertain, and enjoy the great outdoors. Remember to plan carefully, gather all the necessary materials and tools, and follow proper construction techniques. With a little bit of effort and creativity, you can have the outdoor kitchen of your dreams. So, roll up your sleeves and get ready to embark on this exciting DIY adventure!


