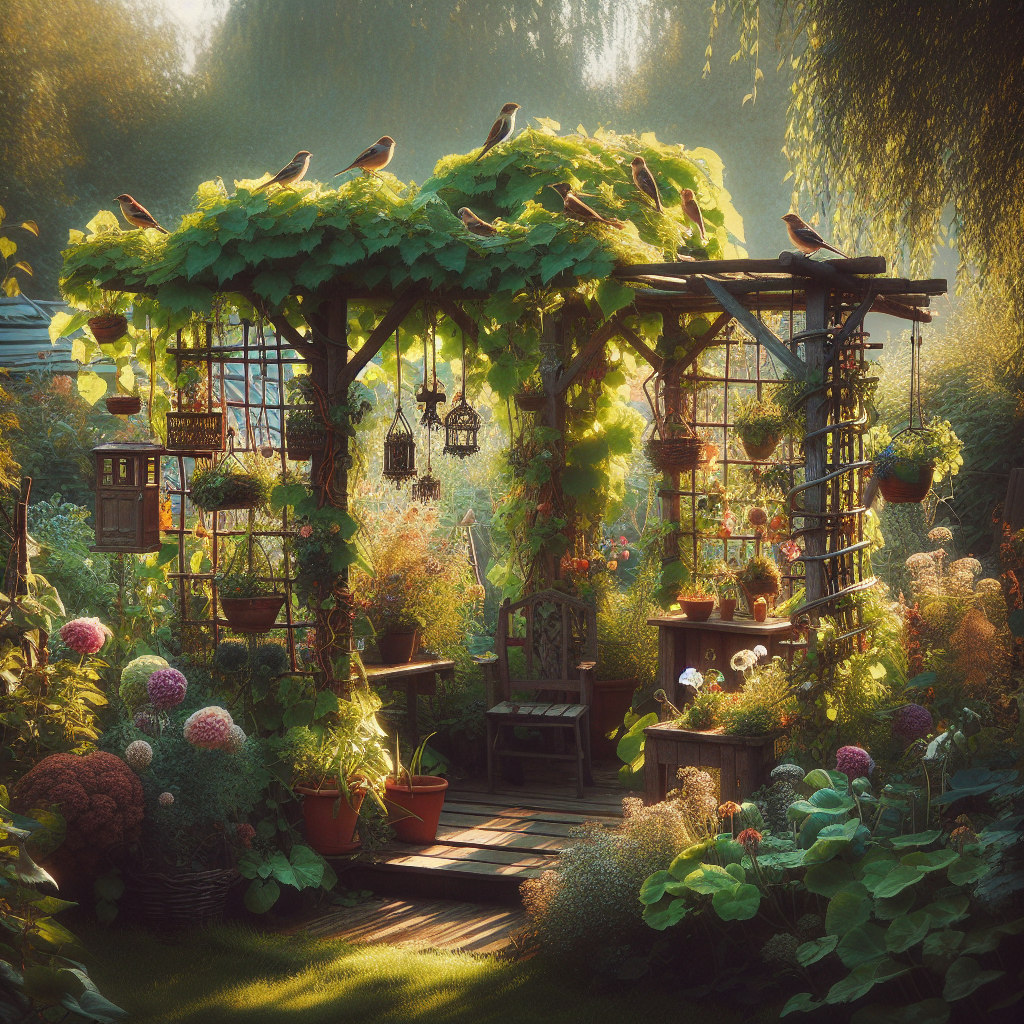
Homemade Trellises for Climbing Plants
Are you looking to add a touch of beauty and elegance to your garden? Do you have climbing plants that need support and structure? Look no further! In this comprehensive guide, we will teach you how to create homemade trellises for your climbing plants. With just a few simple materials and some creativity, you can transform your garden into a stunning oasis. Let’s get started!
Materials Needed
- Wooden stakes
- Garden twine or wire
- Wire cutters
- Drill
- Screws
- Hammer
- Nails
- Measuring tape
- Pencil
- Level
- Paint or stain (optional)
Step-by-Step Instructions
Step 1: Determine the Size and Shape of Your Trellis
Before you begin building your trellis, you need to decide on the size and shape that will best suit your garden and climbing plants. Consider the height and width of your plants, as well as the available space in your garden. Once you have a clear idea of what you want, you can move on to the next step.
Step 2: Gather Your Materials
Now that you know the size and shape of your trellis, gather all the necessary materials listed above. Make sure you have everything you need before you start building to avoid any unnecessary delays.
Step 3: Prepare the Wooden Stakes
Take your wooden stakes and cut them to the desired height of your trellis using a saw. If you prefer a more polished look, you can sand the edges of the stakes to smooth them out. You can also paint or stain the stakes to match your garden aesthetic.
Step 4: Mark the Placement of the Stakes
Using a measuring tape, pencil, and level, mark the desired placement of the stakes in your garden. Make sure they are evenly spaced and aligned. This will ensure that your trellis is sturdy and visually appealing.
Step 5: Dig Holes for the Stakes
Using a shovel or post hole digger, dig holes in the ground where you marked the placement of the stakes. The depth of the holes should be at least one-third of the length of the stakes to ensure stability.
Step 6: Insert the Stakes
Place the wooden stakes into the holes you dug, making sure they are secure and upright. Use a hammer to gently tap them into place if needed. Once all the stakes are in position, use a level to ensure they are straight.
Step 7: Secure the Stakes
Using screws or nails, attach the stakes to any nearby structures, such as a fence or wall, for added stability. This step is optional but recommended, especially if you live in an area with strong winds.
Step 8: Create the Support Structure
Take your garden twine or wire and tie one end to the top of one stake. Stretch it horizontally to the next stake and secure it in place. Repeat this process until you have created a grid-like structure with the twine or wire. Make sure the spacing between the lines is suitable for your climbing plants to grow and attach themselves.
Step 9: Train Your Climbing Plants
Once your trellis is complete, it’s time to train your climbing plants to grow on it. Gently guide the plants towards the trellis and secure them using additional twine or plant ties. As the plants grow, continue to guide them along the trellis, ensuring they have enough support to thrive.
Project Completion
Congratulations! You have successfully created a homemade trellis for your climbing plants. Step back and admire your handiwork – your garden now has a stunning focal point that will enhance its beauty for years to come.
Remember to regularly inspect your trellis for any signs of damage or wear. Replace any broken or loose parts to maintain its structural integrity. With proper care, your homemade trellis will continue to support and showcase your climbing plants for many seasons.
Conclusion
Building a homemade trellis for your climbing plants is a rewarding and fulfilling project. Not only does it provide the necessary support for your plants, but it also adds a touch of charm and elegance to your garden. By following the step-by-step instructions outlined in this guide, you can create a trellis that is not only functional but also visually appealing.
Remember to gather all the necessary materials, take accurate measurements, and secure the trellis properly. With a little time and effort, you can transform your garden into a breathtaking oasis that will be the envy of your neighbors. So go ahead, unleash your creativity, and start building your homemade trellis today!


