Landscaped Backyard Fire Pit Oasis
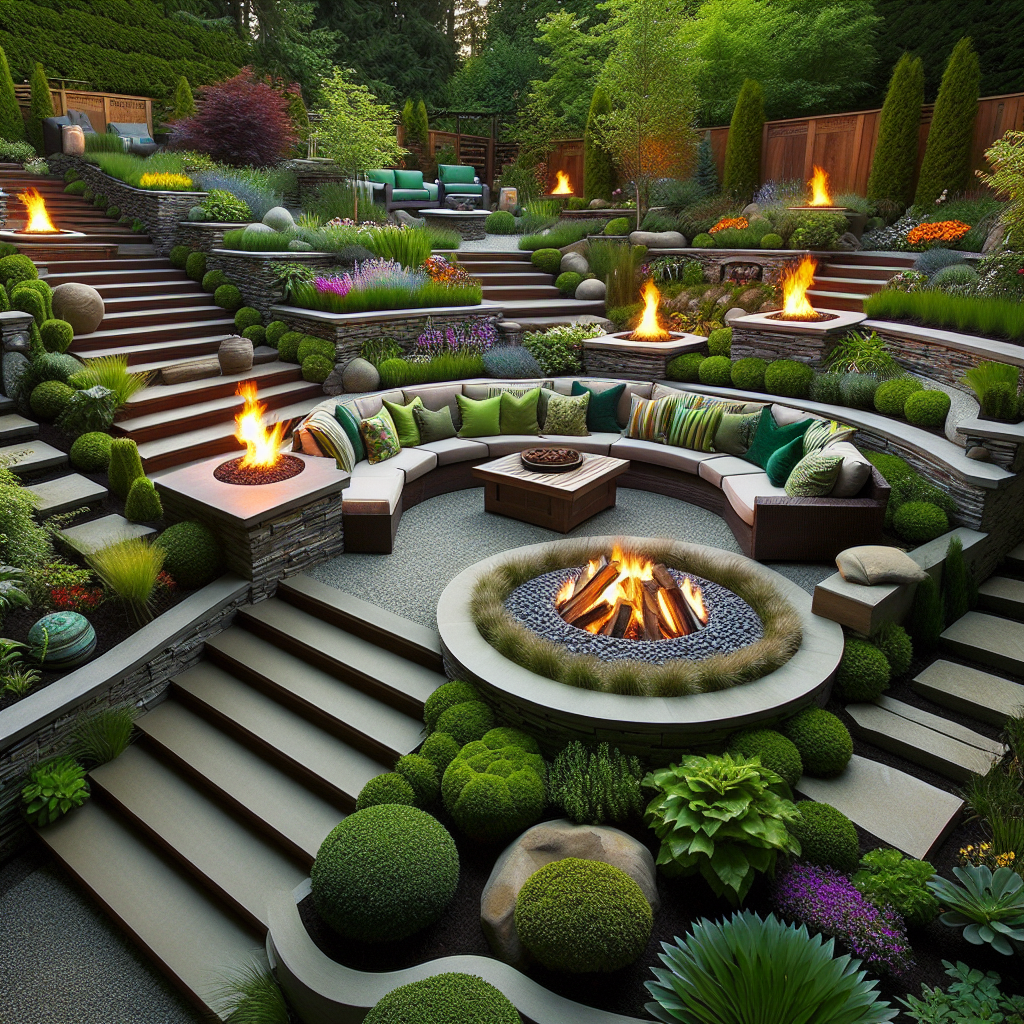
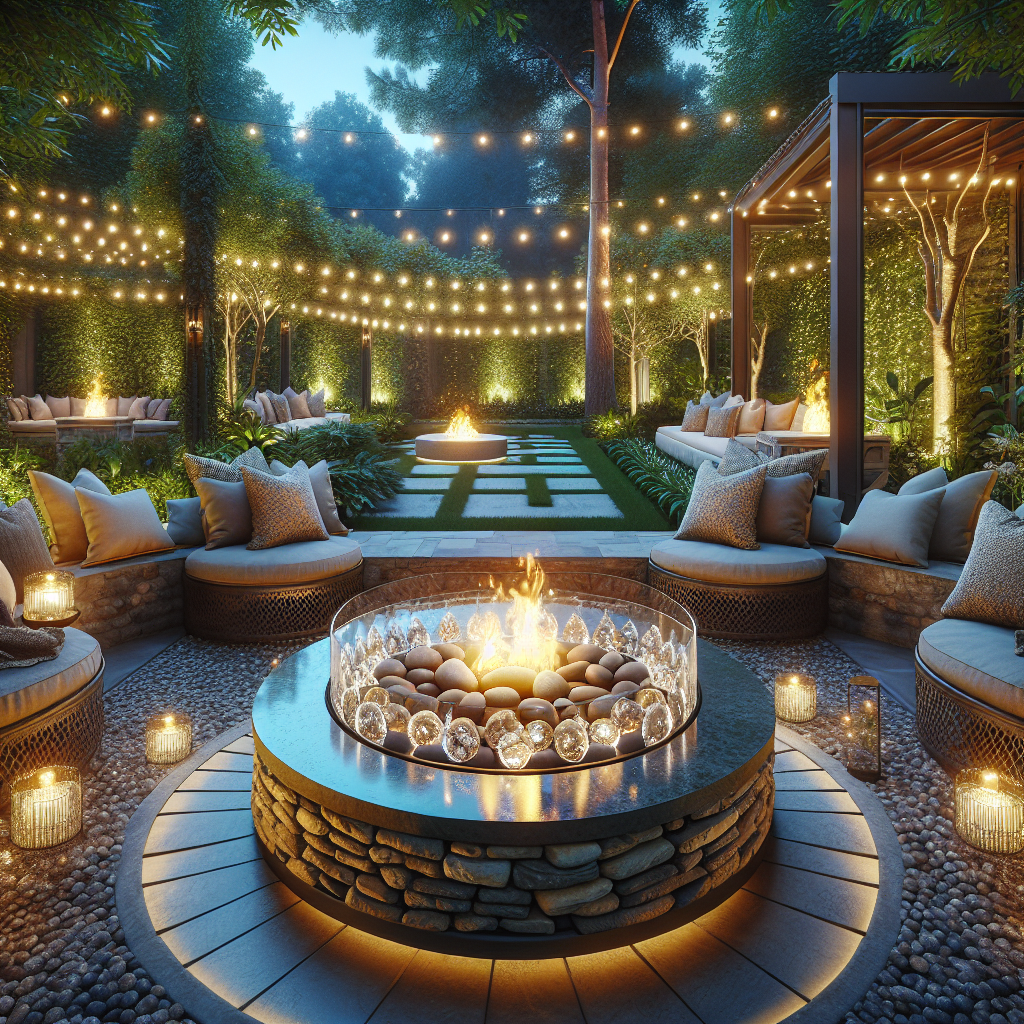
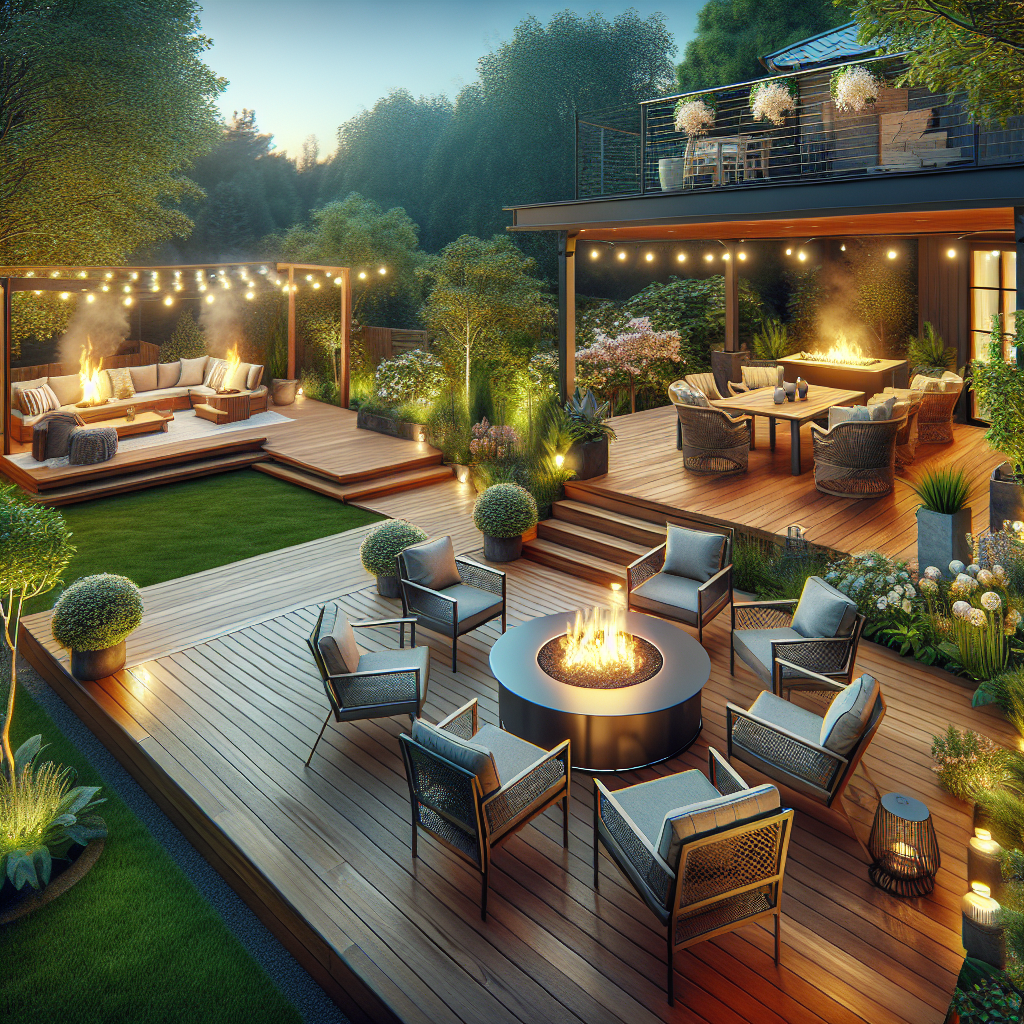
Creating a landscaped backyard fire pit oasis is a wonderful way to enhance your outdoor living space and create a cozy and inviting atmosphere for gatherings with family and friends. In this comprehensive guide, we will walk you through the step-by-step process of building your own backyard fire pit oasis. From selecting the perfect location to choosing the right materials and adding the finishing touches, we will provide you with all the information you need to bring your vision to life.
Step 1: Planning and Design
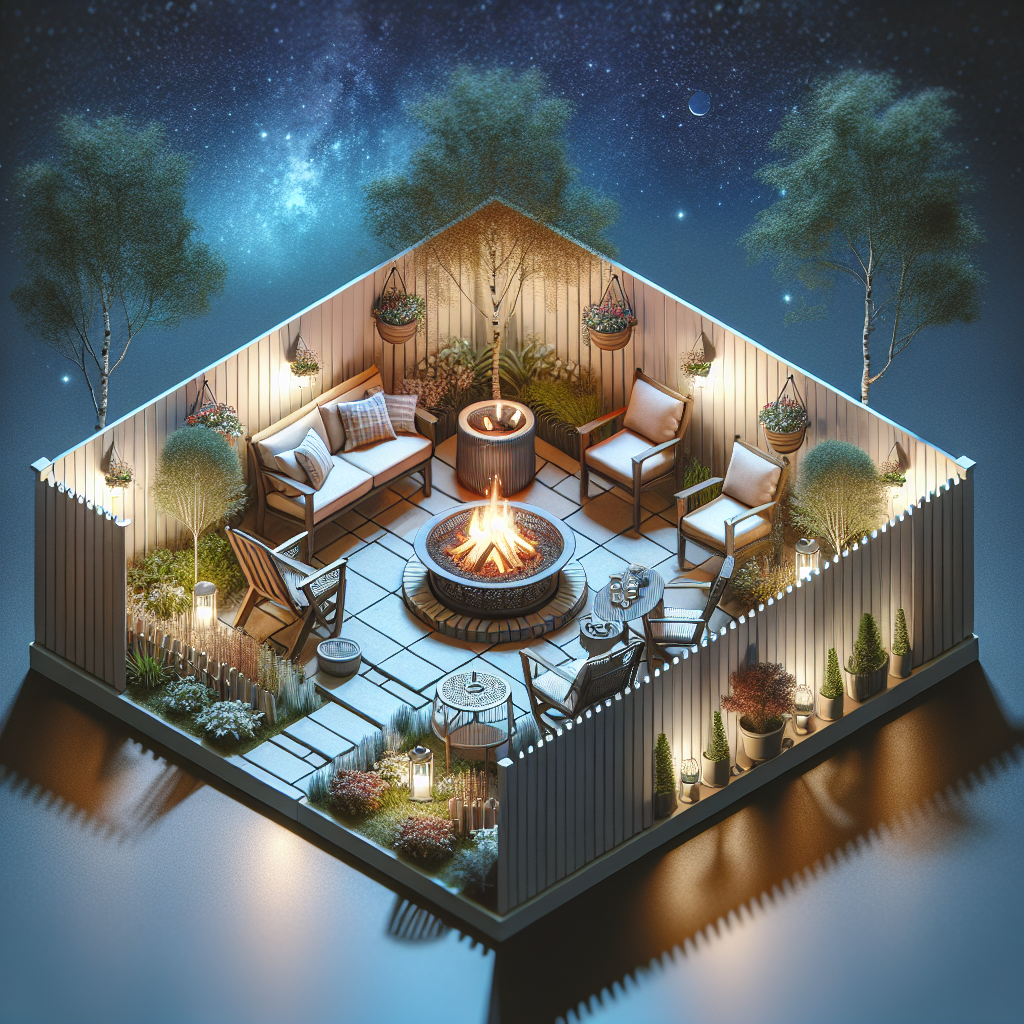
The first step in creating your backyard fire pit oasis is to carefully plan and design your space. Consider the size and shape of your yard, as well as any existing landscaping features or structures. Take into account the desired seating area, the distance from your home, and any local regulations or restrictions regarding fire pits.
Once you have a clear vision of your space, sketch out a rough design on paper or use a digital design tool to visualize your ideas. Consider incorporating elements such as seating walls, pathways, and plantings to create a cohesive and aesthetically pleasing design.
Step 2: Selecting the Location
Choosing the right location for your fire pit is crucial for both safety and enjoyment. Look for an area that is away from overhanging trees or structures and has a clear space of at least 10 feet in all directions. Ensure that the location is level and free from any potential hazards.
Consider the prevailing wind direction and position your fire pit accordingly to minimize smoke and maximize comfort. Additionally, think about the view from different angles and choose a location that offers a pleasant backdrop for your oasis.
Step 3: Gathering Materials
Before you begin construction, gather all the necessary materials for your fire pit oasis. Here is a list of items you will need:
- Fire pit kit or materials for building a custom fire pit
- Pavers or stones for the seating area
- Gravel or sand for the base
- Landscape fabric
- Shovel and rake
- Level
- Tape measure
- Masonry adhesive
- Firewood storage solution
- Outdoor seating and cushions
- Outdoor lighting
- Plants and landscaping materials
Take the time to gather high-quality materials that will withstand the test of time and provide a durable and beautiful finished product.
Step 4: Preparing the Site
Now that you have your materials, it’s time to prepare the site for construction. Follow these steps:
- Mark the outline of your fire pit and seating area using stakes and string.
- Remove any existing vegetation or debris from the area.
- Excavate the site to a depth of approximately 6 inches, ensuring a level base.
- Compact the soil using a tamper or plate compactor.
- Install landscape fabric to prevent weed growth.
- Add a layer of gravel or sand and compact it again.
Step 5: Building the Fire Pit
Now it’s time to construct your fire pit. Follow these steps:
- Refer to the manufacturer’s instructions if using a fire pit kit, or design your own custom fire pit.
- Begin by laying the first course of stones or bricks, ensuring they are level and tightly fitted together.
- Apply masonry adhesive between each course to create a stable and secure structure.
- Continue building up the walls of the fire pit until you reach your desired height.
- Finish the top course with cap stones for a polished look.
Step 6: Creating the Seating Area
With the fire pit complete, it’s time to create a comfortable seating area. Follow these steps:
- Measure and mark the dimensions of your seating area.
- Begin by laying the first row of pavers or stones, ensuring they are level and evenly spaced.
- Continue adding rows until you reach your desired height.
- Fill the gaps between the pavers or stones with sand or gravel and compact it.
Step 7: Adding the Finishing Touches
Now that the main construction is complete, it’s time to add the finishing touches to your backyard fire pit oasis. Consider the following:
- Add outdoor seating and cushions for comfort.
- Install outdoor lighting to create a warm and inviting ambiance.
- Plant flowers, shrubs, or other landscaping elements to enhance the beauty of your oasis.
- Create a firewood storage solution that is both functional and visually appealing.
Step 8: Enjoying Your Backyard Fire Pit Oasis
Now that your landscaped backyard fire pit oasis is complete, it’s time to sit back, relax, and enjoy the fruits of your labor. Gather your loved ones around the fire, roast marshmallows, and create lasting memories in your own outdoor sanctuary.
Remember to always follow safety guidelines when using your fire pit and practice proper fire safety measures. Regularly inspect and maintain your fire pit to ensure its longevity and continued enjoyment.
Conclusion
Creating a landscaped backyard fire pit oasis is a rewarding and fulfilling project that will transform your outdoor space into a haven of relaxation and entertainment. By following the step-by-step instructions provided in this guide, you will be well-equipped to tackle this project with confidence and create a stunning oasis that you can enjoy for years to come.


