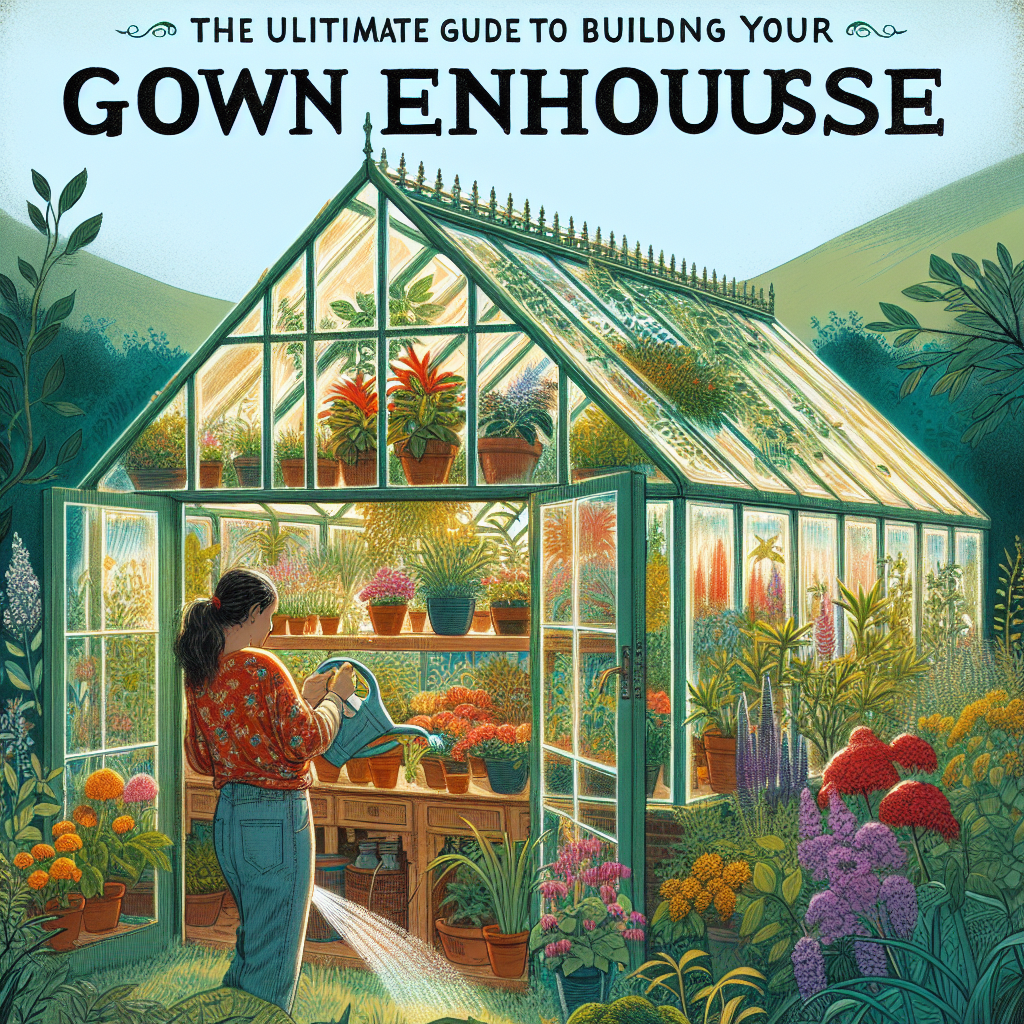
The Ultimate Guide to Building Your Own Greenhouse
Are you a gardening enthusiast looking to take your hobby to the next level? Building your own greenhouse can be a rewarding and fulfilling project that allows you to grow a wide variety of plants all year round. In this comprehensive guide, we will walk you through the step-by-step process of building your own greenhouse, from planning and design to construction and maintenance. By the end of this guide, you will have all the knowledge and skills necessary to create your very own greenhouse oasis.
Step 1: Planning and Design
Before you start building your greenhouse, it is important to carefully plan and design your structure. Consider the following factors:
- Location: Choose a spot in your garden that receives ample sunlight throughout the day.
- Size: Determine the size of your greenhouse based on the amount of space you have available and the number of plants you wish to grow.
- Materials: Decide on the materials you will use for your greenhouse, such as glass, polycarbonate, or plastic.
- Style: Choose a greenhouse style that suits your needs and preferences, such as a lean-to, freestanding, or hoop house.
Once you have a clear plan and design in mind, you can move on to the next step.
Step 2: Gathering Materials
Now that you have a plan in place, it’s time to gather all the materials you will need to build your greenhouse. Here is a list of essential items:
- Foundation materials (concrete, gravel, or treated lumber)
- Frame materials (wood, PVC, or metal)
- Glass, polycarbonate, or plastic panels
- Fasteners (screws, nails, or bolts)
- Door and window hardware
- Insulation materials (if needed)
- Ventilation system components
- Shelving and storage units
- Tools (hammer, drill, saw, etc.)
Make sure to gather all the necessary materials before you begin construction to avoid any delays.
Step 3: Preparing the Site
Before you start building, you need to prepare the site where your greenhouse will be located. Follow these steps:
- Clear the area of any debris, rocks, or vegetation.
- Level the ground using a shovel or a rake.
- Mark the boundaries of your greenhouse using stakes and string.
- Prepare the foundation according to your chosen materials (concrete, gravel, or treated lumber).
Once the site is prepared, you can move on to the construction phase.
Step 4: Building the Frame
The frame is the backbone of your greenhouse, providing support and stability. Follow these steps to build the frame:
- Measure and cut the frame materials according to your design.
- Assemble the frame using fasteners (screws, nails, or bolts).
- Ensure that the frame is level and square.
- Attach the frame to the foundation securely.
Once the frame is complete, you can move on to installing the panels.
Step 5: Installing the Panels
The panels of your greenhouse will allow sunlight to enter while providing insulation and protection. Follow these steps to install the panels:
- Measure and cut the panels according to your design.
- Attach the panels to the frame using appropriate fasteners.
- Ensure that the panels are tightly sealed to prevent any drafts or leaks.
- Install any additional insulation materials if needed.
With the panels in place, your greenhouse is starting to take shape. Now it’s time to add the finishing touches.
Step 6: Adding Doors and Windows
Doors and windows are essential for easy access and proper ventilation in your greenhouse. Follow these steps to add doors and windows:
- Measure and cut the door and window materials according to your design.
- Install hinges and handles on the doors.
- Attach the doors and windows to the frame securely.
- Ensure that they open and close smoothly.
With the doors and windows installed, your greenhouse is almost complete. Now it’s time to set up the interior.
Step 7: Setting Up the Interior
The interior of your greenhouse should be organized and functional. Follow these steps to set up the interior:
- Install shelving and storage units to maximize space.
- Set up a watering system to ensure your plants receive adequate moisture.
- Install a ventilation system to regulate temperature and humidity.
- Add benches or tables for potting and working with plants.
With the interior set up, your greenhouse is ready for plants. Now it’s time to bring your garden to life.
Step 8: Maintaining Your Greenhouse
Once your greenhouse is up and running, it’s important to maintain it properly to ensure the health and growth of your plants. Follow these maintenance tips:
- Regularly monitor temperature and humidity levels.
- Water your plants according to their specific needs.
- Check for pests and diseases regularly and take appropriate action.
- Prune and trim plants as needed to promote healthy growth.
- Clean the greenhouse regularly to prevent the buildup of dirt and debris.
By following these maintenance tips, you can enjoy a thriving greenhouse garden for years to come.
Conclusion
Building your own greenhouse is a rewarding and fulfilling project that allows you to indulge in your passion for gardening. By following the step-by-step instructions in this guide, you can create a greenhouse that suits your needs and provides the perfect environment for your plants to thrive. Remember to plan and design your greenhouse carefully, gather all the necessary materials, and follow each step with precision. With a little time and effort, you can enjoy the fruits of your labor in your very own greenhouse oasis.


