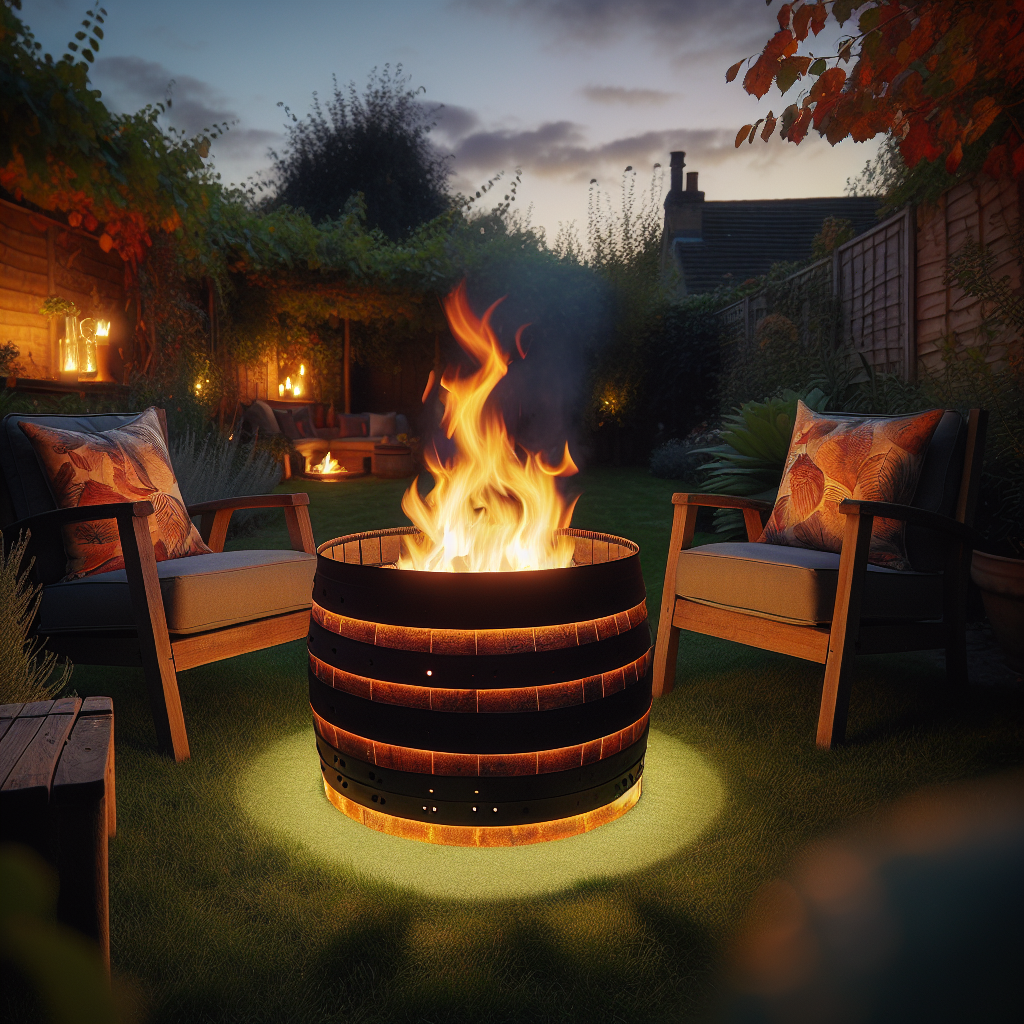
Unique Wine Barrel Backyard Fire Pit
Are you looking to add a touch of elegance and warmth to your backyard? Look no further than a unique wine barrel backyard fire pit. This DIY project will not only provide you with a beautiful and functional fire pit, but it will also give you the satisfaction of creating something with your own hands. In this article, we will guide you through the step-by-step process of building a wine barrel fire pit, from gathering the materials to enjoying the cozy ambiance of a crackling fire.
Materials Needed
- Wine barrel
- Fire ring or burner
- Fire glass or lava rocks
- Propane tank (if using a propane burner)
- Fire pit cover
- Fire pit tools (poker, tongs, etc.)
- Level
- Measuring tape
- Drill
- Saw
- Sandpaper
- Paint or stain (optional)
Step 1: Prepare the Wine Barrel
The first step in creating your unique wine barrel fire pit is to prepare the wine barrel itself. Start by cleaning the barrel thoroughly, both inside and out, to remove any dirt or residue. Use sandpaper to smooth out any rough edges or imperfections on the surface of the barrel. If desired, you can also paint or stain the barrel to match your outdoor decor.
Step 2: Measure and Mark
Next, measure and mark the location where you want to place the fire ring or burner on the top of the barrel. Make sure to leave enough space around the fire ring for ventilation and safety purposes. Use a level to ensure that the marking is straight and even.
Step 3: Cut the Opening
Using a drill and a saw, carefully cut out the marked opening on the top of the barrel. Take your time and make precise cuts to ensure a clean and professional-looking result. Sand down the edges of the opening to remove any roughness.
Step 4: Install the Fire Ring or Burner
Now it’s time to install the fire ring or burner inside the barrel. Follow the manufacturer’s instructions for your specific fire ring or burner model. Make sure it is securely attached and centered within the opening you created.
Step 5: Connect the Propane Tank (if applicable)
If you are using a propane burner, you will need to connect a propane tank to provide fuel for the fire. Follow the instructions provided with your burner to safely connect the tank. Make sure to check for any leaks before proceeding.
Step 6: Add Fire Glass or Lava Rocks
To enhance the visual appeal of your fire pit, add a layer of fire glass or lava rocks around the fire ring or burner. These materials not only look beautiful but also help distribute the heat evenly. Choose a color that complements your outdoor space and spread it evenly around the fire area.
Step 7: Test and Enjoy
Before lighting your fire pit for the first time, perform a test run to ensure everything is working properly. Check the ignition system, adjust the flame height, and make any necessary adjustments. Once you are satisfied with the setup, sit back, relax, and enjoy the warmth and ambiance of your unique wine barrel backyard fire pit.
Estimated Time and Cost
The time and cost required to complete this project will vary depending on your DIY skills and the materials you choose. On average, it may take approximately 4-6 hours to complete the project, including gathering materials, preparation, and installation. The cost can range from $200 to $500, depending on the quality of the wine barrel, fire ring or burner, and additional accessories.
Conclusion
Building a unique wine barrel backyard fire pit is a rewarding DIY project that will add charm and warmth to your outdoor space. By following the step-by-step instructions provided in this article, you can create a beautiful and functional fire pit that will be the centerpiece of your backyard gatherings. So gather your materials, roll up your sleeves, and get ready to enjoy cozy evenings around your very own wine barrel fire pit.


