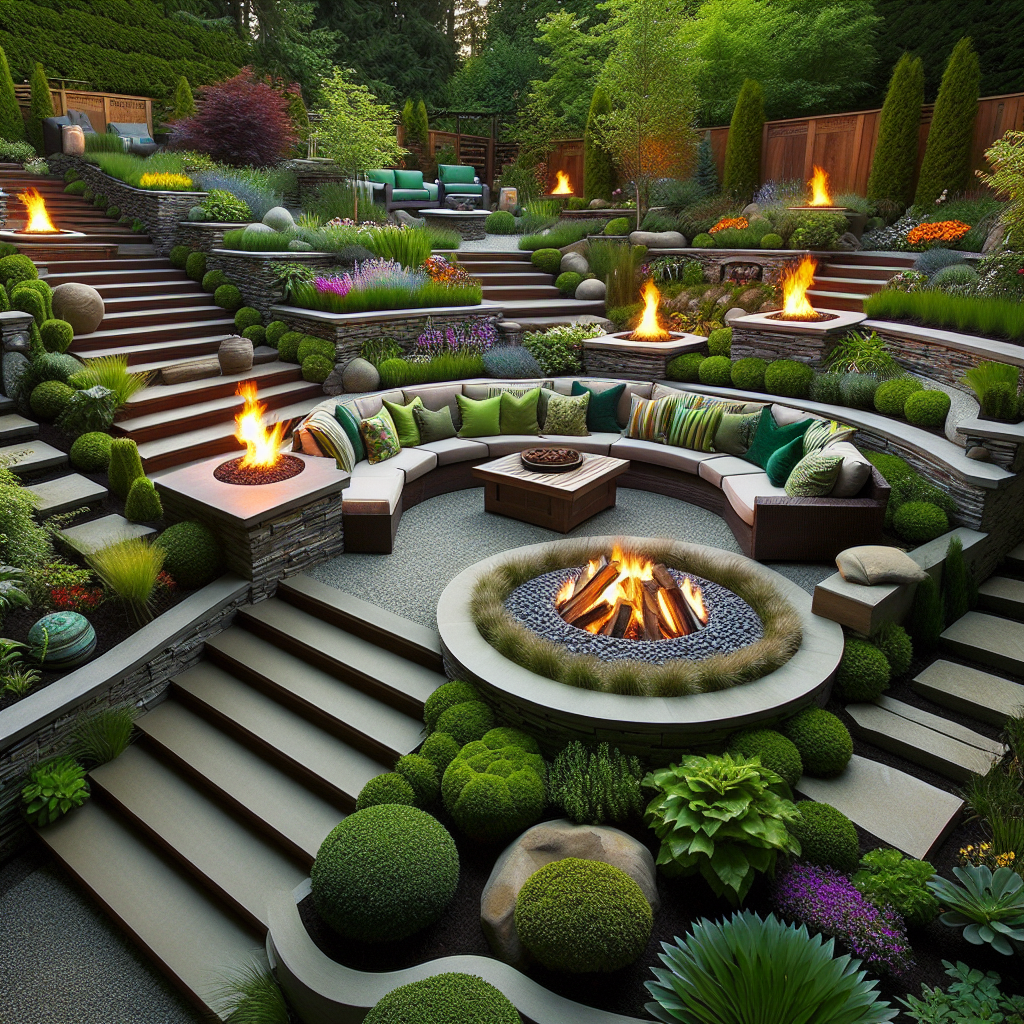
Artistic Mosaic Backyard Fire Pit: A Step-by-Step Guide
Are you looking to add a touch of artistry to your backyard? A mosaic fire pit is the perfect project to showcase your creativity and create a cozy gathering spot for friends and family. In this comprehensive guide, we will walk you through the process of creating your own artistic mosaic backyard fire pit. From gathering materials to the final touches, we’ve got you covered. So, let’s get started!
Materials You’ll Need
- Fire pit kit
- Concrete mix
- Mosaic tiles
- Tile adhesive
- Grout
- Grout sealer
- Protective gloves
- Tile cutter
- Trowel
- Sponge
- Bucket
- Water
- Paintbrush
Step 1: Prepare the Area
The first step in creating your artistic mosaic backyard fire pit is to prepare the area where it will be located. Choose a flat and level spot in your backyard, away from any flammable materials. Clear the area of any debris and mark the outline of the fire pit using stakes and string.
Step 2: Install the Fire Pit Kit
Next, it’s time to install the fire pit kit. Follow the manufacturer’s instructions to assemble the fire pit, ensuring that it is securely in place. This will serve as the base for your mosaic design.
Step 3: Mix and Pour Concrete
Now, it’s time to mix and pour the concrete. Follow the instructions on the concrete mix packaging to create the perfect consistency. Use a trowel to spread the concrete evenly within the marked outline of the fire pit. Smooth the surface with the trowel and let it dry according to the manufacturer’s instructions.
Step 4: Plan Your Mosaic Design
While the concrete is drying, take some time to plan your mosaic design. Consider the colors and patterns you want to incorporate and sketch out your ideas on paper. This will help you visualize the final result and make the process smoother.
Step 5: Prepare the Tiles
Once the concrete is dry, it’s time to prepare the tiles. Use a tile cutter to cut the mosaic tiles into your desired shapes and sizes. This step requires precision, so take your time and ensure that the tiles fit together perfectly.
Step 6: Apply Tile Adhesive
Now, it’s time to start applying the tiles to the concrete surface. Use a paintbrush to apply a layer of tile adhesive to a small section of the concrete. Place the tiles onto the adhesive, following your planned design. Press them firmly into place, ensuring that they are evenly spaced.
Step 7: Grout the Tiles
Once all the tiles are in place, it’s time to grout. Mix the grout according to the manufacturer’s instructions and apply it to the gaps between the tiles using a trowel. Use a sponge to remove any excess grout from the tile surfaces, working in a diagonal motion. Let the grout dry for the recommended time.
Step 8: Seal the Grout
To protect your mosaic design and ensure its longevity, it’s important to seal the grout. Apply a grout sealer using a paintbrush, following the manufacturer’s instructions. This will help prevent staining and make cleaning easier in the future.
Step 9: Enjoy Your Artistic Mosaic Backyard Fire Pit
Once the grout sealer is dry, your artistic mosaic backyard fire pit is ready to be enjoyed! Gather your friends and family, light a fire, and bask in the warmth and beauty of your creation. This unique addition to your backyard will surely become a focal point and a conversation starter.
Conclusion
Creating an artistic mosaic backyard fire pit is a rewarding and creative project that will add a touch of beauty to your outdoor space. By following the step-by-step instructions in this guide, you can bring your vision to life and create a cozy gathering spot for years to come. So, gather your materials, unleash your creativity, and get ready to enjoy the warmth and artistry of your very own mosaic fire pit.


