Traditional WoodBurning Backyard Fire Pit: A Step-by-Step Guide
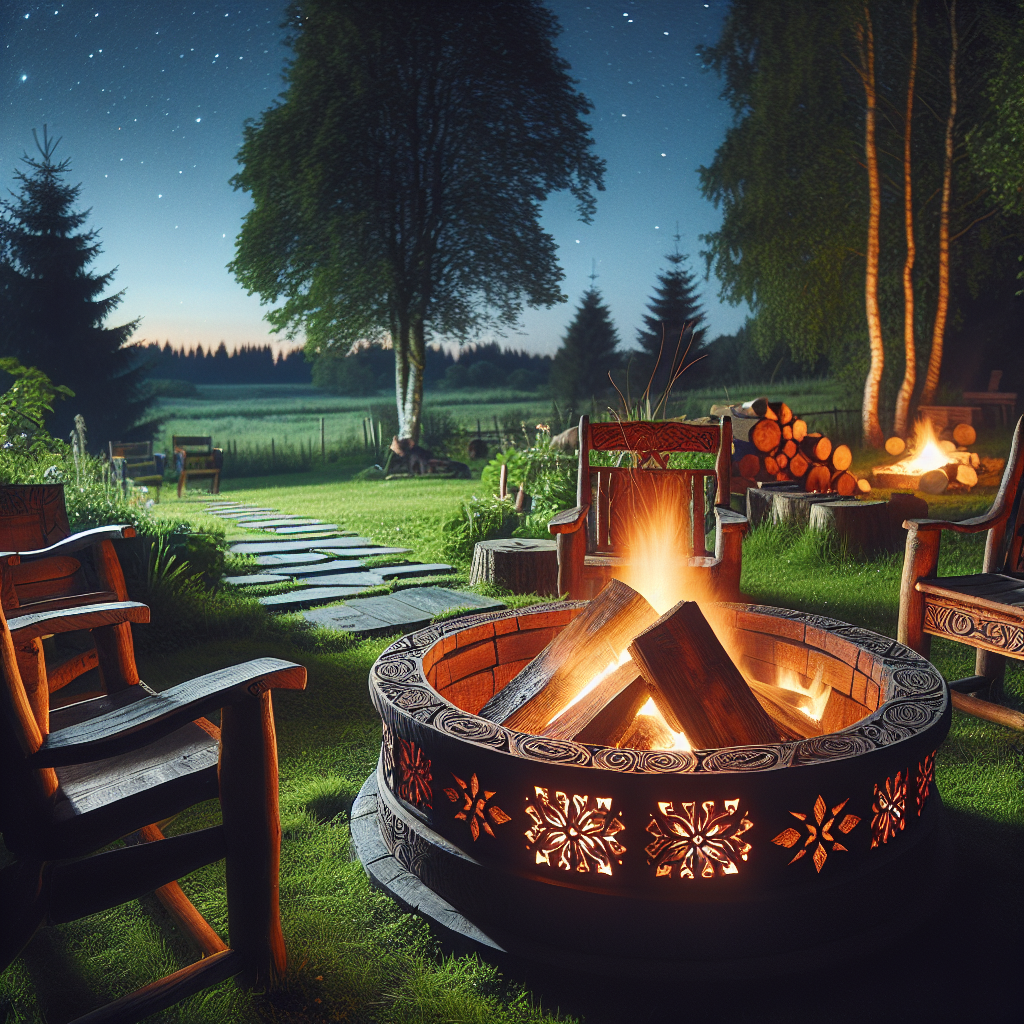
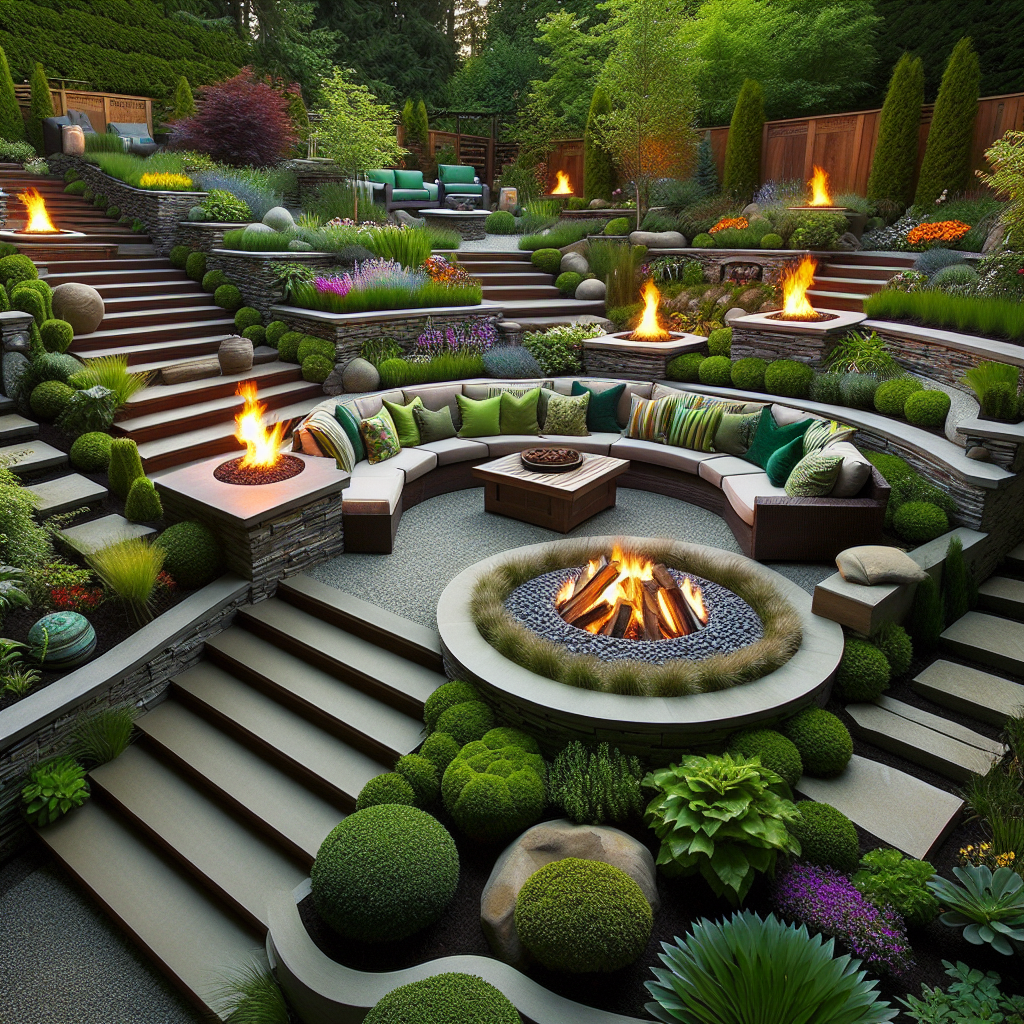
Are you looking to add a touch of warmth and ambiance to your backyard? A traditional woodburning fire pit is the perfect addition to any outdoor space. Not only does it provide a cozy gathering spot for friends and family, but it also adds a rustic charm to your backyard. In this comprehensive guide, we will walk you through the process of building your very own woodburning fire pit. So grab your tools and let’s get started!
Materials You Will Need
- Concrete pavers or bricks
- Fire bricks
- Fire-resistant mortar
- Shovel
- Tape measure
- Level
- Masonry saw or chisel
- Gloves
- Safety glasses
- Firewood
Step 1: Choose the Perfect Location
The first step in building your woodburning fire pit is to choose the perfect location in your backyard. Consider factors such as proximity to your house, trees, and other flammable materials. You want to ensure that the fire pit is at least 10 feet away from any structures or combustible materials.
Once you have chosen the location, mark the area using stakes and string. This will help you visualize the size and shape of your fire pit.
Step 2: Prepare the Ground
Before you start building, it’s important to prepare the ground to ensure a stable and level base for your fire pit. Use a shovel to remove any grass, rocks, or debris from the marked area. Dig down about 6 inches to create a level surface.
Step 3: Lay the Foundation
Now it’s time to lay the foundation for your fire pit. Start by placing a layer of fire-resistant mortar on the ground. This will help secure the pavers or bricks in place. Next, lay the concrete pavers or bricks in a circular pattern, leaving a small opening in the center for ventilation.
Use a level to ensure that the pavers or bricks are even and level. Adjust as necessary to create a stable foundation.
Step 4: Build the Walls
Once the foundation is in place, it’s time to build the walls of your fire pit. Use fire bricks and fire-resistant mortar to create a sturdy and heat-resistant structure. Start by applying a layer of mortar to the top of the pavers or bricks.
Place the fire bricks on top of the mortar, making sure to leave small gaps between each brick for ventilation. Continue stacking the bricks until you reach your desired height. Use a level to ensure that the walls are straight and even.
Step 5: Create the Fire Pit Bowl
Now it’s time to create the bowl of your fire pit. Use fire bricks to build a circular wall inside the fire pit, leaving a small opening for air flow. This will help contain the fire and prevent it from spreading.
Apply a layer of fire-resistant mortar to the top of the fire bricks and place additional fire bricks on top, creating a second layer. Repeat this process until the bowl is at your desired depth.
Step 6: Finishing Touches
Once the walls and bowl of your fire pit are complete, it’s time to add the finishing touches. Use a masonry saw or chisel to trim any excess bricks and create a clean and polished look.
Brush away any loose mortar or debris and let the fire pit cure for at least 48 hours before using it. This will ensure that the mortar has fully dried and hardened.
Step 7: Enjoy Your Woodburning Fire Pit
Congratulations! You have successfully built your very own traditional woodburning fire pit. Now it’s time to gather some firewood, light a fire, and enjoy the cozy warmth and crackling flames with your loved ones.
Conclusion
Building a traditional woodburning fire pit is a rewarding and enjoyable DIY project that will enhance your backyard and provide countless hours of relaxation and entertainment. By following the step-by-step instructions in this guide, you can create a beautiful and functional fire pit that will be the envy of your neighbors. So grab your tools and get ready to create memories around the fire!


