Creating a Butterfly Garden: Tips and Tricks
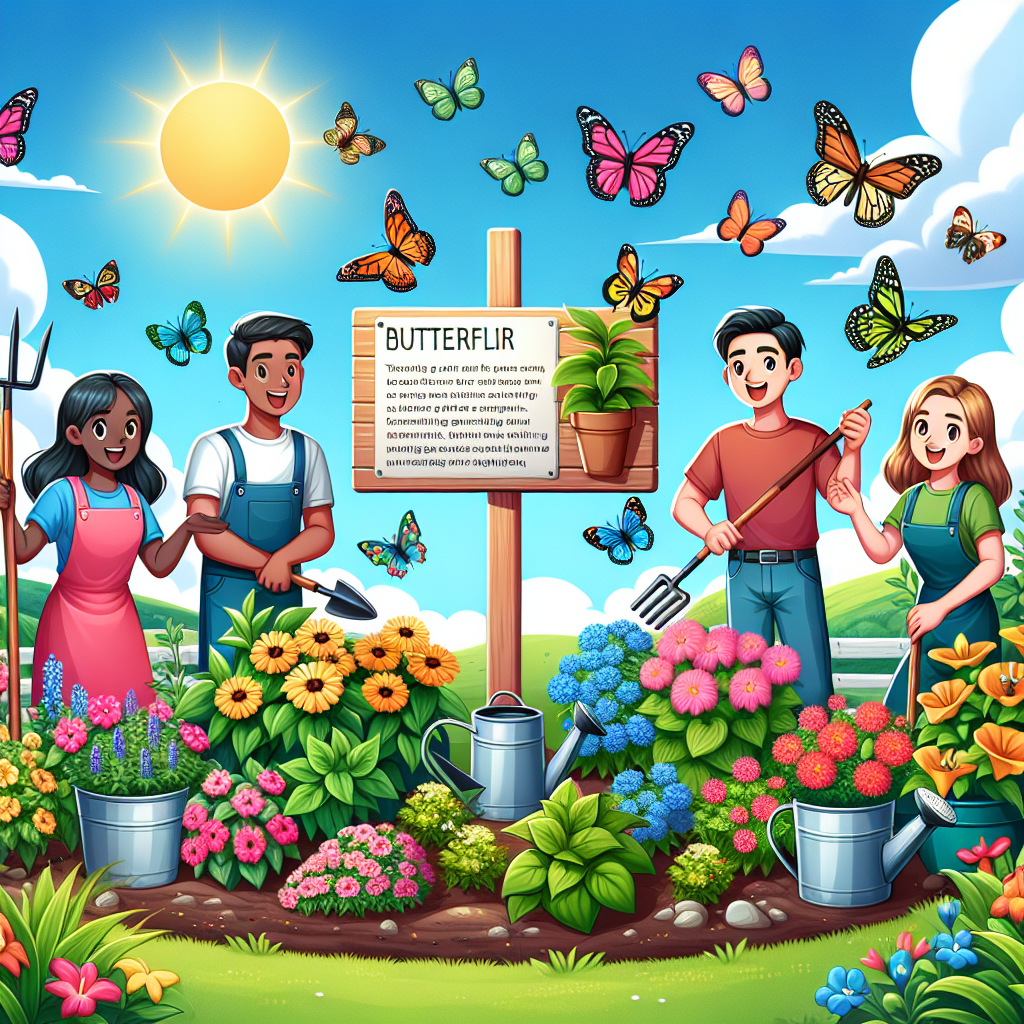
Butterflies are not only beautiful creatures but also important pollinators in our ecosystem. Creating a butterfly garden in your backyard is a wonderful way to attract these delicate insects and provide them with a safe haven. In this comprehensive guide, we will walk you through the step-by-step process of creating a butterfly garden that will not only be visually stunning but also support the life cycle of butterflies. So, let’s dive in and get started on this exciting DIY project!
Step 1: Choose the Right Location
The first step in creating a butterfly garden is to choose the right location. Butterflies are cold-blooded creatures, so they need plenty of sunlight to warm their bodies. Look for an area in your yard that receives at least six hours of direct sunlight each day. It’s also important to select a spot that is sheltered from strong winds, as butterflies are delicate and can be easily blown away.
Once you have identified the perfect location, prepare the soil by removing any weeds or grass. Butterflies prefer sandy or loamy soil, so if your soil is heavy clay, consider adding some organic matter such as compost or peat moss to improve its texture.
Step 2: Plan Your Garden
Now that you have chosen the location, it’s time to plan your butterfly garden. Start by sketching out a rough design on paper, taking into consideration the size and shape of your garden. Remember to include pathways for easy access and maintenance.
When selecting plants for your butterfly garden, it’s important to choose a variety of species that will provide nectar for adult butterflies and host plants for their caterpillars. Some popular nectar plants include butterfly bush, coneflower, and zinnia. For host plants, consider milkweed for monarch butterflies, parsley for black swallowtails, and dill for eastern black swallowtails.
Make sure to include plants that bloom at different times throughout the year to provide a continuous food source for butterflies. This will also ensure that your garden remains attractive to butterflies throughout the seasons.
Step 3: Prepare the Soil and Plant
Before planting, it’s important to prepare the soil properly. Remove any rocks, roots, or debris and loosen the soil to a depth of at least 12 inches. This will allow the plant roots to penetrate easily and establish a strong foundation.
Once the soil is prepared, it’s time to start planting. Dig holes that are slightly larger than the root ball of each plant and place them in the holes. Gently backfill the holes with soil, making sure to firm it around the roots to eliminate any air pockets. Water the plants thoroughly after planting to help them settle in.
Remember to space the plants according to their mature size to avoid overcrowding. This will allow each plant to receive adequate sunlight and airflow, which is essential for their health and growth.
Step 4: Provide Water and Shelter
In addition to nectar plants and host plants, butterflies also need a water source and shelter in your garden. Create a shallow butterfly puddling area by filling a shallow dish or saucer with sand and water. This will provide butterflies with a place to drink and obtain essential minerals.
For shelter, consider adding some flat stones or boulders in your garden. Butterflies love to bask in the sun on these warm surfaces, especially in the morning when they are still cold and need to warm up their wings.
Step 5: Maintain and Care for Your Garden
Once your butterfly garden is established, it’s important to maintain and care for it to ensure its long-term success. Here are some tips to help you keep your garden thriving:
- Water your plants regularly, especially during dry spells. Butterflies are attracted to moist soil and will be more likely to visit your garden if there is a water source.
- Remove any weeds or invasive plants that may compete with your butterfly-friendly plants for nutrients and space.
- Monitor your garden for pests and diseases. If you notice any signs of infestation or disease, take appropriate measures to control them without harming the butterflies.
- Deadhead flowers regularly to encourage continuous blooming and prevent the plants from going to seed.
- Consider adding a layer of organic mulch around your plants to help retain moisture, suppress weeds, and improve soil fertility.
Step 6: Enjoy Your Butterfly Garden
Now that you have followed all the steps and put in the hard work, it’s time to sit back, relax, and enjoy your beautiful butterfly garden. Grab a chair, a cup of tea, and spend some time observing the colorful butterflies as they flutter around, sipping nectar, and laying eggs on the host plants.
Remember, creating a butterfly garden is not only a rewarding DIY project but also a way to contribute to the conservation of these magnificent creatures. By providing them with a safe and welcoming habitat, you are helping to ensure their survival for future generations to enjoy.
Conclusion
Creating a butterfly garden is a fulfilling and enjoyable project that allows you to connect with nature and contribute to the well-being of butterflies. By following the steps outlined in this guide, you can create a vibrant and thriving butterfly garden in your own backyard. Remember to choose the right location, plan your garden carefully, prepare the soil, provide water and shelter, and maintain your garden regularly. With patience and dedication, you will soon be rewarded with the sight of beautiful butterflies dancing among the flowers. So, roll up your sleeves, grab your gardening tools, and let’s get started on this wonderful journey!


