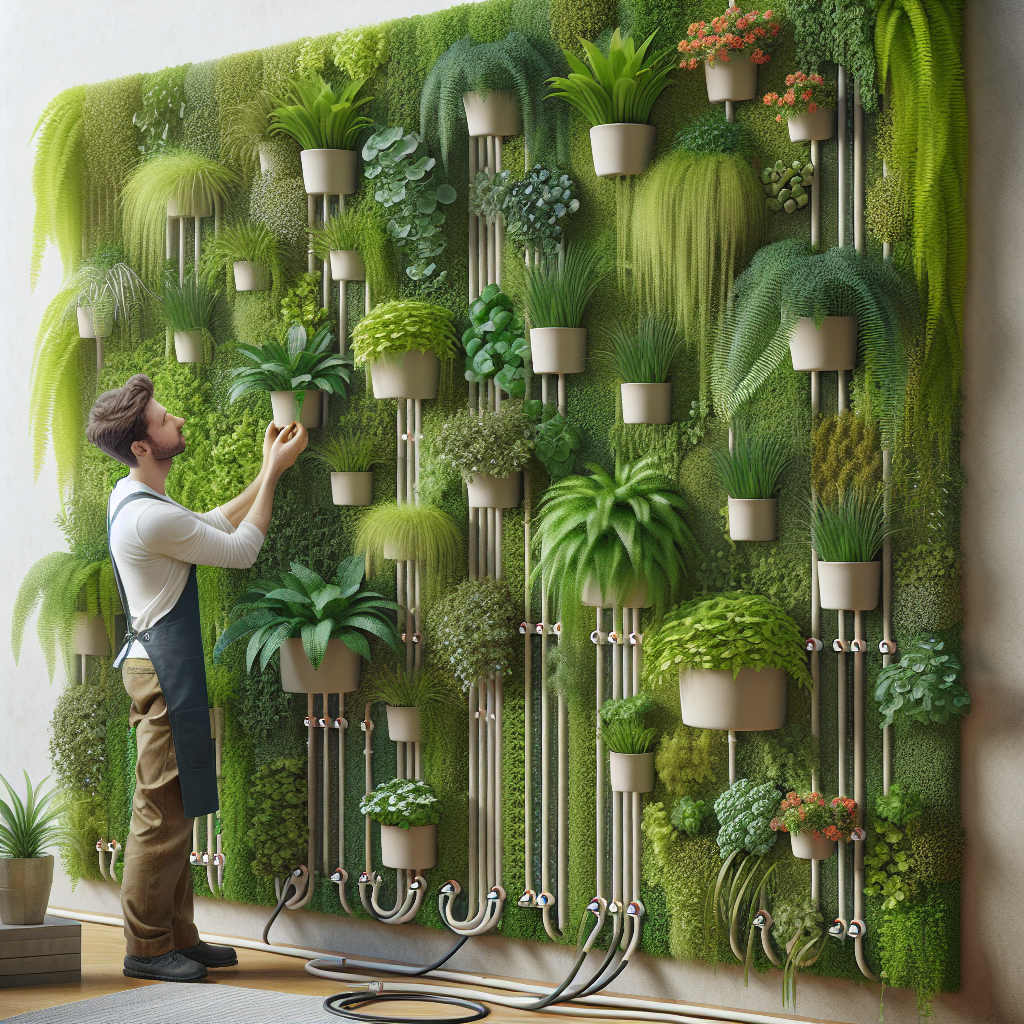
DIY Vertical Gardening for Small Spaces
Are you a gardening enthusiast with limited space? Do you dream of having a lush garden but don’t have a backyard? Don’t worry, because vertical gardening is here to save the day! In this comprehensive guide, we will walk you through the step-by-step process of creating your very own vertical garden in small spaces. With a little creativity and some basic materials, you can transform any wall or balcony into a green oasis. So let’s get started and bring your gardening dreams to life!
Materials You’ll Need
Before we dive into the nitty-gritty of building your vertical garden, let’s gather all the materials you’ll need for this project:
- Vertical garden frame or structure
- Pots or containers
- Plants
- Soil
- Watering can or hose
- Drill
- Screws
- Level
- Measuring tape
- Hammer
- Nails
- Staple gun
- Wire or twine
- Scissors
Make sure you have all these materials ready before you begin your vertical gardening project. Now, let’s move on to the step-by-step instructions.
Step 1: Choose the Right Location
The first step in creating your vertical garden is to choose the perfect location. Look for a wall or balcony that receives adequate sunlight throughout the day. Most plants require at least 6 hours of direct sunlight to thrive. Additionally, ensure that the location is easily accessible for watering and maintenance.
Step 2: Measure and Mark
Once you’ve selected the location, it’s time to measure and mark the area where your vertical garden will be installed. Use a measuring tape and level to ensure accuracy. Mark the spots where you will attach the vertical garden frame or structure.
Step 3: Install the Vertical Garden Frame
Now that you have marked the spots, it’s time to install the vertical garden frame. Depending on the type of frame you have, follow the manufacturer’s instructions for installation. Use a drill, screws, and a level to secure the frame to the wall or balcony. Make sure it is sturdy and level before proceeding.
Step 4: Prepare the Pots or Containers
While the frame is being installed, you can prepare your pots or containers. Choose pots that are suitable for vertical gardening and have proper drainage holes. Fill the pots with nutrient-rich soil, leaving enough space for the plants to grow. You can also add slow-release fertilizer to provide additional nutrients.
Step 5: Choose the Right Plants
Now comes the fun part – choosing the plants for your vertical garden! Opt for plants that are suitable for vertical growth and can thrive in your specific climate and sunlight conditions. Some popular choices for vertical gardening include herbs, succulents, ferns, and trailing vines. Make sure to select a variety of plants to create a visually appealing and diverse garden.
Step 6: Plant Your Garden
Once you have your pots ready and plants selected, it’s time to plant your garden. Carefully place each plant into its designated pot, ensuring that the roots are covered with soil. Gently press the soil around the plant to secure it in place. Repeat this process for all the pots until your vertical garden is complete.
Step 7: Water and Maintain
Now that your vertical garden is planted, it’s crucial to water and maintain it regularly. Use a watering can or hose to water the plants thoroughly, making sure the soil is evenly moist. Monitor the moisture levels and adjust your watering schedule accordingly. Additionally, prune and trim the plants as needed to promote healthy growth and prevent overcrowding.
Step 8: Add Decorative Elements
To enhance the visual appeal of your vertical garden, consider adding some decorative elements. Hang small ornaments, wind chimes, or fairy lights to create a whimsical atmosphere. You can also incorporate trellises or climbing structures to encourage vertical growth and add an interesting dimension to your garden.
Step 9: Enjoy Your Vertical Garden
Congratulations! You have successfully created your very own vertical garden. Now it’s time to sit back, relax, and enjoy the beauty of your creation. Spend time in your garden, connect with nature, and reap the rewards of your hard work. Your vertical garden will not only bring joy and tranquility but also serve as a conversation starter among your friends and neighbors.
Conclusion
Vertical gardening is a fantastic solution for those with limited space. By utilizing vertical surfaces, you can create a stunning garden even in the smallest of spaces. Follow the step-by-step instructions in this guide, gather the necessary materials, and let your creativity flourish. Remember to choose the right location, install the vertical garden frame securely, select suitable plants, and provide proper care and maintenance. With a little time and effort, you can transform any wall or balcony into a thriving green oasis. So go ahead, embrace the world of vertical gardening, and enjoy the beauty of nature right at your fingertips!


