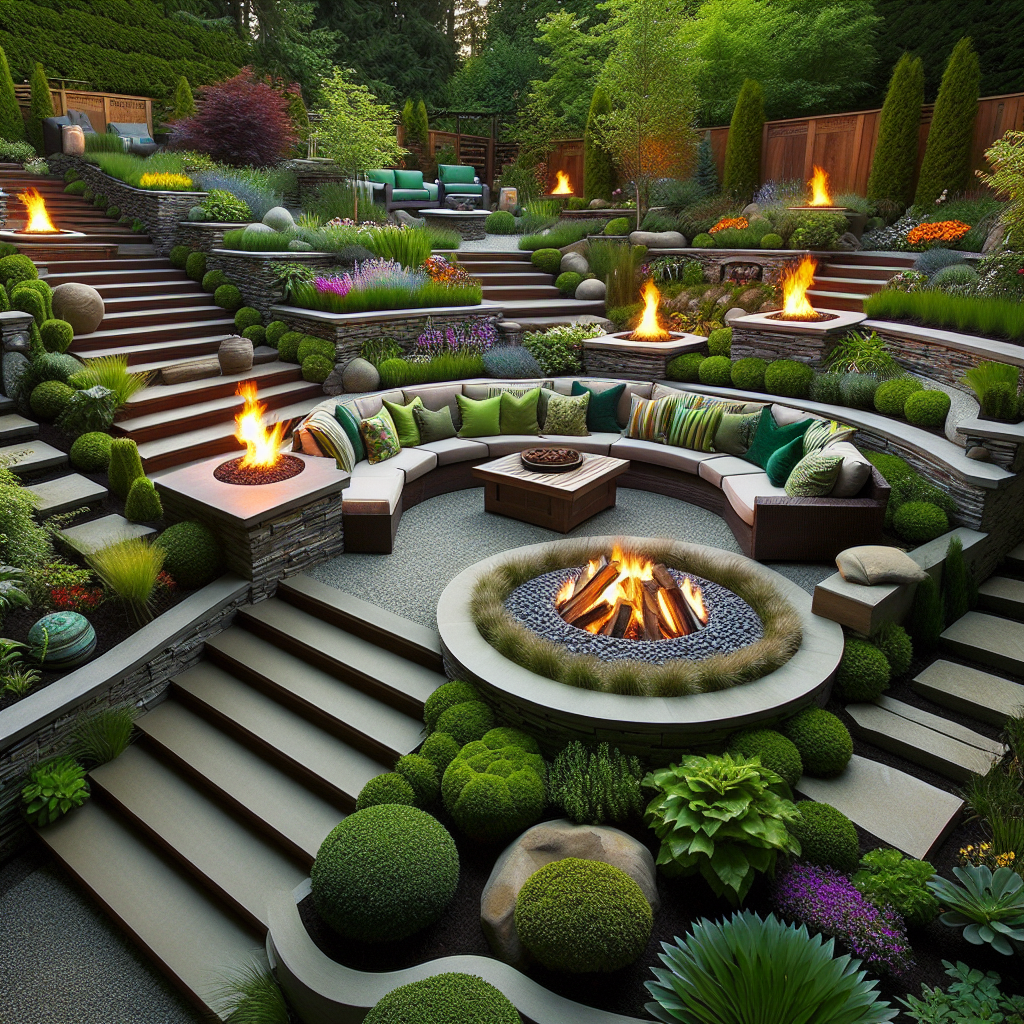
Building Raised Garden Beds from Scratch
Are you looking to create a beautiful and functional garden space in your backyard? Building raised garden beds from scratch is a fantastic DIY project that allows you to customize your garden to suit your needs and preferences. In this comprehensive guide, we will walk you through the step-by-step process of building raised garden beds, from selecting the right materials to planting your favorite flowers and vegetables. Let’s get started!
Materials Needed
Before we dive into the construction process, let’s gather all the materials you’ll need for this project:
- Wooden boards (cedar or redwood recommended)
- Galvanized screws
- Drill
- Tape measure
- Level
- Garden soil
- Compost
- Plants or seeds
- Garden tools (shovel, rake, etc.)
Step 1: Planning and Design
Before you start building, take some time to plan and design your raised garden beds. Consider the size and shape that will work best for your space. Measure the area where you want to place the beds and determine the dimensions accordingly. Sketch out your design on paper to visualize the final result.
Step 2: Gathering Materials
Once you have your design ready, it’s time to gather all the necessary materials. Choose high-quality wooden boards, such as cedar or redwood, as they are durable and resistant to rot. Measure and cut the boards according to your desired dimensions.
Step 3: Assembling the Garden Beds
Now that you have all the materials prepared, it’s time to assemble your raised garden beds. Follow these steps:
- Place the first board in the desired location and use a level to ensure it is straight.
- Drill pilot holes through the board and into the ground.
- Secure the board in place by driving galvanized screws through the pilot holes.
- Repeat the process with the remaining boards, ensuring they are level and securely fastened together.
Step 4: Filling the Beds
With your garden beds assembled, it’s time to fill them with nutrient-rich soil. Follow these steps:
- Remove any existing grass or weeds from the area inside the beds.
- Fill the beds with a mixture of garden soil and compost, ensuring it is evenly distributed.
- Use a rake to level the soil and create a smooth surface for planting.
Step 5: Planting
Now comes the exciting part – planting your favorite flowers, herbs, or vegetables! Follow these steps:
- Choose the plants or seeds you want to grow in your raised garden beds.
- Dig small holes in the soil, following the planting instructions for each plant.
- Place the plants or seeds in the holes and cover them with soil.
- Water the newly planted garden beds thoroughly.
Step 6: Maintenance and Care
Once your raised garden beds are planted, it’s important to provide proper maintenance and care to ensure their success. Here are some tips:
- Water your garden beds regularly, keeping the soil moist but not waterlogged.
- Monitor for pests and diseases, and take appropriate action if necessary.
- Remove weeds regularly to prevent them from competing with your plants for nutrients.
- Apply organic fertilizers or compost to provide additional nutrients to your plants.
Step 7: Enjoying the Fruits of Your Labor
With time and care, your raised garden beds will flourish, providing you with a bountiful harvest and a beautiful garden space. Sit back, relax, and enjoy the fruits of your labor!
Conclusion
Building raised garden beds from scratch is a rewarding DIY project that allows you to create a personalized garden space. By following the step-by-step instructions in this guide, you can confidently construct your own raised garden beds and enjoy the benefits of growing your own plants. Remember to plan your design, gather the necessary materials, assemble the beds, fill them with soil, plant your favorite flowers or vegetables, and provide proper maintenance. Happy gardening!


