DIY Container Gardening: Tips and Ideas
Container gardening is a fantastic way to bring the beauty of nature into your own home, no matter how small your living space may be. Whether you have a spacious backyard or a tiny balcony, you can create a stunning garden using containers. In this article, we will provide you with valuable tips and ideas to help you get started on your own DIY container gardening project. From selecting the right containers to choosing the perfect plants, we will guide you through every step of the process. So, let’s dive in and discover the wonderful world of container gardening!
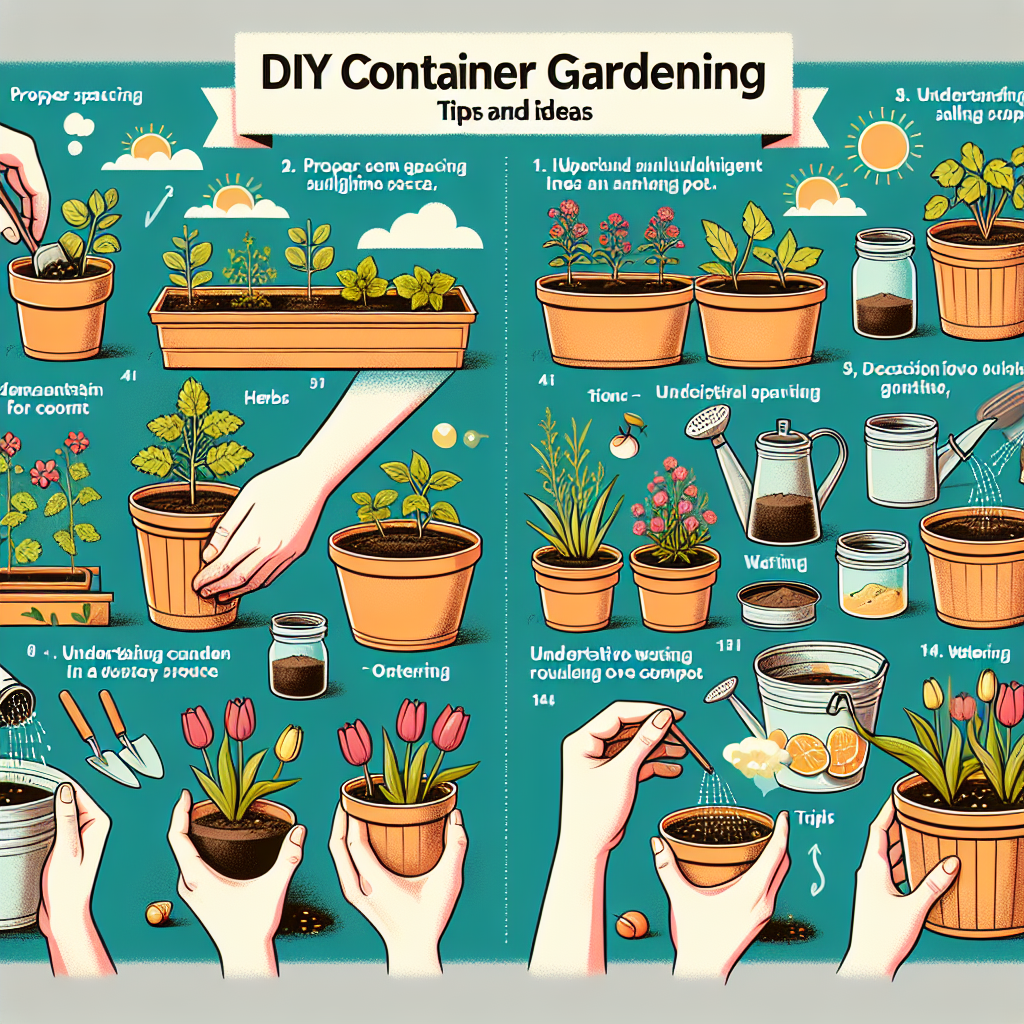
Step 1: Choose the Right Containers
The first step in creating a successful container garden is selecting the right containers. When choosing containers, consider the following factors:
- Size: The size of the container will depend on the plants you want to grow. Larger plants require larger containers to accommodate their root systems.
- Material: Containers can be made from various materials such as clay, plastic, or wood. Each material has its own advantages and disadvantages, so choose one that suits your needs and preferences.
- Drainage: Ensure that your containers have proper drainage holes to prevent waterlogging, which can lead to root rot.
- Style: Consider the overall aesthetic of your space and choose containers that complement your existing decor.
Once you have chosen your containers, it’s time to move on to the next step.
Step 2: Gather the Necessary Materials
Before you start planting, make sure you have all the necessary materials on hand. Here’s a list of items you will need:
- Containers
- Potting soil
- Plants or seeds
- Fertilizer
- Gardening gloves
- Trowel or small shovel
- Watering can or hose
Having all these materials ready will make the planting process much smoother and more enjoyable.
Step 3: Choose the Right Plants
When it comes to container gardening, plant selection is crucial. Consider the following factors when choosing plants:
- Light requirements: Determine how much sunlight your chosen location receives and select plants that thrive in those conditions.
- Climate: Choose plants that are suitable for your climate to ensure their survival.
- Size: Consider the mature size of the plants and make sure they will fit comfortably in your chosen containers.
- Complementary colors and textures: Create visual interest by selecting plants with different colors and textures.
Once you have chosen your plants, it’s time to start planting!
Step 4: Planting Your Container Garden
Now that you have everything you need, it’s time to get your hands dirty and start planting. Follow these steps:
- Fill the containers: Fill each container with potting soil, leaving about an inch of space at the top.
- Add fertilizer: Mix in a slow-release fertilizer according to the package instructions.
- Arrange your plants: Before planting, arrange your plants in the containers to determine the best placement.
- Plant your plants: Dig a hole in the soil, place the plant in the hole, and gently pat the soil around it.
- Water thoroughly: After planting, water your container garden thoroughly to help settle the soil.
Remember to water your container garden regularly and provide the necessary care for your plants to ensure their health and growth.
Step 5: Maintenance and Care
Container gardens require regular maintenance and care to thrive. Here are some tips to keep your garden looking its best:
- Watering: Check the moisture level of the soil regularly and water your plants when the top inch of soil feels dry.
- Fertilizing: Feed your plants with a balanced fertilizer every few weeks to provide them with the necessary nutrients.
- Pruning: Remove any dead or wilted leaves and flowers to promote new growth.
- Pest control: Monitor your plants for any signs of pests or diseases and take appropriate action to prevent damage.
By following these maintenance tips, you can ensure that your container garden remains healthy and vibrant.
Step 6: Get Creative with Design Ideas
Container gardening offers endless possibilities for creativity. Here are some design ideas to inspire you:
- Vertical gardening: Use trellises or hanging baskets to create a vertical garden and maximize your space.
- Color themes: Choose plants with complementary colors to create a visually stunning display.
- Herb garden: Plant herbs in containers and create a mini herb garden that is both functional and beautiful.
- Succulent arrangements: Combine different types of succulents in a single container to create a unique and low-maintenance display.
Let your imagination run wild and experiment with different combinations to create a container garden that reflects your personal style.
Step 7: Enjoy the Fruits of Your Labor
After all the hard work and dedication, it’s time to sit back, relax, and enjoy the beauty of your container garden. Take pride in your creation and watch as your plants grow and flourish. Remember to continue providing the necessary care and maintenance to ensure the long-term success of your garden.
Container gardening is a rewarding and fulfilling hobby that allows you to connect with nature and create a beautiful oasis in your own home. With the right containers, plants, and care, you can transform any space into a vibrant and thriving garden. So, roll up your sleeves, gather your materials, and start your own DIY container gardening project today!
Summary
Container gardening is a wonderful way to bring the beauty of nature into your living space. By following the steps outlined in this article, you can create your own stunning container garden. From choosing the right containers and plants to providing the necessary care and maintenance, we have covered all the essential aspects of DIY container gardening. So, get started on your project and enjoy


