All-American Drywall: DIY Tips and Techniques
Are you ready to tackle a home improvement project that will transform your space? Look no further than drywall installation. With the right tools, materials, and techniques, you can achieve professional-looking results without breaking the bank. In this comprehensive guide, we will walk you through the step-by-step process of installing drywall, providing you with valuable insights and expert tips along the way. Get ready to unleash your inner DIY enthusiast and create a stunning All-American drywall finish!
Materials You’ll Need
- Drywall sheets
- Drywall screws
- Drywall joint compound
- Drywall tape
- Joint knives
- Sanding block
- Measuring tape
- Pencil
- Utility knife
- Drill
- Screwdriver
- Safety goggles
- Dust mask
Step 1: Measure and Plan
Before diving into the installation process, it’s crucial to measure your space accurately and plan accordingly. Start by measuring the height and width of each wall where you intend to install drywall. Take note of any obstacles such as windows, doors, or electrical outlets. This information will help you determine the number of drywall sheets you’ll need.
Once you have your measurements, create a detailed plan on paper. Mark the location of each drywall sheet, ensuring they fit seamlessly together. Consider staggering the seams for added strength and stability.
Step 2: Prepare the Workspace
Preparing your workspace is essential for a smooth and efficient drywall installation. Clear the area of any furniture, decorations, or obstructions. Cover the floor with drop cloths or plastic sheets to protect it from dust and debris. Additionally, ensure that you have proper ventilation by opening windows or using fans.
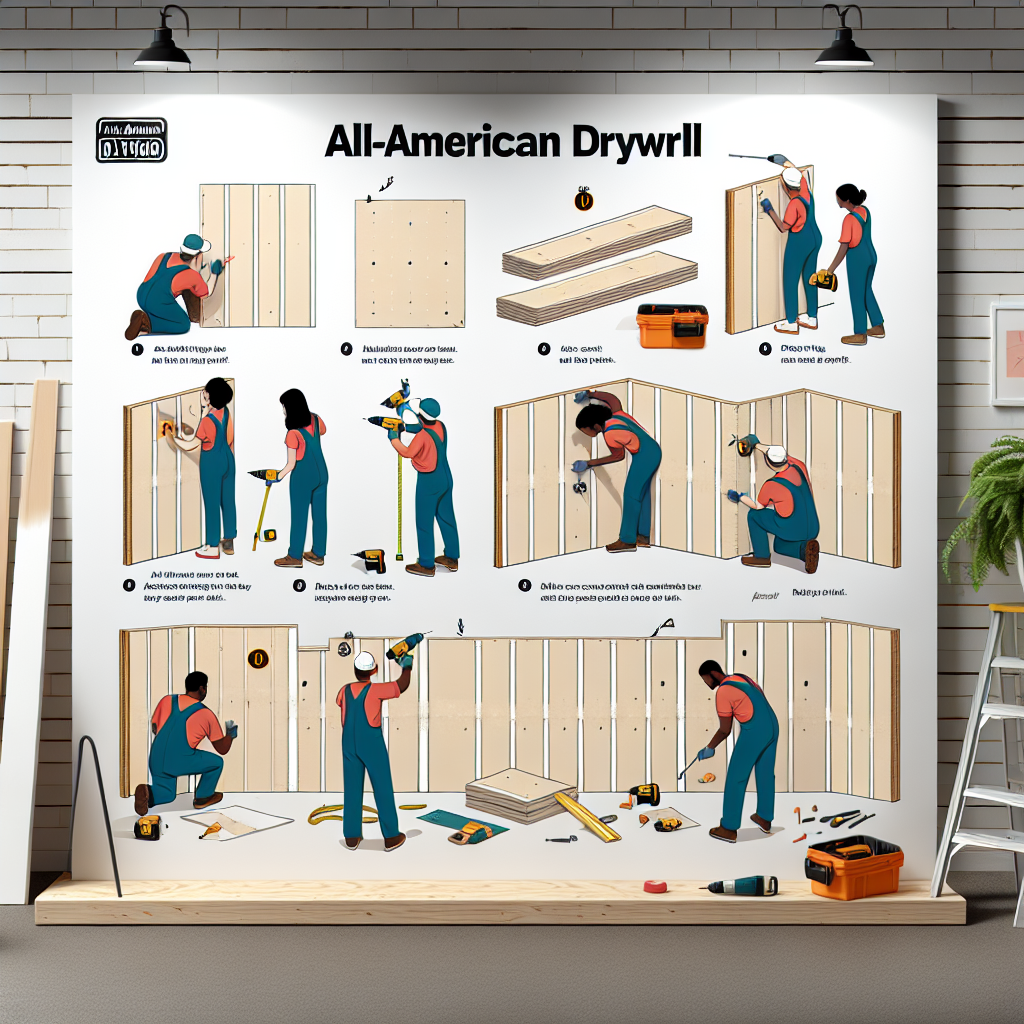
Step 3: Cut and Install Drywall Sheets
Now it’s time to cut and install the drywall sheets according to your plan. Using a utility knife, score the front side of the drywall along your measurements. Snap the sheet along the scored line, and then cut through the paper backing. Repeat this process for each sheet.
With the help of a friend or family member, lift the first drywall sheet into place against the wall. Make sure it fits snugly and aligns with your markings. Use a drill or screwdriver to secure the sheet to the studs with drywall screws. Continue this process for the remaining sheets, ensuring they are tightly joined together.
Step 4: Tape and Mud the Seams
Once all the drywall sheets are installed, it’s time to tape and mud the seams. Apply a thin layer of joint compound along each seam using a joint knife. Place drywall tape over the compound, pressing it firmly into place. Smooth out any excess compound with the joint knife, ensuring a seamless finish.
Allow the first layer of joint compound to dry completely, and then apply a second and third layer, feathering the edges to create a smooth transition. Sand the dried compound between each layer to achieve a flawless surface.
Step 5: Sand and Finish
After the final layer of joint compound has dried, it’s time to sand and finish your drywall. Use a sanding block or sandpaper to smooth out any imperfections or rough edges. Be sure to wear safety goggles and a dust mask to protect yourself from airborne particles.
Once the surface is smooth, wipe away any dust with a damp cloth. You can now prime and paint your drywall to achieve the desired look. Choose an All-American color scheme that complements your space and adds a touch of patriotism to your home.
Step 6: Admire Your All-American Drywall
Congratulations! You have successfully completed your All-American drywall installation. Step back and admire the transformation you have achieved. Your hard work and attention to detail have paid off, and your space now boasts a professional-looking finish.
Remember, practice makes perfect. Don’t be discouraged if your first attempt isn’t flawless. With each project, you’ll gain valuable experience and refine your skills. So, grab your tools, put on your DIY hat, and let your creativity shine through your All-American drywall projects!
Key Takeaways
- Measure your space accurately and create a detailed plan before starting the installation process.
- Prepare your workspace by clearing the area and protecting the floor.
- Cut and install drywall sheets, ensuring a tight fit and secure attachment to the studs.
- Tape and mud the seams, applying multiple layers of joint compound for a seamless finish.
- Sand and finish the drywall, achieving a smooth surface ready for priming and painting.
- Admire your All-American drywall and embrace the sense of accomplishment!
With these expert tips and techniques, you are now equipped to embark on your own All-American drywall project. Enjoy the process, unleash your creativity, and transform your space into a true reflection of your DIY skills!


