Using Regular Drywall in Bathrooms: DIY Guide
Are you looking to renovate your bathroom and wondering if regular drywall is a suitable option? Look no further! In this comprehensive DIY guide, we will walk you through the process of using regular drywall in bathrooms. With our step-by-step instructions and valuable insights, you’ll be able to complete this project with ease and confidence. So, let’s get started!
Why Use Regular Drywall in Bathrooms?
Before we dive into the details, let’s understand why regular drywall can be a great choice for your bathroom. Regular drywall, also known as gypsum board, is a versatile and cost-effective material that is commonly used in interior construction. While it may not be as moisture-resistant as specialized bathroom drywall, it can still be a suitable option for bathrooms with proper precautions and maintenance.
Using regular drywall in bathrooms can save you money and time, as it is widely available and easy to install. Additionally, regular drywall can provide a smooth and seamless finish, allowing you to achieve the desired aesthetic for your bathroom.
Materials and Tools Needed
Before you begin, gather the following materials and tools:
- Regular drywall sheets
- Drywall screws
- Drywall joint compound
- Drywall tape
- Sanding block or sandpaper
- Utility knife
- T-square or straightedge
- Drill
- Screwdriver
- Paint or wallpaper (optional)
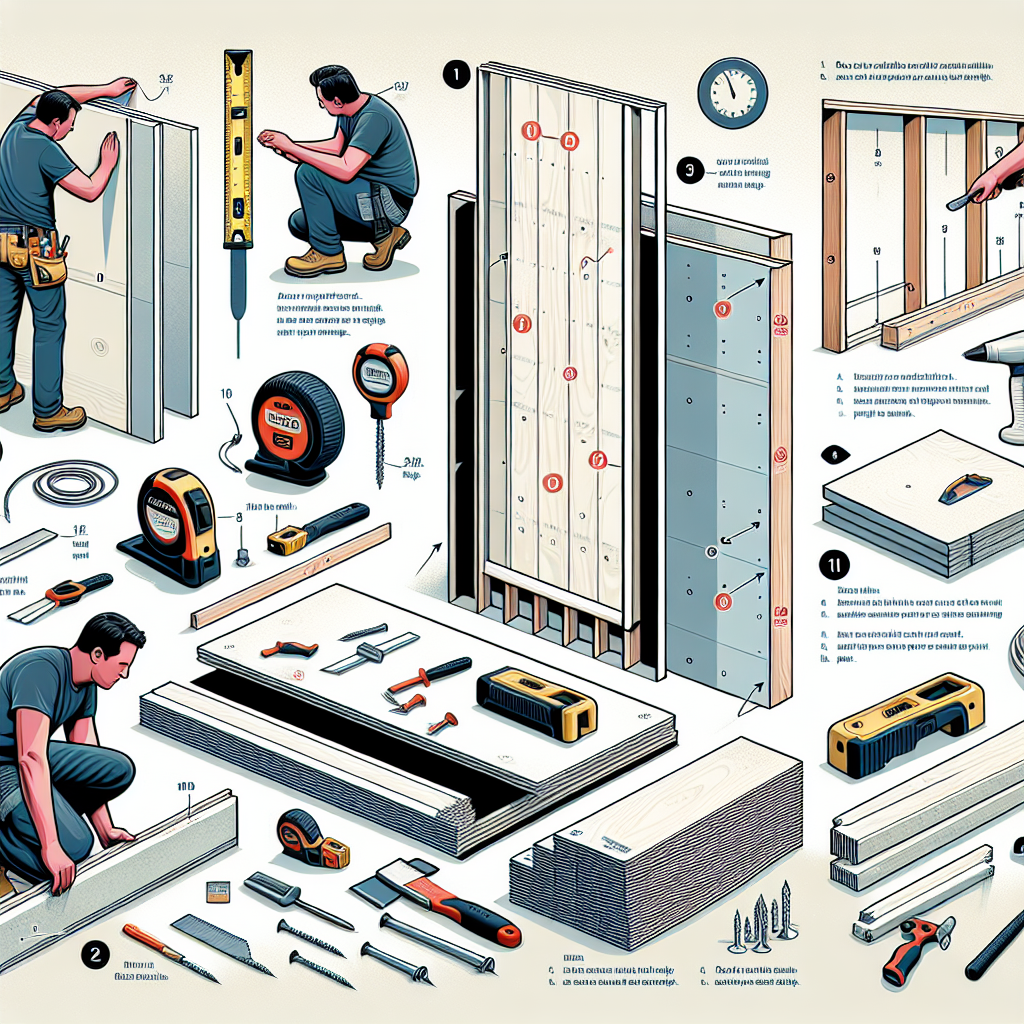
Step-by-Step Instructions
Step 1: Prepare the Bathroom
Start by removing any existing wall coverings, such as wallpaper or paint. Ensure that the wall surface is clean and free from any debris. If there are any damaged areas, repair them before proceeding.
Step 2: Measure and Cut the Drywall
Measure the dimensions of the wall where you will be installing the drywall. Using a T-square or straightedge, mark the measurements on the drywall sheet. Carefully cut the drywall using a utility knife, following the marked lines.
Step 3: Install the Drywall
Position the cut drywall sheet against the wall, ensuring it fits snugly. Use a drill and drywall screws to secure the drywall to the wall studs. Place screws approximately every 12 inches along the studs, ensuring they are flush with the drywall surface.
Step 4: Apply Drywall Tape and Joint Compound
Apply drywall tape over the seams between the drywall sheets, ensuring it covers the entire length. Using a putty knife, apply a thin layer of joint compound over the tape, feathering the edges to create a smooth transition. Allow the compound to dry according to the manufacturer’s instructions.
Step 5: Sand and Repeat
Once the joint compound is dry, use a sanding block or sandpaper to smooth out any imperfections. Repeat the process of applying joint compound and sanding until you achieve a seamless finish.
Step 6: Finishing Touches
After sanding, wipe down the walls to remove any dust. You can now paint or apply wallpaper to achieve your desired look. Ensure that you choose paint or wallpaper that is suitable for bathroom environments.
Project Duration
The duration of this project will depend on various factors, including the size of your bathroom and your level of experience. On average, it can take anywhere from a few days to a week to complete the entire process. It is important to allocate sufficient time for each step and allow for drying and curing times.
Inspiring Project Outcome
Imagine stepping into your newly renovated bathroom, with smooth and seamless walls that exude a sense of elegance and sophistication. The regular drywall, when properly installed and finished, can provide a stunning backdrop for your bathroom fixtures and decor. Whether you choose to paint the walls in a soothing color or apply a stylish wallpaper, the end result will be a bathroom that you can be proud of.

Key Takeaways
Using regular drywall in bathrooms is a viable option if you take the necessary precautions and maintain it properly. Remember these key takeaways:
- Regular drywall is a cost-effective and versatile material for interior construction.
- Ensure that the bathroom is properly prepared before installing the drywall.
- Measure and cut the drywall accurately to fit the wall dimensions.
- Secure the drywall to the wall studs using drywall screws.
- Apply drywall tape and joint compound to create a seamless finish.
- Sand and repeat the process until you achieve a smooth surface.
- Allocate sufficient time for each step and consider drying and curing times.
- Finish the project by painting or applying suitable wallpaper.
By following these instructions and investing your time and effort, you can successfully use regular drywall in your bathroom renovation project. Enjoy the process and the rewarding outcome!