DIY Guide to Removing Drywall Ceiling
Are you tired of looking at that old, outdated drywall ceiling in your home? Do you want to give your space a fresh, modern look? If so, it’s time to roll up your sleeves and embark on a DIY project to remove that old drywall ceiling. With the right tools, materials, and a little bit of patience, you can transform your space into something truly remarkable. In this comprehensive guide, we will walk you through the step-by-step process of removing a drywall ceiling, from start to finish. So, let’s get started!
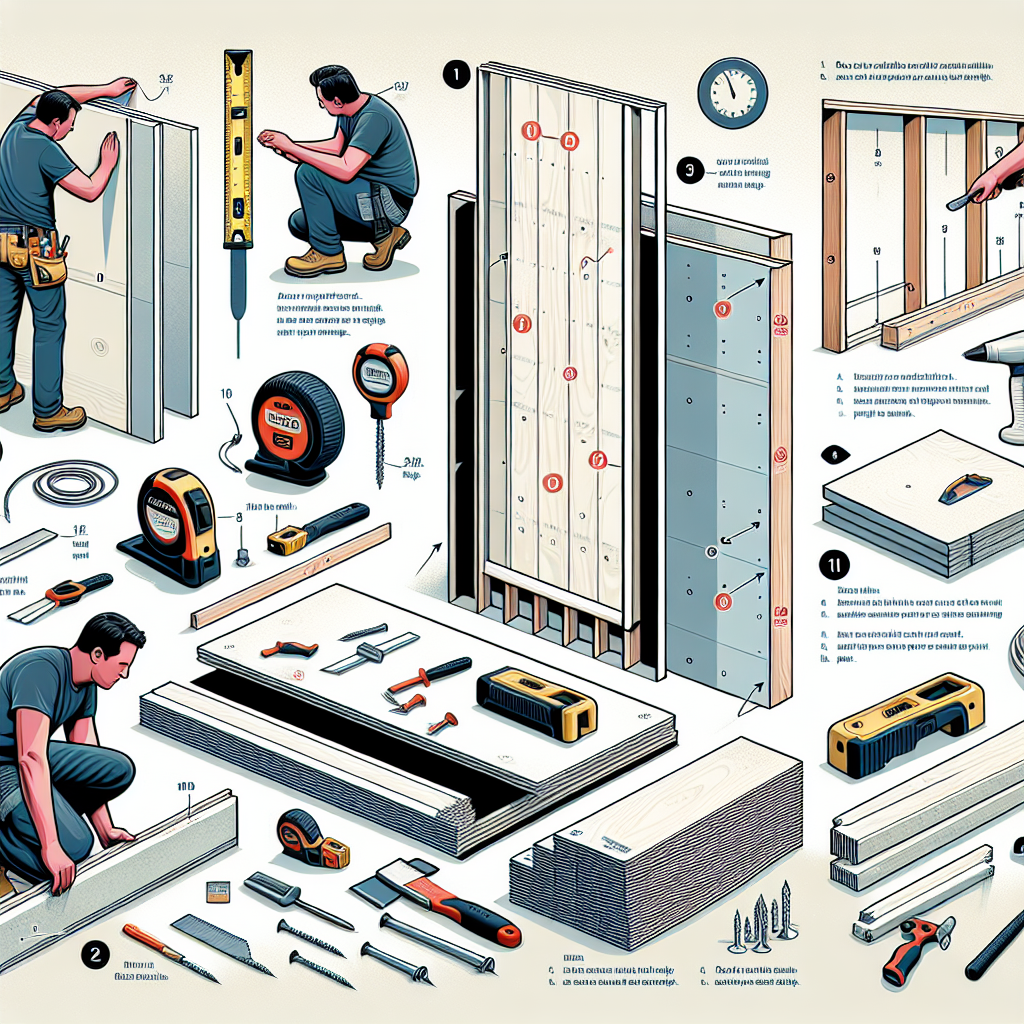
Materials You Will Need
- Dust mask
- Safety goggles
- Gloves
- Ladder or scaffolding
- Utility knife
- Hammer
- Pry bar
- Plastic sheeting
- Drop cloths
- Trash bags
- Shop vacuum
- Joint compound
- Drywall tape
- Sanding block
- Paint and paintbrush
Step 1: Prepare the Area
Before you begin removing the drywall ceiling, it’s important to prepare the area to minimize mess and damage. Start by covering the floor with drop cloths and securing plastic sheeting to the walls to protect them from dust and debris. Additionally, make sure to wear a dust mask, safety goggles, and gloves to protect yourself during the process.
Step 2: Remove Fixtures and Furniture
Next, remove any fixtures or furniture from the room that may obstruct your work. This includes light fixtures, ceiling fans, and any other hanging objects. Take your time and be careful not to damage these items in the process.
Step 3: Score the Drywall
Using a utility knife, score the drywall along the edges where it meets the walls. This will help to create clean lines and make the removal process easier. Be sure to score deep enough to cut through the paper layer of the drywall.
Step 4: Start Removing the Drywall
Now it’s time to start removing the drywall. Begin by using a hammer and pry bar to gently pry away a section of the scored drywall. Once you have created a gap, continue to pry away larger sections until the entire ceiling is removed. Take your time and be cautious not to damage any underlying structures.
Step 5: Clean Up the Debris
Once the drywall is removed, it’s important to clean up the debris. Use a shop vacuum to remove any loose dust and debris from the area. Bag up the removed drywall and dispose of it properly.
Step 6: Repair and Finish
With the old drywall ceiling removed, it’s time to repair and finish the space. Start by inspecting the underlying structure for any damage or issues that need to be addressed. Repair any damaged areas and ensure that the structure is sound.
Next, apply joint compound to the seams where the old drywall was removed. Use drywall tape to reinforce the seams and create a smooth surface. Allow the joint compound to dry completely, then sand it down to create a seamless finish.
Step 7: Paint and Enjoy
Finally, it’s time to add the finishing touches to your newly transformed space. Choose a paint color that complements your decor and apply it to the repaired and finished ceiling. Use a paintbrush or roller to ensure even coverage.
Once the paint is dry, step back and admire your hard work. You have successfully removed a drywall ceiling and created a fresh, modern space. Enjoy the fruits of your labor and bask in the satisfaction of a job well done!
Conclusion
Removing a drywall ceiling may seem like a daunting task, but with the right tools, materials, and a little bit of know-how, it can be a rewarding DIY project. By following the step-by-step instructions outlined in this guide, you can transform your space and give it a fresh, modern look. Remember to take your time, be cautious, and prioritize safety throughout the process. So, what are you waiting for? It’s time to get started on your DIY journey to remove that old drywall ceiling!