DIY Guide to Replacing Plasterboard Effectively
Are you tired of looking at those cracked and damaged plasterboard walls in your home? Don’t worry, because with this comprehensive DIY guide, you’ll learn how to replace plasterboard effectively and restore the beauty of your walls. Whether you’re a seasoned DIY enthusiast or a beginner, this step-by-step guide will provide you with all the necessary instructions and insights to successfully complete this project. So, let’s get started!
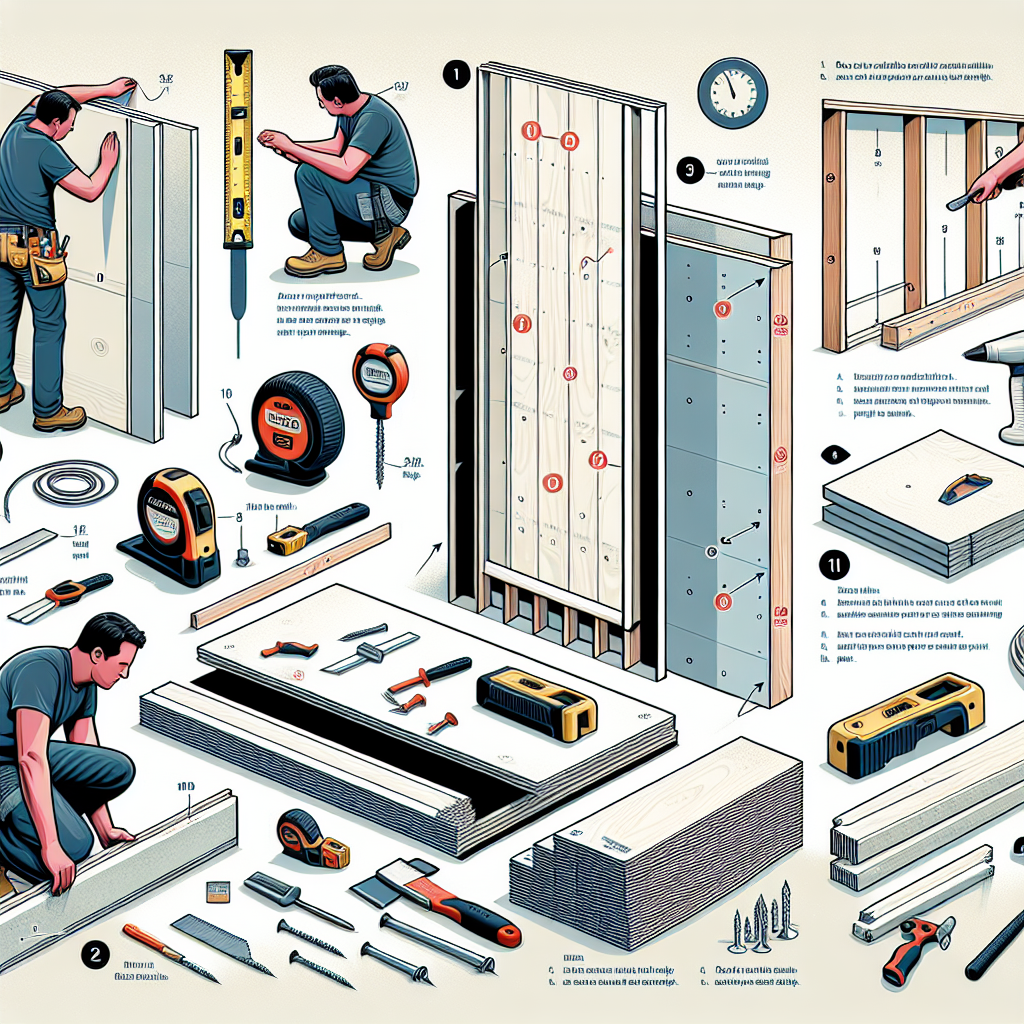
Materials and Tools You’ll Need
Before we dive into the step-by-step instructions, let’s gather all the materials and tools you’ll need for this project:
- Plasterboard sheets
- Utility knife
- Saw
- Measuring tape
- Screwdriver
- Drill
- Screws
- Joint compound
- Trowel
- Sanding block
- Paint and paintbrush
Make sure you have all these items ready before you begin. Now, let’s move on to the step-by-step instructions.
Step 1: Prepare the Area
The first step in replacing plasterboard is to prepare the area. Start by removing any furniture or decorations from the walls and covering the floor with a drop cloth to protect it from dust and debris. Next, use a utility knife to cut away any loose or damaged plasterboard, making sure to create clean edges.
Step 2: Measure and Cut the Plasterboard
Now it’s time to measure and cut the plasterboard sheets to fit the damaged area. Use a measuring tape to determine the dimensions of the space, and then transfer those measurements onto the plasterboard. Use a saw to carefully cut the plasterboard along the marked lines.
Step 3: Install the Plasterboard
With the plasterboard sheets cut to size, it’s time to install them. Start by positioning the first sheet against the wall, making sure it fits snugly into place. Use a drill and screws to secure the plasterboard to the wall, placing screws every 6-8 inches along the edges and in the center.
Continue this process with the remaining plasterboard sheets, ensuring that each one is securely fastened to the wall. Make sure to leave a small gap between each sheet to allow for expansion.
Step 4: Apply Joint Compound
Once all the plasterboard sheets are installed, it’s time to apply joint compound to create a smooth and seamless finish. Use a trowel to spread a thin layer of joint compound over the seams between the plasterboard sheets, making sure to cover the screws as well.
After applying the joint compound, use the trowel to scrape off any excess and create a flat surface. Allow the joint compound to dry completely before moving on to the next step.
Step 5: Sand and Paint
After the joint compound has dried, it’s time to sand the surface to create a smooth finish. Use a sanding block to gently sand the area, being careful not to damage the surrounding walls.
Once the surface is smooth, wipe away any dust with a damp cloth and let it dry. Now, you’re ready to paint! Choose a paint color that matches the rest of your walls and apply it evenly using a paintbrush. Allow the paint to dry completely before moving any furniture back into the room.
Step 6: Admire Your Handiwork
Congratulations! You’ve successfully replaced the plasterboard and restored the beauty of your walls. Take a step back and admire your handiwork. Your walls now look as good as new!
Conclusion
Replacing plasterboard may seem like a daunting task, but with the right tools and instructions, it can be a rewarding DIY project. By following this step-by-step guide, you’ve learned how to effectively replace plasterboard and transform your walls. Remember to gather all the necessary materials and take your time to ensure a high-quality finish. Now, go ahead and tackle those damaged walls with confidence!