Chinese Dry Wall: DIY Installation & Tips
Chinese drywall has become a popular choice for homeowners due to its affordability and durability. If you’re considering installing Chinese drywall in your home, this comprehensive guide will provide you with step-by-step instructions and valuable tips to ensure a successful DIY project. From gathering the necessary materials to completing the installation, we’ve got you covered. Let’s get started!
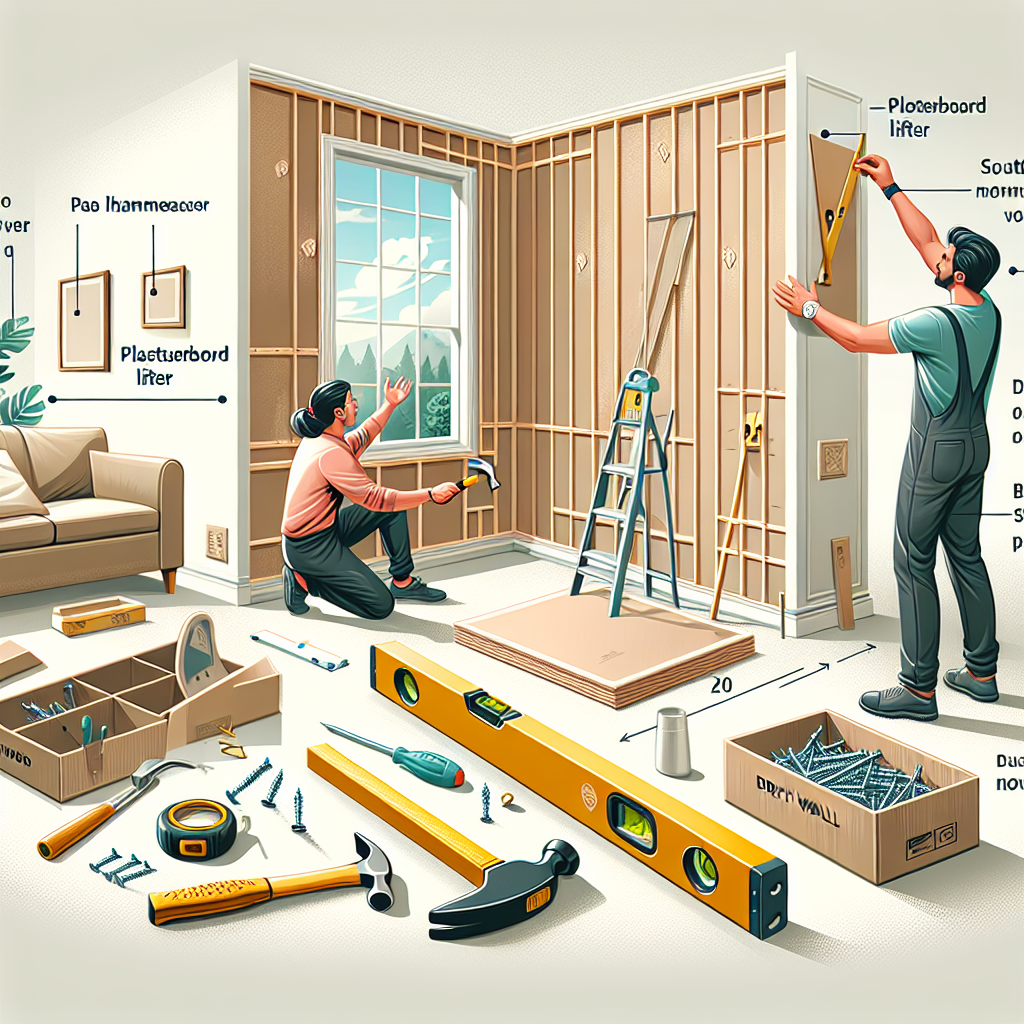
Materials Needed
- Chinese drywall sheets
- Drywall screws
- Drywall joint compound
- Drywall tape
- Drywall knife
- Sanding block
- Measuring tape
- Pencil
- Utility knife
- Drill
- Screwdriver
- Safety goggles
- Dust mask
Step 1: Preparation
Before you begin the installation process, it’s important to prepare the area where the Chinese drywall will be installed. Follow these steps:
- Clear the room of any furniture or obstacles.
- Measure the dimensions of the wall to determine the amount of drywall needed.
- Mark the studs on the wall using a pencil and measuring tape.
- Put on safety goggles and a dust mask to protect yourself from debris.
Step 2: Cutting and Fitting the Drywall
Now that you’ve prepared the area, it’s time to cut and fit the Chinese drywall sheets. Follow these steps:
- Measure the dimensions of the wall on the drywall sheets and mark the measurements with a pencil.
- Using a utility knife, score the drywall along the marked lines.
- Break the scored drywall along the lines by applying pressure with your hands.
- Fit the cut drywall sheets onto the wall, ensuring they align with the marked studs.
- Secure the drywall sheets to the studs using drywall screws and a drill or screwdriver.
Step 3: Taping and Mudding
Once the drywall sheets are securely in place, it’s time to tape and mud the seams. Follow these steps:
- Cut strips of drywall tape to fit the length of each seam.
- Apply a thin layer of drywall joint compound over the seams using a drywall knife.
- Place the drywall tape over the wet joint compound, pressing it firmly into place.
- Smooth out any excess joint compound using the drywall knife.
- Allow the joint compound to dry completely.
Step 4: Sanding and Finishing
After the joint compound has dried, it’s time to sand and finish the Chinese drywall. Follow these steps:
- Put on safety goggles and a dust mask to protect yourself from dust particles.
- Using a sanding block, gently sand the dried joint compound until it is smooth and even.
- Wipe away any dust with a clean cloth.
- Apply a second layer of drywall joint compound over the taped seams.
- Smooth out the joint compound using the drywall knife.
- Allow the second layer of joint compound to dry completely.
- Sand the dried joint compound again until it is smooth and even.
Step 5: Final Touches
Now that the Chinese drywall is installed and finished, it’s time for the final touches. Follow these steps:
- Inspect the drywall for any imperfections or uneven areas.
- Apply a final layer of joint compound to any areas that require additional smoothing.
- Sand the final layer of joint compound until it is smooth and even.
- Wipe away any dust with a clean cloth.
- Prime the drywall using a high-quality primer.
- Paint the drywall with your desired color using a paint roller or brush.
- Allow the paint to dry completely before moving furniture back into the room.
Conclusion
Congratulations! You’ve successfully completed the DIY installation of Chinese drywall in your home. By following these step-by-step instructions and valuable tips, you’ve created a beautiful and durable wall that will enhance the aesthetics of your space. Remember to always prioritize safety and take your time during each step of the process. Enjoy your newly installed Chinese drywall!


