Dry Lining External Walls: A DIY Approach
Are you looking to improve the insulation and appearance of your home’s external walls? Dry lining is a fantastic DIY project that can help you achieve just that. In this comprehensive guide, we will walk you through the step-by-step process of dry lining external walls, providing you with valuable insights and detailed instructions to successfully complete the project. So, roll up your sleeves and let’s get started!
Materials and Tools
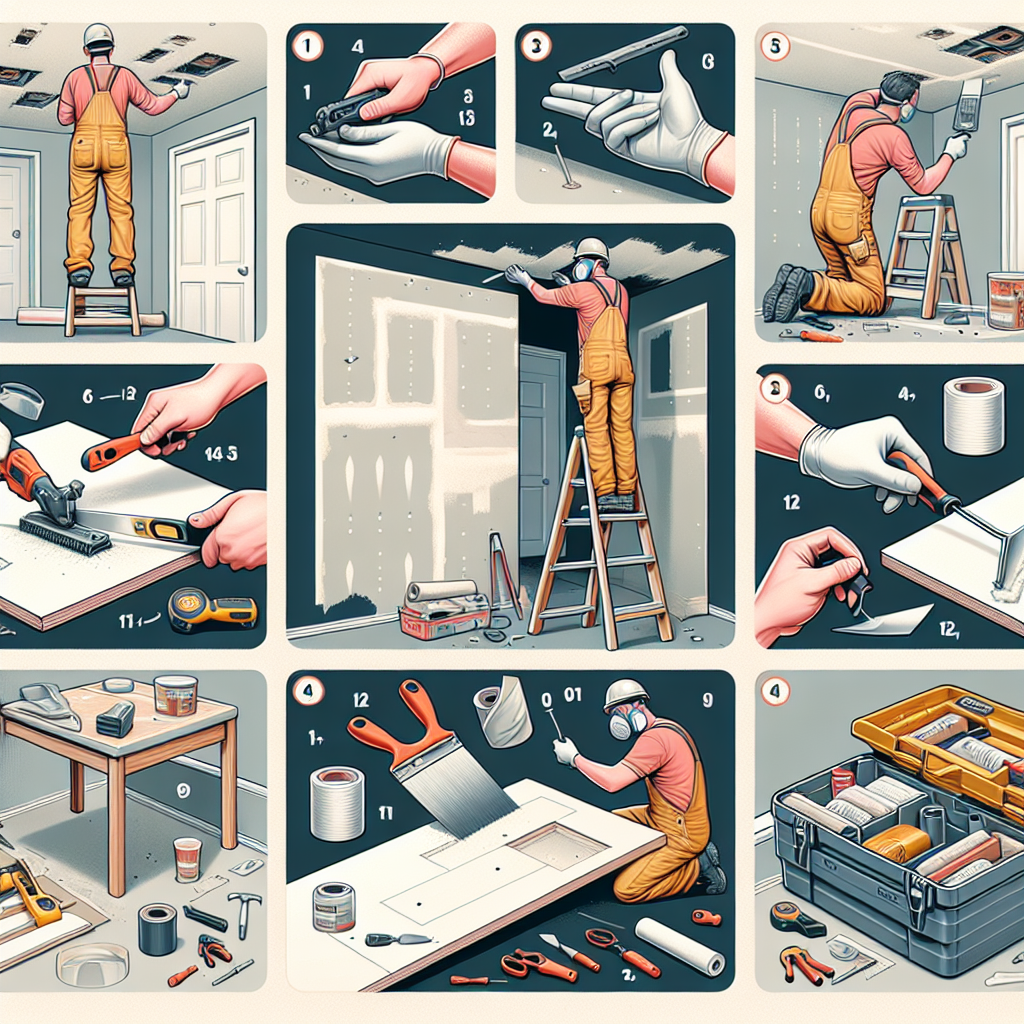
Before we dive into the process, let’s gather all the necessary materials and tools you’ll need for this project:
- Dry lining boards
- Insulation boards
- Plasterboard adhesive
- Plasterboard screws
- Timber battens
- Insulation fixings
- Jointing tape
- Jointing compound
- Stanley knife
- Tape measure
- Screwdriver
- Drill
- Hammer
- Safety goggles
- Dust mask
Make sure you have all these items ready before you begin the project. It’s also a good idea to wear appropriate safety gear, such as safety goggles and a dust mask, to protect yourself during the process.
Step 1: Preparation
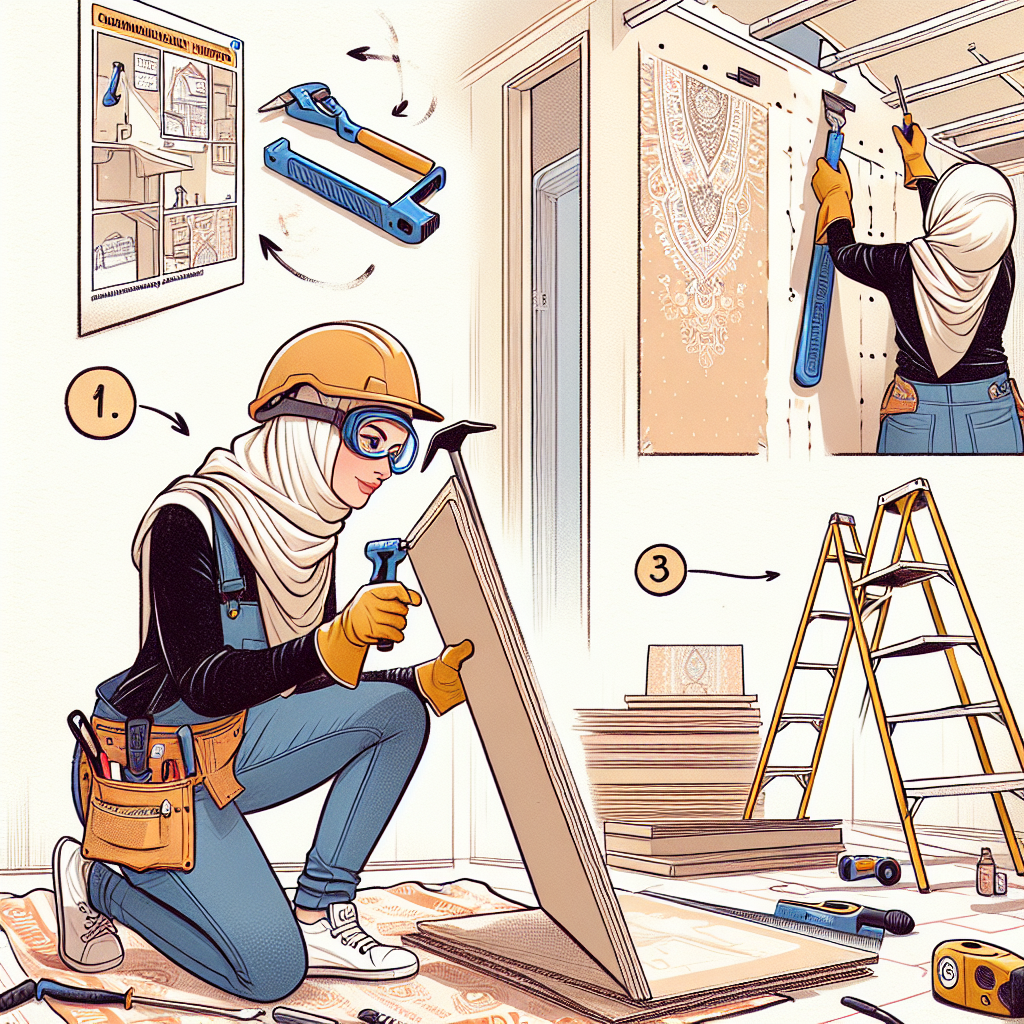
The first step in dry lining external walls is to prepare the surface. Start by removing any existing wallpaper or loose paint from the walls. Use a scraper or sandpaper to smoothen the surface and ensure it is clean and free from any debris.
Next, measure the height and width of the walls to determine the amount of dry lining boards and insulation boards you’ll need. It’s always a good idea to purchase a little extra to account for any mistakes or wastage.
Step 2: Installing Insulation
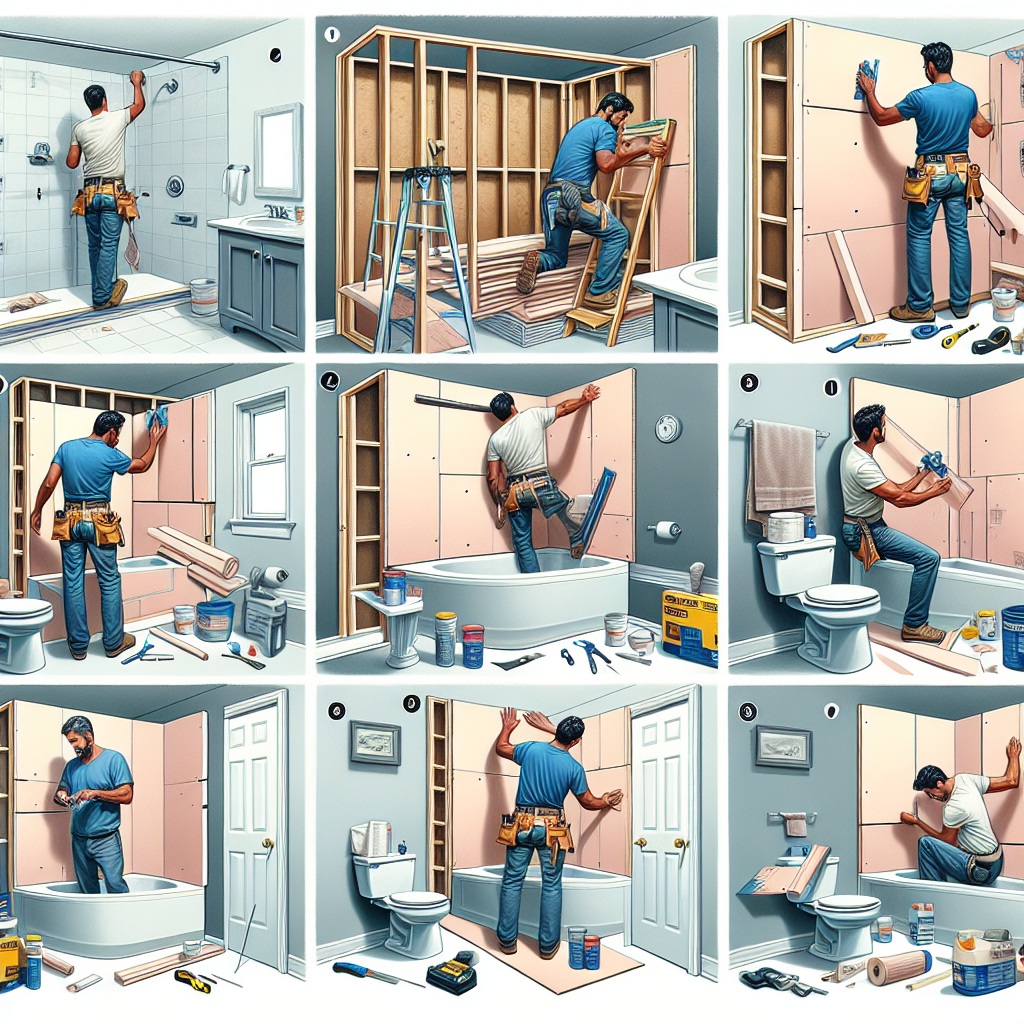
Insulating your external walls is crucial for energy efficiency and reducing heat loss. Begin by fixing timber battens vertically to the wall using insulation fixings. These battens will create a cavity for the insulation boards.
Measure the height of the wall and cut the insulation boards to fit between the battens. Use a Stanley knife to score the boards and then snap them along the scored line. Fit the insulation boards snugly between the battens, ensuring there are no gaps.
Repeat this process for the entire wall, making sure to leave a small gap at the top and bottom for expansion. Once all the insulation boards are in place, secure them to the battens using insulation fixings.
Step 3: Installing Dry Lining Boards
Now that the insulation is in place, it’s time to install the dry lining boards. Start by measuring the height and width of the wall, taking into account any openings such as windows or doors.
Cut the dry lining boards to the required size using a Stanley knife or a saw. Apply plasterboard adhesive to the back of the boards and press them firmly against the insulation, starting from one corner of the wall.
Secure the dry lining boards to the wall by screwing them into the timber battens using plasterboard screws. Make sure to countersink the screws slightly and fill the holes with jointing compound later.
Continue this process until the entire wall is covered with dry lining boards. Remember to leave a small gap between the boards and the floor for expansion.
Step 4: Jointing and Finishing
Once all the dry lining boards are in place, it’s time to joint and finish the walls. Start by applying jointing tape to all the joints between the boards. This tape will reinforce the joints and prevent cracking.
Next, mix the jointing compound according to the manufacturer’s instructions. Apply a thin layer of compound over the jointing tape using a trowel or a filling knife. Smooth out the compound and feather the edges to create a seamless finish.
Allow the compound to dry completely, usually overnight, and then sand it down lightly to remove any imperfections. Apply a second coat of jointing compound if necessary, repeating the drying and sanding process.
Once the walls are smooth and free from any imperfections, they are ready for painting or wallpapering. Choose your desired finish and apply it according to the manufacturer’s instructions.
Step 5: Completion and Clean-up
Congratulations! You have successfully dry lined your external walls. Take a step back and admire the transformation you have achieved. The walls are now well-insulated, visually appealing, and ready to withstand the elements.
Before you wrap up the project, make sure to clean up any debris or dust left behind. Dispose of any waste materials responsibly and store your tools properly for future use.
Summary
Dry lining external walls is a rewarding DIY project that can significantly improve the insulation and appearance of your home. By following the step-by-step instructions outlined in this guide, you can successfully complete the project and enjoy the benefits of a well-insulated and visually appealing living space.
Remember to gather all the necessary materials and tools before you begin, and take appropriate safety precautions throughout the process. Measure, cut, and install the insulation and dry lining boards carefully, ensuring a snug fit and secure attachment.
Joint and finish the walls with precision, creating a seamless and smooth surface ready for your desired finish. Finally, step back and admire the transformation you have achieved, knowing that you have enhanced the comfort and energy efficiency of your home.
So, what are you waiting for? Get started on your dry lining project today and enjoy the benefits for years to come!


