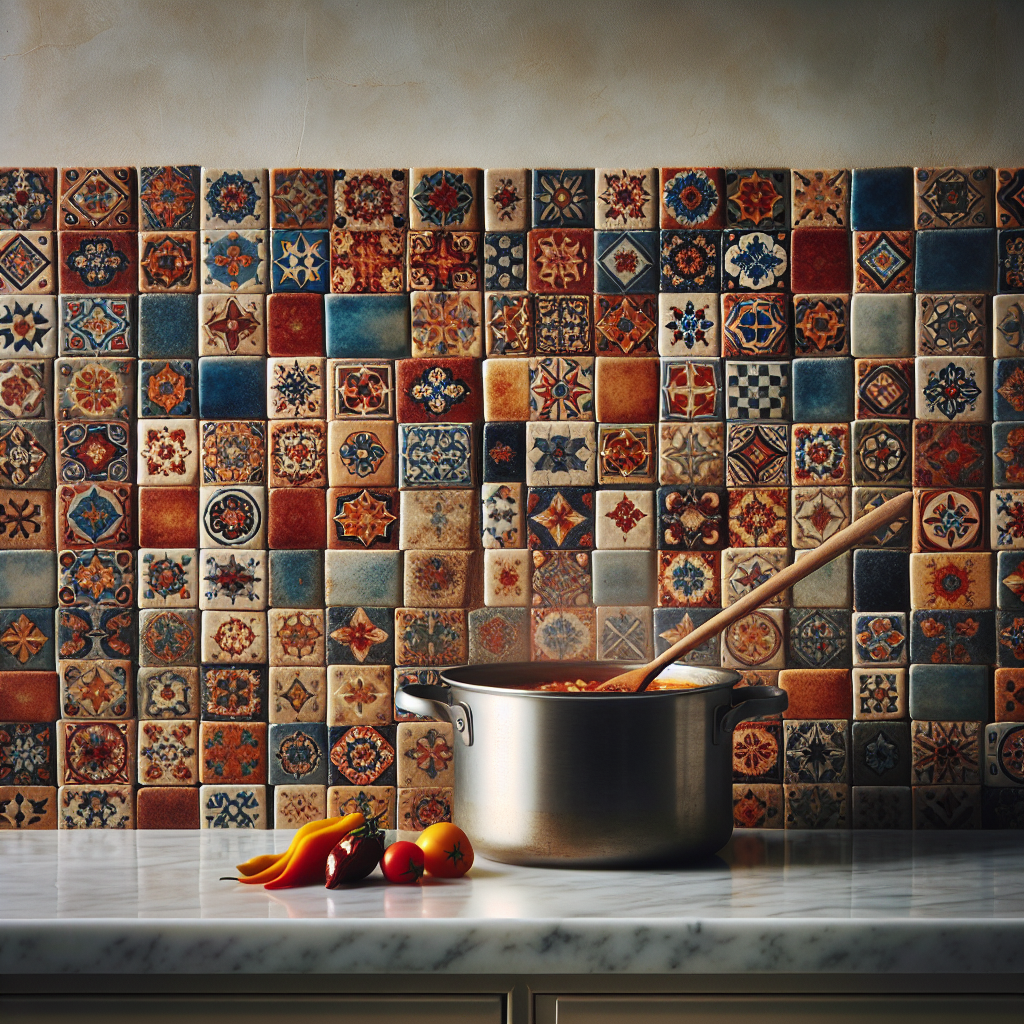
Handmade Backsplash: Adding Artistic Flair to Your Kitchen
Are you tired of the plain and boring backsplash in your kitchen? Do you want to add a touch of creativity and personality to your cooking space? Look no further! In this comprehensive guide, we will teach you how to create a stunning handmade backsplash that will transform your kitchen into a work of art. With just a few simple steps and some basic materials, you can achieve a unique and eye-catching backsplash that will impress your friends and family. So roll up your sleeves and let’s get started!
Materials You Will Need
- Ceramic tiles
- Tile adhesive
- Tile grout
- Tile spacers
- Tile cutter
- Tile saw
- Notched trowel
- Sponge
- Bucket
- Level
- Pencil
- Measuring tape
- Painter’s tape
- Protective gloves
- Protective goggles
Step 1: Planning and Design
The first step in creating your handmade backsplash is to plan and design your layout. Measure the area where you want to install the backsplash and determine the number of tiles you will need. Consider the overall style and color scheme of your kitchen to ensure that the backsplash complements the existing decor.
Once you have a clear idea of your design, use a pencil and a level to mark the starting point of your backsplash. This will serve as a guide when you begin installing the tiles.
Step 2: Preparing the Surface
Before you can start installing the tiles, it is important to prepare the surface properly. Clean the wall thoroughly to remove any dirt, grease, or debris. If there are any existing tiles, make sure to remove them and repair any damaged areas.
Next, apply a layer of tile adhesive to the wall using a notched trowel. Make sure to spread the adhesive evenly and create ridges with the notched edge. This will help the tiles adhere to the wall securely.
Step 3: Installing the Tiles
Now comes the fun part – installing the tiles! Start by placing the first tile at the marked starting point and press it firmly into the adhesive. Use tile spacers to create even gaps between the tiles for grouting later on.
Continue placing the tiles one by one, following your design and using the spacers to maintain consistent spacing. If you need to cut any tiles to fit around corners or edges, use a tile cutter or saw to make the necessary cuts.
Repeat this process until you have covered the entire backsplash area with tiles. Take your time and double-check the alignment and spacing as you go along to ensure a professional-looking result.
Step 4: Grouting the Tiles
Once the adhesive has dried and the tiles are firmly in place, it’s time to grout. Mix the tile grout according to the manufacturer’s instructions and apply it to the gaps between the tiles using a grout float or a rubber spatula.
Make sure to press the grout firmly into the gaps, working at a 45-degree angle to ensure full coverage. Remove any excess grout from the tile surface using a damp sponge, being careful not to remove too much grout from the gaps.
Allow the grout to dry for the recommended time, usually around 24 hours. Once dry, use a clean, dry cloth to buff away any haze or residue from the tile surface.
Step 5: Finishing Touches
Now that your handmade backsplash is complete, it’s time to add the finishing touches. Remove the tile spacers and inspect the backsplash for any loose or uneven tiles. If necessary, apply additional adhesive or grout to fix any issues.
Finally, step back and admire your handiwork! Your kitchen now boasts a beautiful and artistic backsplash that adds a unique flair to the space. Take a moment to appreciate the transformation and enjoy the compliments that are sure to come your way.
Conclusion
Creating a handmade backsplash is a rewarding and creative DIY project that can completely transform the look of your kitchen. By following the step-by-step instructions in this guide, you can achieve a stunning and personalized backsplash that reflects your style and adds a touch of artistry to your cooking space.
Remember to plan your design carefully, prepare the surface properly, and take your time during the installation process. With the right materials and a little bit of patience, you can create a backsplash that will be the envy of all your friends.
So why wait? Get started on your handmade backsplash today and unleash your inner artist in the heart of your home!