Open Shelving: A Contemporary Approach to Kitchen Storage
Are you tired of the traditional closed cabinets in your kitchen? Do you want to add a touch of modernity and style to your cooking space? Look no further than open shelving! Open shelving is a contemporary approach to kitchen storage that not only provides functionality but also adds a unique aesthetic appeal to your kitchen. In this article, we will guide you through the step-by-step process of creating your own open shelving, from planning and preparation to installation and styling. Get ready to transform your kitchen into a trendy and organized space!
Step 1: Planning and Preparation
Before diving into the project, it’s essential to plan and prepare adequately. Here are the key steps to get started:
Gather Inspiration
Begin by gathering inspiration for your open shelving design. Browse through interior design magazines, websites, and social media platforms to find ideas that resonate with your style. Take note of the materials, colors, and arrangements that catch your eye.
Measure Your Space
Next, measure the area where you intend to install the open shelving. Consider the height, width, and depth of the space to determine the appropriate size for your shelves. Take into account any existing fixtures or obstacles that may affect the placement of the shelves.
Select Materials
Choose the materials for your open shelving based on your design preferences and budget. Some popular options include wood, metal, glass, and even reclaimed materials for a rustic look. Consider the durability and maintenance requirements of each material before making a final decision.
Prepare Tools and Equipment
Make sure you have all the necessary tools and equipment before starting the project. Here’s a list of commonly used items:
- Measuring tape
- Level
- Drill
- Screws
- Wall anchors
- Screwdriver
- Saw (if cutting shelves to size)
- Sandpaper
- Paint or stain (if desired)
Step 2: Installation
Now that you have everything prepared, it’s time to start the installation process. Follow these steps to ensure a successful and secure installation:
Locate Wall Studs
Use a stud finder or tap on the wall to locate the studs. Open shelving needs to be anchored to the studs for maximum stability. Mark the stud locations with a pencil.
Mark Shelf Placement
Using a level and measuring tape, mark the desired height and position of each shelf on the wall. Ensure that the marks align with the stud locations for proper support.
Install Wall Anchors
If your shelves are not directly attaching to studs, you’ll need to install wall anchors. Drill pilot holes at the marked locations and insert the wall anchors. Make sure the anchors are flush with the wall surface.
Attach Shelf Brackets
Attach the shelf brackets to the wall using screws and a screwdriver. Ensure that the brackets are level and securely fastened. Double-check the alignment of the brackets with the marked shelf positions.
Install Shelves
If you purchased pre-cut shelves, simply place them on top of the brackets. If your shelves require cutting, use a saw to trim them to the desired size. Sand the edges for a smooth finish. Carefully place the shelves on the brackets.
Secure Shelves
For added stability, secure the shelves to the brackets using screws or adhesive. This step is especially important if you have children or pets in your home to prevent accidents.
Step 3: Styling and Organization
Now that your open shelving is installed, it’s time to bring it to life with stylish and organized displays. Follow these tips to create a visually appealing and functional arrangement:
Group Similar Items
Group similar items together to create a cohesive and organized look. For example, place your everyday dishes on one shelf, glassware on another, and cookbooks on a separate shelf. This grouping will make it easier to find what you need.
Use Decorative Storage Containers
Opt for decorative storage containers, such as baskets or glass jars, to store smaller items like spices, utensils, or snacks. These containers not only keep your shelves tidy but also add visual interest to the overall display.
Add Greenery
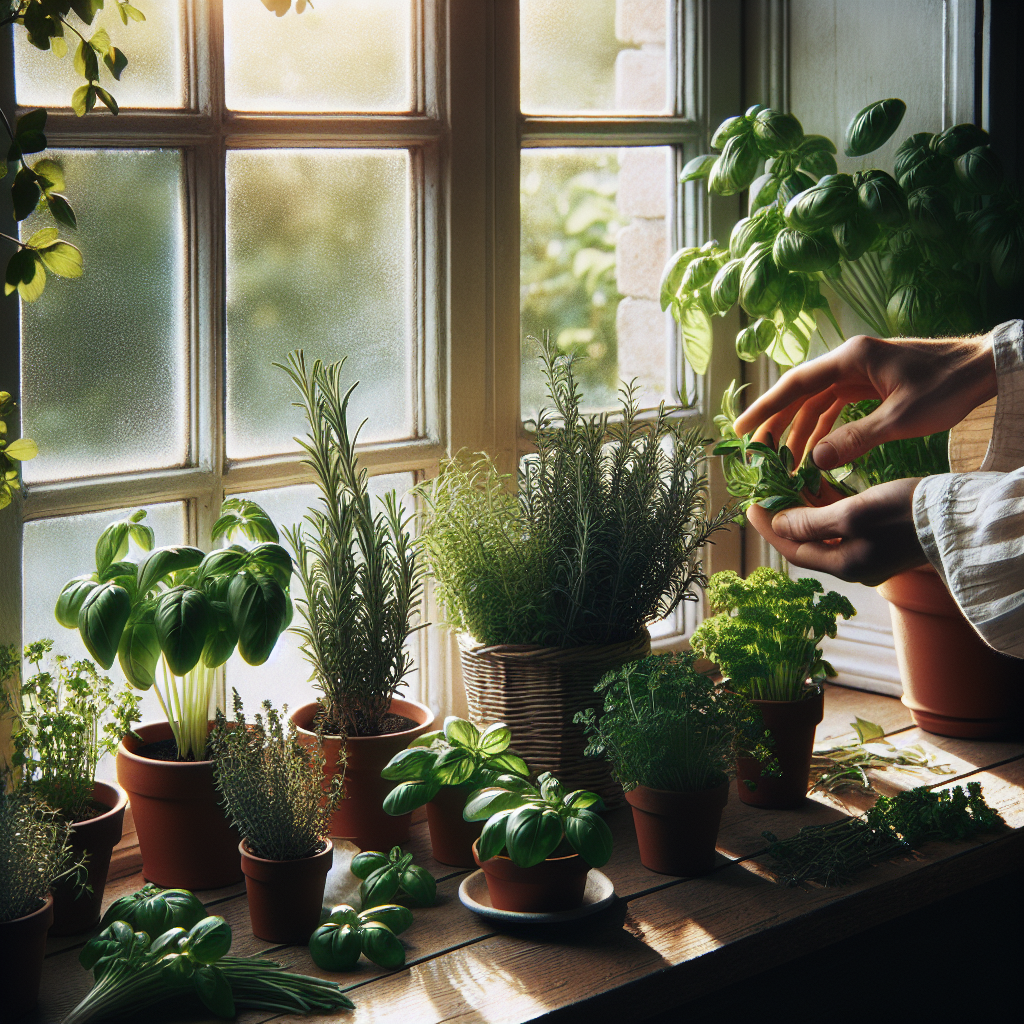
Bring life to your open shelving by incorporating potted plants or fresh herbs. Not only do they add a pop of color, but they also purify the air and create a calming atmosphere in your kitchen.
Play with Heights and Textures
Vary the heights and textures of the items on your shelves to create visual interest. Mix tall and short items, stack plates or bowls, and incorporate textured elements like woven baskets or ceramic vases.
Regularly Declutter and Rearrange
Open shelving provides an opportunity to showcase your favorite items, but it’s important to regularly declutter and rearrange to maintain a clean and organized look. Take the time to reassess your displays and make adjustments as needed.
Conclusion
Open shelving is a contemporary and stylish approach to kitchen storage that can transform your cooking space. By following the step-by-step instructions provided in this article, you can create your own open shelving and enjoy the benefits of a functional and visually appealing kitchen. Remember to plan and prepare adequately, install the shelves securely, and style them with care. With open shelving, you’ll have easy access to your kitchen essentials while adding a touch of modernity to your home. Get ready to showcase your style and creativity!


