Modern Bathroom Makeover Featuring a Walk-In Shower
Are you tired of your outdated bathroom and dreaming of a modern and luxurious space? Look no further! In this comprehensive guide, we will walk you through the step-by-step process of transforming your bathroom into a stunning oasis, complete with a walk-in shower. With our expert tips and detailed instructions, you’ll be able to tackle this DIY project with confidence and create a bathroom that you’ll love for years to come.
Materials and Tools You’ll Need
Before we dive into the project, let’s gather all the necessary materials and tools:
- Measuring tape
- Pencil
- Level
- Drill
- Screwdriver
- Tile cutter
- Grout float
- Tile spacers
- Waterproofing membrane
- Shower pan
- Shower valve
- Showerhead
- Tiles
- Grout
- Sealer
- Shower door
- Paint
- Brushes and rollers
- Caulk gun
Step 1: Plan and Design
The first step in any bathroom makeover is to plan and design your new space. Consider the size and layout of your bathroom, as well as your personal preferences and budget. Take measurements of the area where you want to install the walk-in shower and create a detailed floor plan.
Think about the style and color scheme you want for your bathroom. Modern bathrooms often feature clean lines, neutral colors, and sleek fixtures. Consider using materials like glass, stone, and chrome for a contemporary look.
Once you have a clear vision of your new bathroom, it’s time to move on to the next step.
Step 2: Remove Old Fixtures
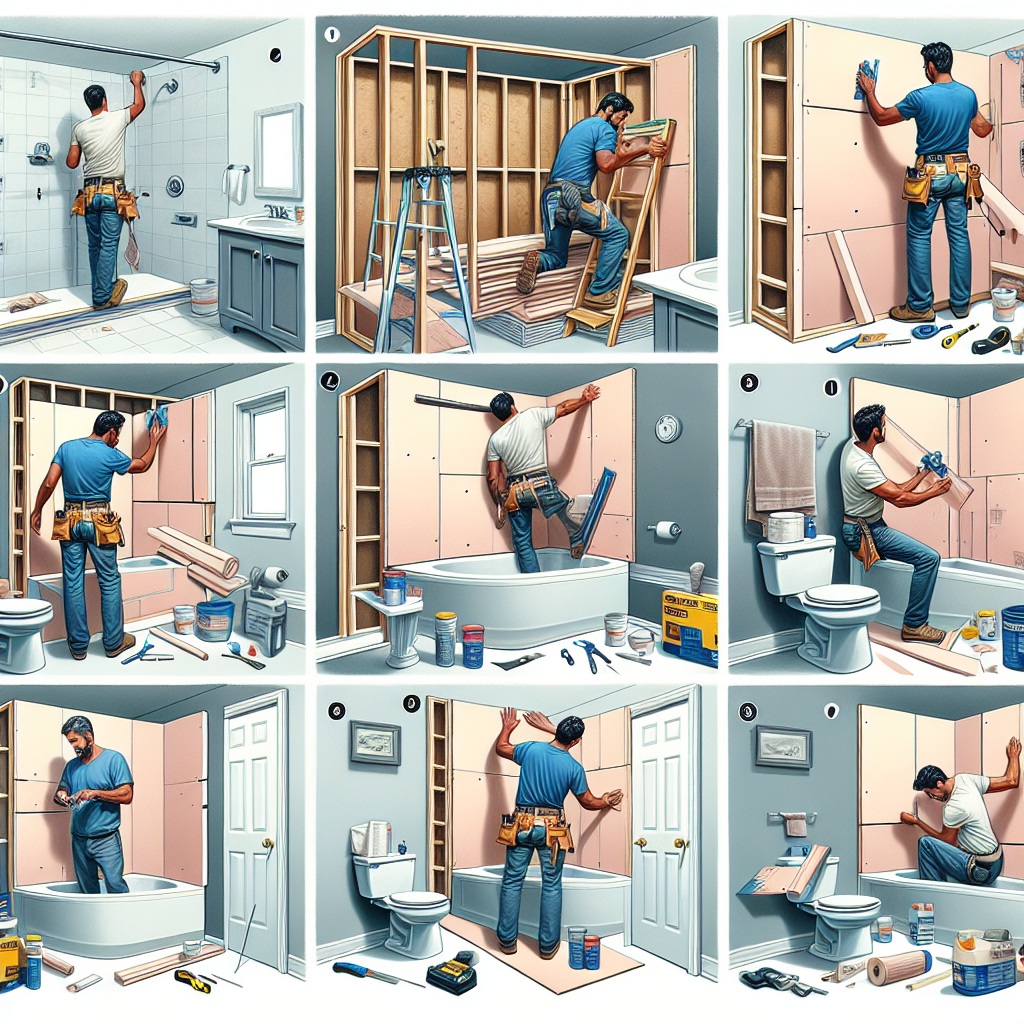
Before you can start building your walk-in shower, you’ll need to remove any old fixtures and prepare the space. Start by turning off the water supply to your bathroom. Remove the existing bathtub, shower, and any other fixtures that are in the way.
Be careful when removing tiles or other materials from the walls and floor. Use a pry bar and a hammer to gently remove them without causing any damage. Dispose of the old fixtures and materials responsibly.
Step 3: Install the Shower Pan
Now that you have a clean slate, it’s time to install the shower pan. The shower pan is the base of your walk-in shower and ensures proper drainage. Follow these steps:
- Measure and mark the location of the shower drain on the floor.
- Install the shower drain according to the manufacturer’s instructions.
- Apply a layer of waterproofing membrane to the floor and walls of the shower area.
- Place the shower pan on top of the membrane and secure it in place.
- Connect the shower drain to the plumbing.
Make sure the shower pan is level and properly sealed to prevent any leaks. Allow the waterproofing membrane to dry completely before moving on to the next step.
Step 4: Tile the Walls and Floor
Now it’s time to add the finishing touches to your walk-in shower by tiling the walls and floor. Follow these steps:
- Measure and cut the tiles to fit the walls and floor of your shower area.
- Apply thinset mortar to the walls and floor using a trowel.
- Place the tiles on the walls and floor, using tile spacers to ensure even spacing.
- Allow the mortar to dry for the recommended time.
- Apply grout to the tiles using a grout float, making sure to fill all the gaps.
- Wipe off any excess grout with a damp sponge.
- Allow the grout to dry completely.
- Seal the grout with a grout sealer to protect it from stains and moisture.
Take your time during this step to ensure that the tiles are properly aligned and the grout lines are clean and even. This will give your walk-in shower a polished and professional look.
Step 5: Install the Shower Fixtures
With the tiling complete, it’s time to install the shower fixtures. Follow these steps:
- Install the shower valve according to the manufacturer’s instructions.
- Attach the showerhead and any other fixtures you have chosen.
- Test the water flow and temperature to ensure everything is working properly.
Make sure to follow the manufacturer’s instructions for each fixture to ensure a proper installation. If you’re unsure, consult a professional plumber.
Step 6: Add the Finishing Touches
Now that your walk-in shower is complete, it’s time to add the finishing touches to your bathroom. Consider these final steps:
- Paint the walls and ceiling with a color that complements your new shower.
- Install a shower door or curtain to keep water contained.
- Accessorize your bathroom with towels, rugs, and other decorative items.
Choose paint colors and accessories that enhance the modern and luxurious feel of your new bathroom. Don’t be afraid to add personal touches that reflect your style and personality.
Summary
Congratulations! You have successfully completed your modern bathroom makeover featuring a walk-in shower. By following our step-by-step instructions and using the right materials and tools, you have transformed your outdated bathroom into a stunning oasis.
Remember to plan and design your new space, remove old fixtures, install the shower pan, tile the walls and floor, install the shower fixtures, and add the finishing touches. Take your time and pay attention to detail to achieve professional-looking results.
Now, step back and admire your beautiful new bathroom. Enjoy the luxury and comfort of your walk-in shower, knowing that you created it with your own hands.


