Upgrading Home Insulation for Better Energy Efficiency
Are you tired of high energy bills and uncomfortable temperatures in your home? Upgrading your home insulation can be a game-changer when it comes to energy efficiency. In this comprehensive guide, we will walk you through the step-by-step process of upgrading your home insulation, from assessing your current insulation to installing new materials. By the end of this article, you will have all the knowledge and tools you need to make your home more energy-efficient and comfortable.
Step 1: Assess Your Current Insulation
The first step in upgrading your home insulation is to assess the current state of your insulation. This will help you determine if you need to add more insulation or replace the existing one. Here’s how you can assess your current insulation:
- Start by inspecting your attic. Look for any signs of insulation damage, such as moisture, mold, or pests.
- Measure the thickness of your insulation. The recommended insulation thickness varies depending on your location and climate.
- Check for air leaks around windows, doors, and electrical outlets. These can significantly affect the efficiency of your insulation.
Based on your assessment, you can decide whether you need to add more insulation or replace the existing one. If your insulation is damaged or insufficient, it’s best to replace it entirely for optimal energy efficiency.
Step 2: Choose the Right Insulation Material
Now that you’ve assessed your current insulation, it’s time to choose the right insulation material for your home. There are several options available, each with its own advantages and disadvantages. Here are some popular insulation materials:
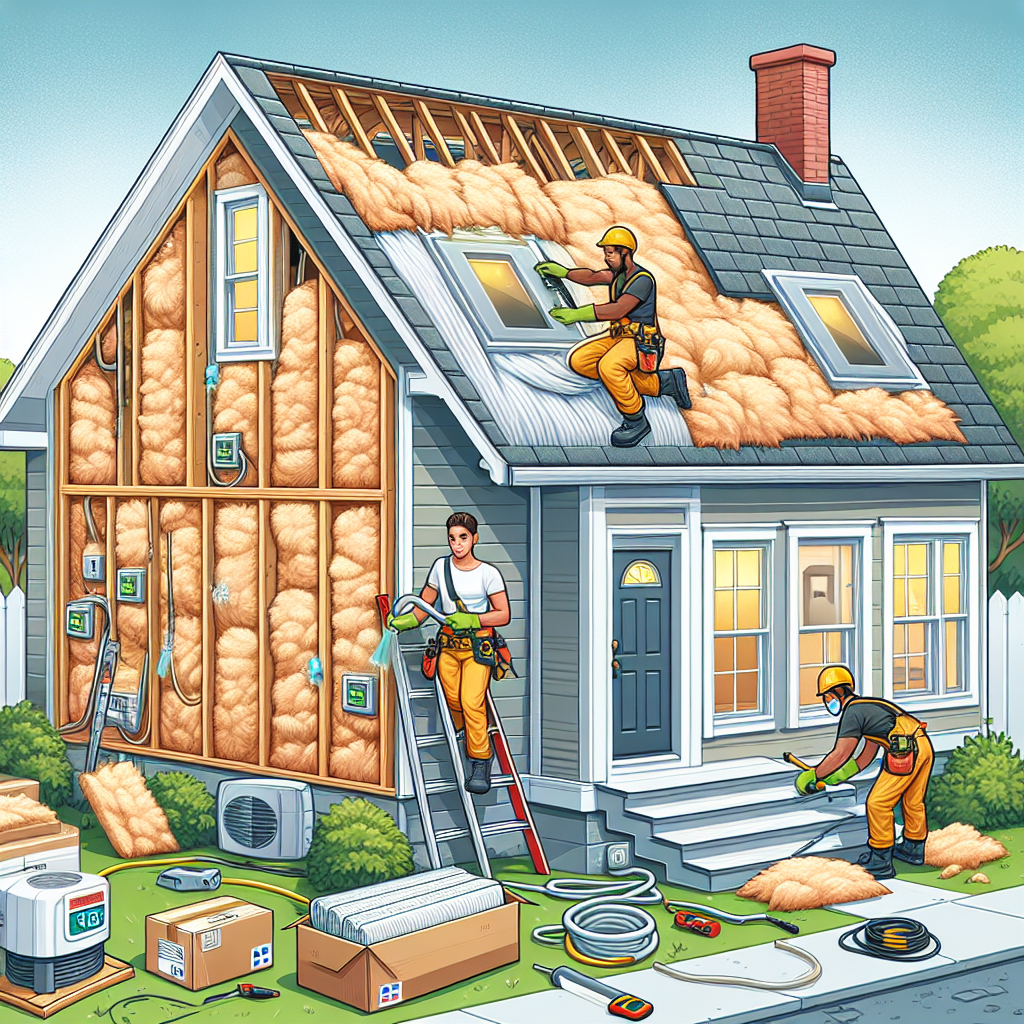
- Fiberglass: Fiberglass insulation is affordable and easy to install. It comes in batts or rolls and is suitable for both walls and attics.
- Spray Foam: Spray foam insulation provides excellent air sealing and insulation. It expands to fill gaps and cracks, creating a tight barrier against air leakage.
- Cellulose: Cellulose insulation is made from recycled paper and is an eco-friendly option. It is blown into walls and attics, providing excellent thermal performance.
- Rigid Foam: Rigid foam insulation offers high R-values and is ideal for insulating basements and crawl spaces. It provides both insulation and moisture resistance.
Consider factors such as cost, R-value, installation method, and moisture resistance when choosing the right insulation material for your home. It’s also a good idea to consult with a professional to ensure you make the best decision for your specific needs.
Step 3: Gather the Necessary Materials and Tools
Before you start the insulation installation process, make sure you have all the necessary materials and tools. Here’s a list of items you may need:
- Insulation material of your choice
- Insulation hangers or supports
- Utility knife
- Tape measure
- Staple gun
- Caulk or foam sealant
- Protective gear (gloves, goggles, mask)
Having all the materials and tools ready before you start will save you time and ensure a smooth installation process.
Step 4: Prepare the Work Area
Before you begin installing the insulation, it’s important to prepare the work area properly. Here’s what you need to do:
- Clean the area where you’ll be installing the insulation. Remove any debris, dust, or old insulation.
- Seal any air leaks or gaps in the walls, windows, and doors using caulk or foam sealant.
- Wear protective gear, including gloves, goggles, and a mask, to protect yourself from insulation fibers.
Preparing the work area will ensure a clean and safe installation process.
Step 5: Install the Insulation
Now it’s time to install the insulation. Follow these steps for a successful installation:
- Start with the attic. Lay the insulation material between the joists, ensuring a snug fit. Use insulation hangers or supports to keep the insulation in place.
- Move on to the walls. If you’re using fiberglass batts, cut them to the appropriate size and fit them between the wall studs. Use a staple gun to secure the insulation in place.
- If you’re using spray foam insulation, carefully follow the manufacturer’s instructions for application. Be sure to wear protective gear and work in a well-ventilated area.
- Insulate the floors and crawl spaces using the appropriate insulation material. This will help prevent heat loss and improve energy efficiency.
Take your time during the installation process to ensure the insulation is properly installed and there are no gaps or air leaks.
Step 6: Evaluate and Monitor
Once you’ve completed the insulation installation, it’s important to evaluate and monitor its effectiveness. Here’s what you can do:
- Check for any visible gaps or areas where the insulation may have shifted during installation. Address these issues promptly to maintain optimal energy efficiency.
- Monitor your energy bills to see if there’s a noticeable decrease in energy consumption. Improved insulation should result in lower heating and cooling costs.
- Assess the overall comfort of your home. If you notice a significant improvement in temperature consistency and reduced drafts, your insulation upgrade has been successful.
Regular evaluation and monitoring will help you identify any potential issues and ensure your home remains energy-efficient in the long run.
Conclusion
Upgrading your home insulation is a worthwhile investment that can significantly improve energy efficiency and comfort. By following the step-by-step instructions in this guide, you now have the knowledge and tools to upgrade your home insulation successfully. Remember to assess your current insulation, choose the right insulation material, gather the necessary materials and tools, prepare the work area, install the insulation properly, and evaluate and monitor its effectiveness. With proper insulation, you’ll enjoy lower energy bills, increased comfort, and a more sustainable home.


