Bespoke Mudroom Design for Organized Entryways
Welcome to this comprehensive guide on creating a bespoke mudroom design for your entryway. In this article, we will provide you with step-by-step instructions, detailed insights, and valuable tips to help you complete this DIY project successfully. By the end, you’ll have a functional and organized mudroom that will enhance the aesthetics and functionality of your home.
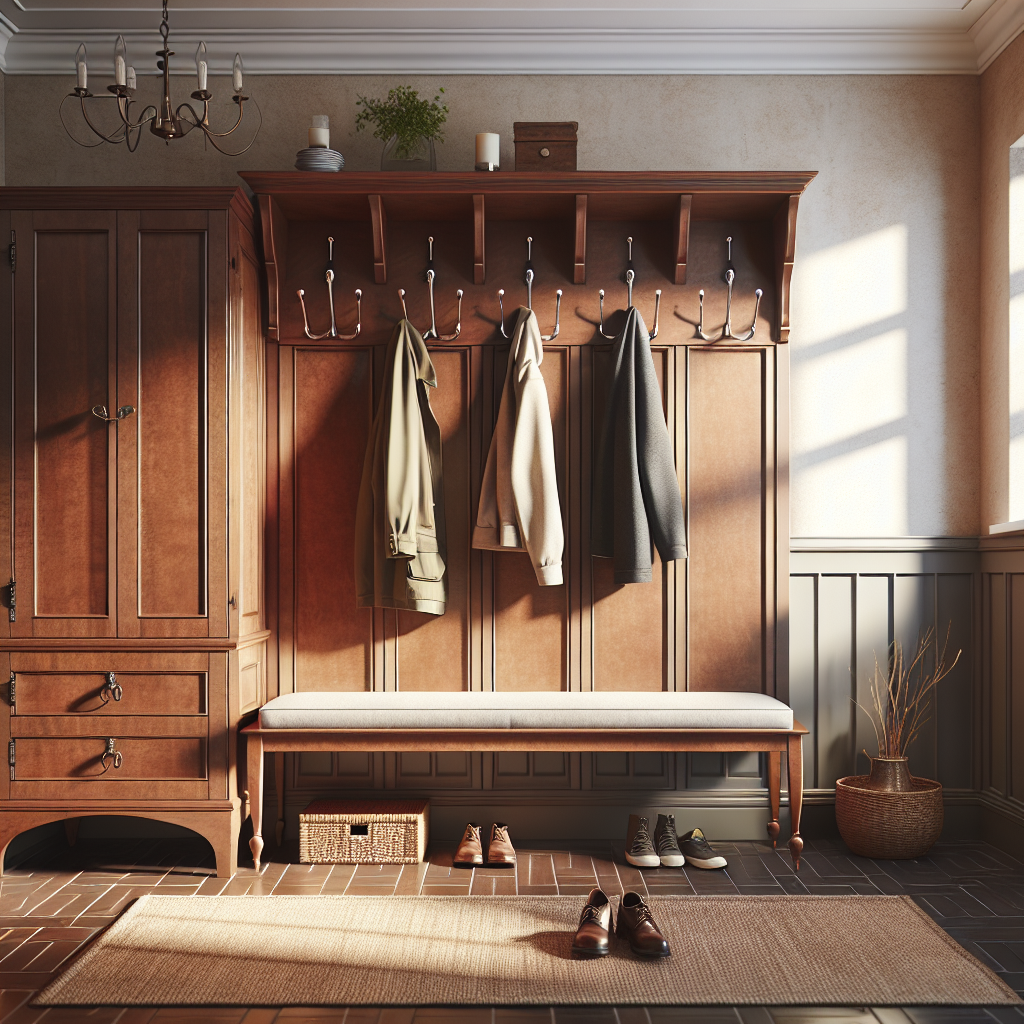
Benefits of a Mudroom
Before we dive into the project, let’s understand the benefits of having a mudroom in your home. A mudroom serves as a transition space between the outdoors and indoors, helping to keep your home clean and organized. Here are some key advantages:
- Prevents dirt, mud, and debris from being tracked into the house
- Provides storage for shoes, coats, and other outdoor gear
- Creates a designated space for removing and storing wet or dirty clothing
- Enhances the overall organization and functionality of your entryway
Step 1: Planning and Design
The first step in creating a bespoke mudroom is to plan and design the space. Consider the available area in your entryway and determine how you want to utilize it. Here are some factors to consider:
- Size and layout of the space
- Storage requirements for shoes, coats, and accessories
- Additional features like seating, hooks, and shelves
- Aesthetics and style that align with your home’s interior
Once you have a clear vision of your mudroom, it’s time to move on to the next step.
Step 2: Gathering Materials and Tools
Before you start building your mudroom, gather all the necessary materials and tools. Here’s a list of items you’ll need:
- Measuring tape
- Pencil and paper for sketching
- Wood or pre-made cabinets
- Shelving units
- Coat hooks
- Baskets or bins for storage
- Screws and nails
- Drill
- Saw
- Paint or stain
- Paintbrushes or rollers
Make sure to choose materials and tools that are suitable for your specific design and budget.
Step 3: Building the Structure
Now that you have all the materials and tools ready, it’s time to start building the structure of your mudroom. Follow these steps:
- Measure the available space in your entryway and mark the dimensions on the wall.
- If you’re using pre-made cabinets, assemble them according to the manufacturer’s instructions. If you’re building from scratch, cut the wood to the desired dimensions.
- Attach the cabinets to the wall using screws, ensuring they are level and secure.
- Install shelving units above the cabinets or on the sides for additional storage.
- Attach coat hooks to the wall at a suitable height for hanging coats and bags.
Remember to wear appropriate safety gear, such as goggles and gloves, while using tools and handling materials.
Step 4: Finishing Touches
Once the structure is in place, it’s time to add the finishing touches to your mudroom. Follow these steps:
- Sand any rough edges or surfaces to ensure a smooth finish.
- Apply paint or stain to the cabinets, shelves, and hooks, following the manufacturer’s instructions.
- Allow the paint or stain to dry completely before moving on to the next step.
- Organize the storage baskets or bins on the shelves, labeling them if desired.
- Add a comfortable seating option, such as a bench or chair, if space allows.
Take your time during this step to ensure a high-quality finish that matches your desired aesthetic.
Step 5: Final Touches and Organization
Now that your mudroom is complete, it’s time to add the final touches and organize the space. Here are some tips:
- Add decorative elements like plants, artwork, or mirrors to enhance the visual appeal of the mudroom.
- Install a shoe rack or mat near the entrance to prevent dirt from being tracked further into the house.
- Label hooks or baskets for easy identification and organization.
- Consider adding a small table or tray for storing keys, wallets, and other small items.
With these final touches, your bespoke mudroom is ready to be enjoyed and utilized.
Conclusion
Congratulations on completing your bespoke mudroom design! By following the steps outlined in this article, you have created a functional and organized entryway that will enhance the aesthetics and functionality of your home. Remember to personalize the space according to your needs and style preferences. Enjoy the benefits of a clean and organized entryway with your new mudroom!


