Chic Farmhouse Kitchen Renovation with Butcher Block Countertops
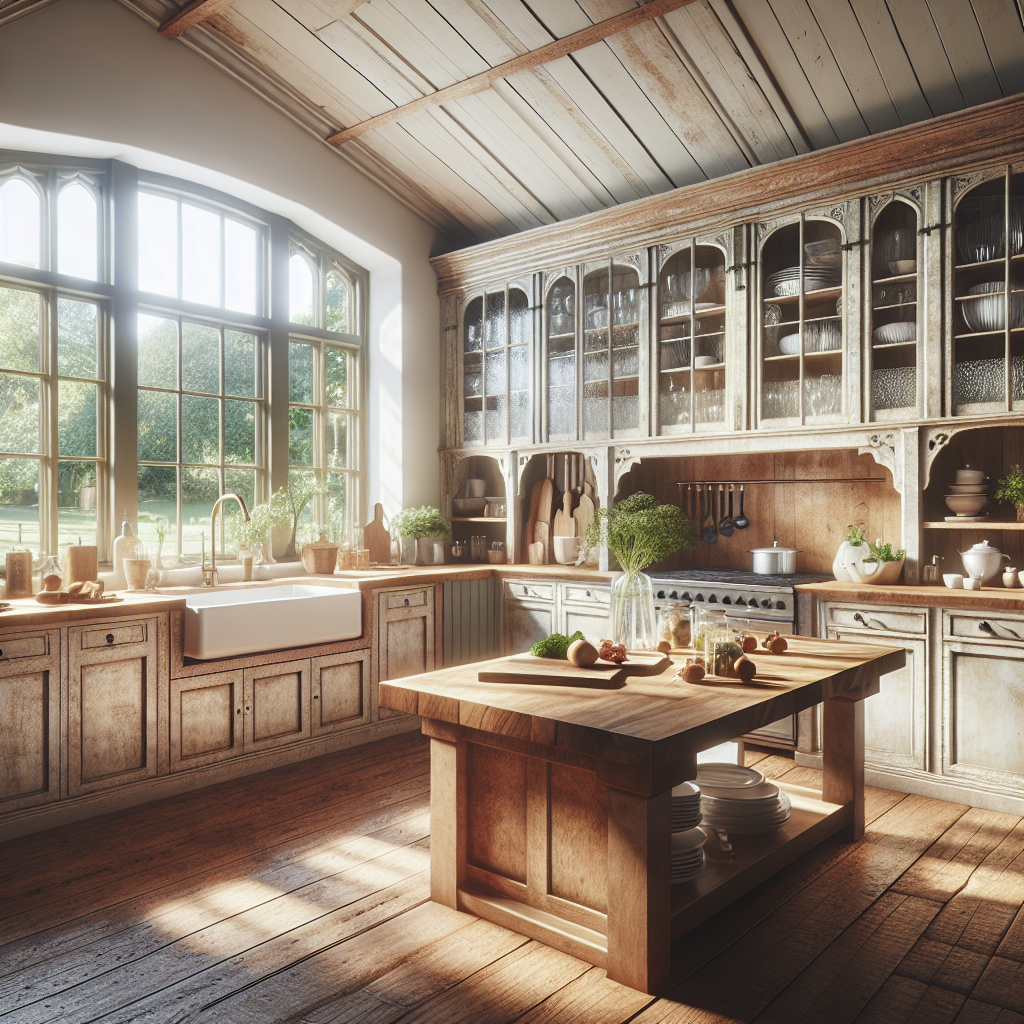
Welcome to this comprehensive guide on how to transform your kitchen into a chic farmhouse haven with the timeless beauty of butcher block countertops. In this step-by-step tutorial, we will walk you through the entire process, from selecting the right materials to installing and maintaining your new countertops. Get ready to unleash your inner DIY expert and create a stunning kitchen that will be the envy of all your friends and family!
Materials You Will Need
- Butcher block countertops
- Measuring tape
- Pencil
- Saw (circular or jigsaw)
- Sandpaper (various grits)
- Wood glue
- Clamps
- Router
- Router bit (for edge profiling)
- Mineral oil or food-safe finish
- Paintbrush
- Rags
- Drill
- Screws
Step 1: Measure and Plan
The first step in any kitchen renovation project is careful planning. Measure your existing countertops and make note of any appliances or fixtures that will need to be accommodated. Consider the layout and flow of your kitchen to ensure that the new countertops will fit seamlessly into the space.
Once you have your measurements, it’s time to choose the perfect butcher block countertops. Look for high-quality, sustainably sourced wood that complements your farmhouse aesthetic. Popular options include maple, oak, and walnut. Remember to order slightly oversized countertops to allow for trimming and customization.
Step 2: Prepare Your Workspace
Before diving into the installation process, it’s important to create a clean and organized workspace. Clear off your existing countertops and remove any appliances or items that may get in the way. Lay down protective coverings on the floor and nearby surfaces to prevent damage.
Step 3: Cut and Trim the Countertops
Using a saw (circular or jigsaw), carefully cut the butcher block countertops to the desired size and shape. Use your measurements from Step 1 as a guide, and remember to leave a slight overhang if you prefer a more traditional farmhouse look.
Once the countertops are cut, use sandpaper of various grits to smooth out any rough edges or imperfections. Start with a coarse grit and gradually work your way up to a finer grit for a polished finish.
Step 4: Join the Countertop Pieces
If your kitchen requires multiple countertop pieces, it’s time to join them together. Apply wood glue to the edges of the countertops and use clamps to hold them securely in place. Allow the glue to dry completely before moving on to the next step.
Step 5: Profile the Edges
To add a touch of elegance to your butcher block countertops, consider profiling the edges with a router. Choose a router bit that matches your desired edge profile, such as a bullnose or ogee. Carefully run the router along the edges of the countertops, taking care to maintain a steady and even pressure.
Step 6: Sand and Finish
Before installing your new countertops, give them a final sanding to ensure a smooth and flawless surface. Wipe away any dust or debris with a clean cloth.
Next, it’s time to apply a protective finish to your butcher block countertops. Opt for a food-safe finish, such as mineral oil or a specialized butcher block oil. Using a paintbrush, apply a generous coat of the finish to all surfaces of the countertops. Allow the finish to soak in for the recommended amount of time, then wipe away any excess with a clean rag.
Step 7: Install the Countertops
With your countertops fully prepared, it’s time to install them in your kitchen. Start by carefully placing the countertops on the base cabinets, ensuring a snug fit. Use a drill and screws to secure the countertops in place, taking care not to overtighten and damage the wood.
Step 8: Finishing Touches
Now that your butcher block countertops are installed, it’s time to add the finishing touches to your chic farmhouse kitchen. Consider painting or refinishing your cabinets to complement the natural beauty of the wood. Add farmhouse-inspired hardware, such as vintage-style drawer pulls and cabinet knobs, to complete the look.
Maintaining Your Butcher Block Countertops
To keep your new countertops looking their best, it’s important to follow a few simple maintenance tips:
- Regularly clean the countertops with a mild soap and warm water.
- Avoid using harsh chemicals or abrasive cleaners that can damage the wood.
- Periodically reapply a food-safe finish, such as mineral oil, to protect the wood and enhance its natural beauty.
- Wipe up spills immediately to prevent staining.
- Use cutting boards and trivets to protect the surface from heat and scratches.
By following these maintenance tips, your butcher block countertops will continue to be a stunning focal point in your farmhouse kitchen for years to come.
Conclusion
Congratulations on completing your chic farmhouse kitchen renovation with butcher block countertops! By following the step-by-step instructions in this guide, you have transformed your kitchen into a stylish and functional space that exudes rustic charm. Enjoy the beauty and warmth of your new countertops, and take pride in the fact that you accomplished this DIY project with your own two hands. Happy cooking and entertaining in your newly renovated farmhouse kitchen!


