Creating a Backyard Oasis with a DIY Pergola
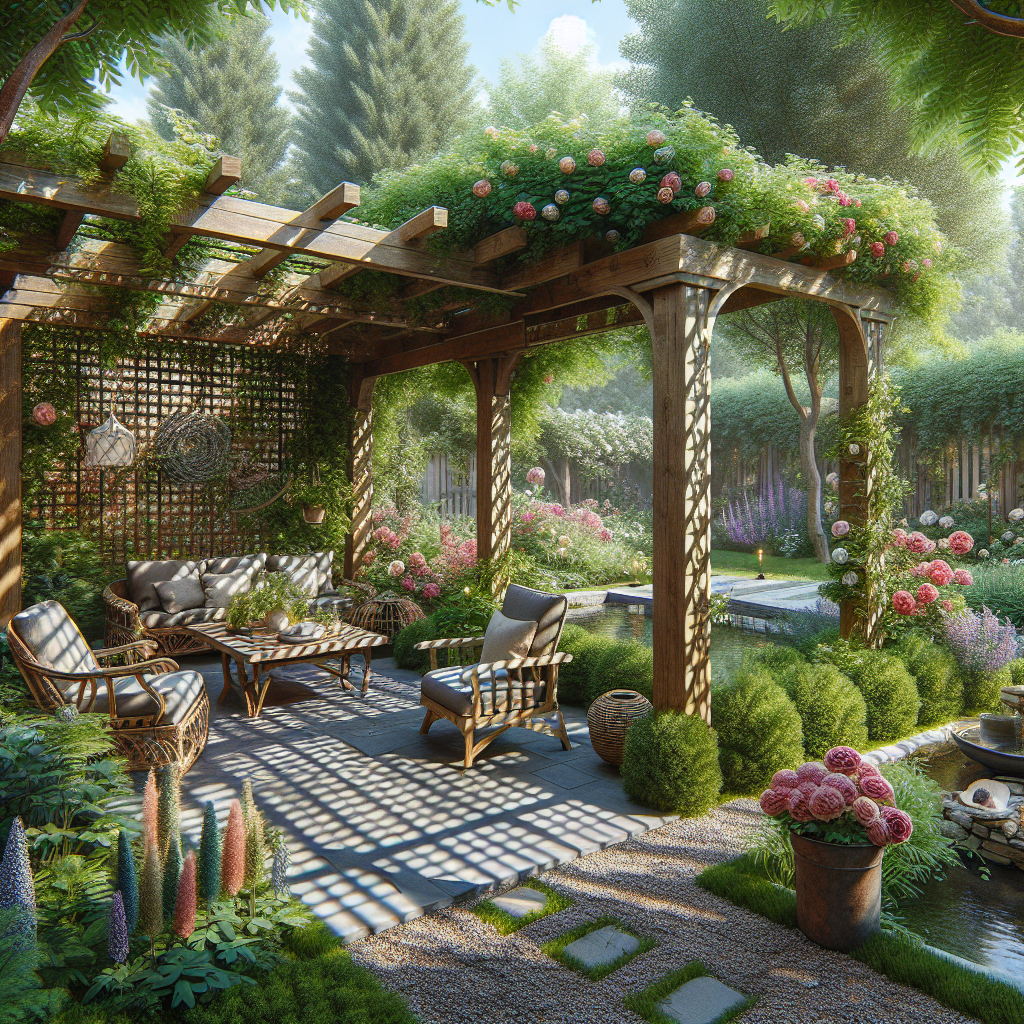
Are you looking to transform your backyard into a tranquil oasis? A DIY pergola might be just what you need. A pergola is a beautiful and functional addition to any outdoor space, providing shade, privacy, and a touch of elegance. In this comprehensive guide, we will walk you through the step-by-step process of creating your own backyard oasis with a DIY pergola. From planning and design to construction and finishing touches, we’ve got you covered. So grab your tools and let’s get started!
Step 1: Planning and Design
Before you begin construction, it’s important to carefully plan and design your pergola. Consider the size and shape of your backyard, as well as any existing structures or landscaping features. Measure the area where you want to install the pergola and determine the ideal dimensions. Sketch out a rough design, taking into account the desired height, width, and style of your pergola.
Next, think about the purpose of your pergola. Will it be a cozy seating area, a dining space, or a place to showcase your favorite plants? This will help you determine the layout and features of your pergola. Consider adding additional elements such as a retractable canopy, built-in seating, or decorative lighting to enhance the functionality and aesthetics of your outdoor oasis.
Step 2: Gathering Materials
Once you have a clear plan and design in mind, it’s time to gather the necessary materials for your DIY pergola. Here’s a list of items you’ll need:
- Pressure-treated lumber for the posts, beams, and rafters
- Galvanized screws or nails
- Concrete mix for the footings
- Post anchors or brackets
- Level
- Drill
- Saw
- Tape measure
- String or chalk line
- Paint or stain (optional)
- Outdoor fabric for the canopy (if desired)
- Lighting fixtures (if desired)
Make sure to gather all the materials before you start construction to avoid any delays or interruptions.
Step 3: Preparing the Site
Before you can begin building your pergola, you’ll need to prepare the site. Start by marking the location of the pergola using string or a chalk line. Use a level to ensure that the area is even and adjust as needed. Once you’re satisfied with the placement, dig holes for the footings. The depth and diameter of the holes will depend on the size of your pergola and the type of soil in your backyard. Consult local building codes or a professional if you’re unsure about the specifications.
After digging the holes, mix the concrete according to the instructions on the bag. Pour the concrete into the holes, making sure it reaches the desired level. Insert post anchors or brackets into the wet concrete, ensuring they are aligned properly. Allow the concrete to cure for at least 24 hours before proceeding to the next step.
Step 4: Building the Structure
Now it’s time to start building the structure of your pergola. Begin by attaching the posts to the post anchors or brackets using galvanized screws or nails. Make sure the posts are plumb and level before securing them in place. Use a level and string to ensure that the posts are aligned correctly.
Next, attach the beams to the posts, creating the framework for your pergola. Measure and cut the beams to the desired length, making sure they are evenly spaced and level. Secure the beams to the posts using galvanized screws or nails.
Once the beams are in place, it’s time to add the rafters. Measure and cut the rafters to the desired length, ensuring they are evenly spaced and level. Attach the rafters to the beams using galvanized screws or nails.
Step 5: Finishing Touches
With the structure of your pergola complete, it’s time to add the finishing touches. If desired, you can paint or stain the wood to protect it from the elements and enhance its appearance. Choose a color that complements your outdoor space and apply the paint or stain according to the manufacturer’s instructions.
If you’re adding a canopy to your pergola, measure and cut the outdoor fabric to fit the dimensions of your pergola. Attach the fabric to the rafters using hooks or clips, ensuring it is taut and secure. This will provide shade and protection from the sun, allowing you to enjoy your backyard oasis even on hot summer days.
Finally, consider adding decorative lighting fixtures to create a warm and inviting ambiance. Choose fixtures that are suitable for outdoor use and install them according to the manufacturer’s instructions. Whether it’s string lights, lanterns, or sconces, the right lighting can transform your pergola into a magical retreat.
Step 6: Enjoy Your Backyard Oasis
Congratulations! You’ve successfully created a backyard oasis with your DIY pergola. Take a step back and admire your handiwork. Imagine the countless hours of relaxation, entertainment, and enjoyment that await you in your new outdoor space.
Invite friends and family over to share in the beauty of your backyard oasis. Host a dinner party, have a barbecue, or simply unwind with a good book. Your pergola will provide the perfect backdrop for creating lasting memories and enjoying the beauty of nature.
Conclusion
Creating a backyard oasis with a DIY pergola is a rewarding and fulfilling project. By following these step-by-step instructions, you can transform your outdoor space into a tranquil retreat that you’ll never want to leave. From planning and design to construction and finishing touches, every step is crucial in creating a pergola that is not only functional but also aesthetically pleasing. So grab your tools, unleash your creativity, and let your backyard oasis come to life!


