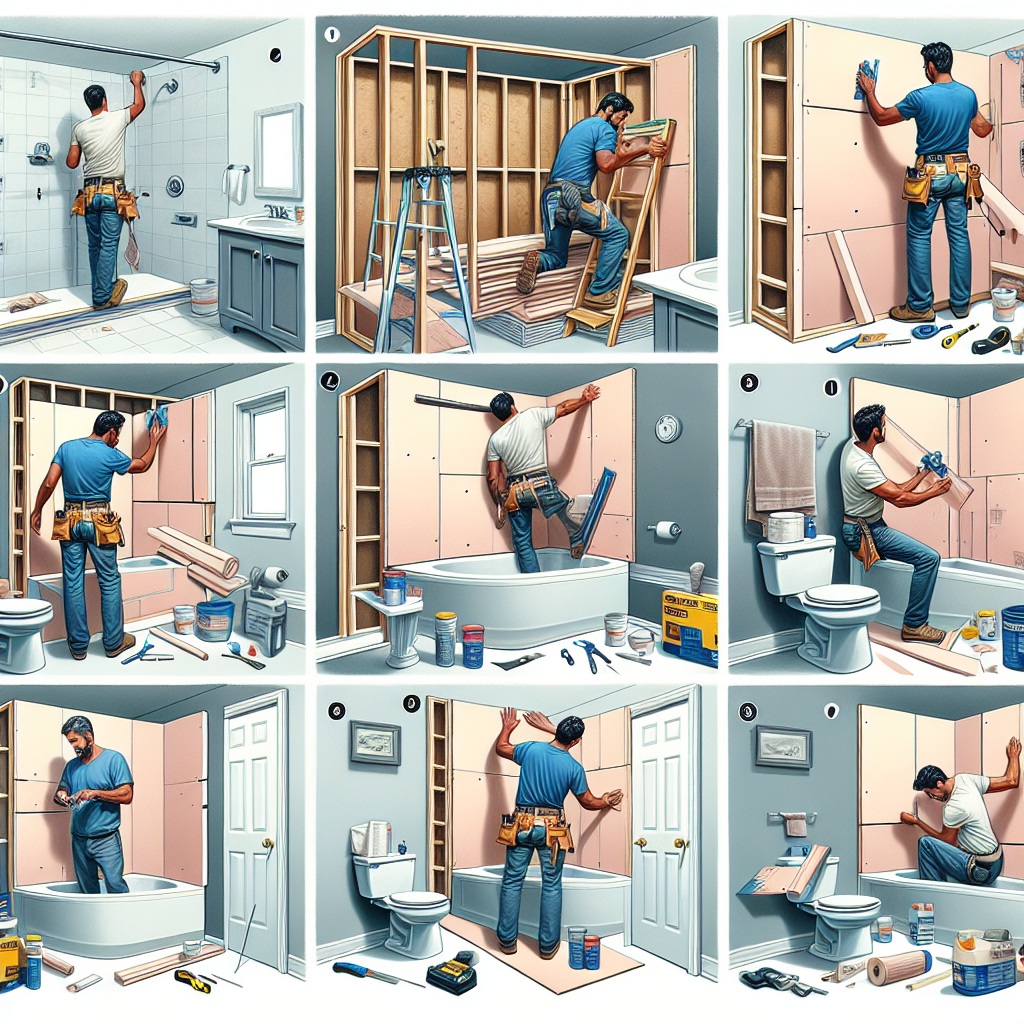
Custom Closet Organization System Installation
Are you tired of rummaging through a cluttered closet every morning, searching for that one specific item of clothing? Do you dream of having a perfectly organized closet that not only looks great but also makes your daily routine more efficient? Look no further! In this comprehensive guide, we will walk you through the step-by-step process of installing a custom closet organization system. By the end of this article, you’ll have all the knowledge and inspiration you need to transform your chaotic closet into a well-organized haven.
Step 1: Assess Your Needs
Before diving into the installation process, it’s crucial to assess your specific needs and requirements. Take a close look at your current closet and consider the following:
- How much hanging space do you need for dresses, shirts, and pants?
- Do you have a lot of shoes that require dedicated storage?
- Are there any specific accessories or items that need special compartments?
- Do you prefer open shelves or closed cabinets?
By understanding your needs, you can design a custom closet organization system that perfectly suits your lifestyle and storage requirements.
Step 2: Measure Your Closet
Accurate measurements are essential for a successful custom closet installation. Grab a measuring tape and carefully measure the dimensions of your closet, including the height, width, and depth. Don’t forget to account for any obstructions such as light fixtures or vents.
Once you have your measurements, use them to create a detailed plan or sketch of your ideal closet organization system. This will serve as a blueprint for the installation process.
Step 3: Gather the Necessary Materials
Now that you have a clear understanding of your needs and have measured your closet, it’s time to gather the necessary materials for the installation. Here’s a list of items you’ll likely need:
- Custom closet organization system kit
- Measuring tape
- Level
- Drill
- Screws
- Wall anchors
- Screwdriver
- Hammer
- Wood glue
- Closet rods
- Shelves
- Drawers
- Storage bins
Make sure to check the instructions provided with your custom closet organization system kit for any additional materials that may be required.
Step 4: Prepare Your Closet
Before installing the custom closet organization system, it’s important to prepare your closet for the transformation. Start by emptying out your closet completely and removing any existing shelves or rods. This will give you a clean slate to work with.
Next, patch up any holes or imperfections in the walls of your closet. Sand down any rough surfaces and apply a fresh coat of paint if desired. This will ensure that your closet looks as good as new once the installation is complete.
Step 5: Install the Closet Organization System
Now comes the exciting part – installing your custom closet organization system! Follow these step-by-step instructions to ensure a smooth installation process:
1. Start with the Walls
Begin by installing any wall-mounted components of your closet organization system. Use a level to ensure that everything is straight and aligned. Use a drill and screws to secure the components to the wall, making sure to use wall anchors if necessary for added stability.
2. Add the Closet Rods
Next, install the closet rods at the desired height. Measure and mark the appropriate positions for the rods, ensuring that they are level. Use a drill and screws to attach the rod brackets to the walls, then insert the rods into the brackets.
3. Install the Shelves
Now it’s time to add the shelves to your custom closet organization system. Measure and mark the desired positions for the shelves, ensuring that they are level. Use a drill and screws to attach the shelf brackets to the walls, then place the shelves on top of the brackets.
4. Add Drawers and Storage Bins
If your custom closet organization system includes drawers or storage bins, now is the time to install them. Follow the manufacturer’s instructions to assemble and install these components, making sure they are securely attached to the system.
Step 6: Organize Your Closet
With the installation complete, it’s time to bring order to your newly organized closet. Here are some tips to help you make the most of your custom closet organization system:
- Group similar items together, such as shirts, pants, and dresses.
- Use storage bins or baskets to corral smaller items like socks or accessories.
- Arrange your shoes neatly on dedicated shoe shelves or racks.
- Utilize the space above and below hanging clothes by adding additional shelves or hooks.
- Consider using drawer dividers or organizers to keep smaller items in order.
By organizing your closet strategically, you’ll be able to maximize your storage space and easily find what you need each day.
Step 7: Enjoy Your New Closet
Congratulations! You’ve successfully installed a custom closet organization system and transformed your cluttered closet into a functional and stylish space. Take a moment to admire your hard work and enjoy the benefits of an organized closet.
Remember to maintain your newly organized closet by regularly decluttering and reevaluating your storage needs. With a little effort, you can ensure that your custom closet organization system continues to serve you well for years to come.
Conclusion
Installing a custom closet organization system may seem like a daunting task, but with the right guidance and tools, it can be a rewarding DIY project. By following the step-by-step instructions outlined in this article, you’ll be able to create a well-organized closet that not only looks great but also enhances your daily routine. So roll up your sleeves, gather your materials, and get ready to transform your closet into a functional and beautiful space!


