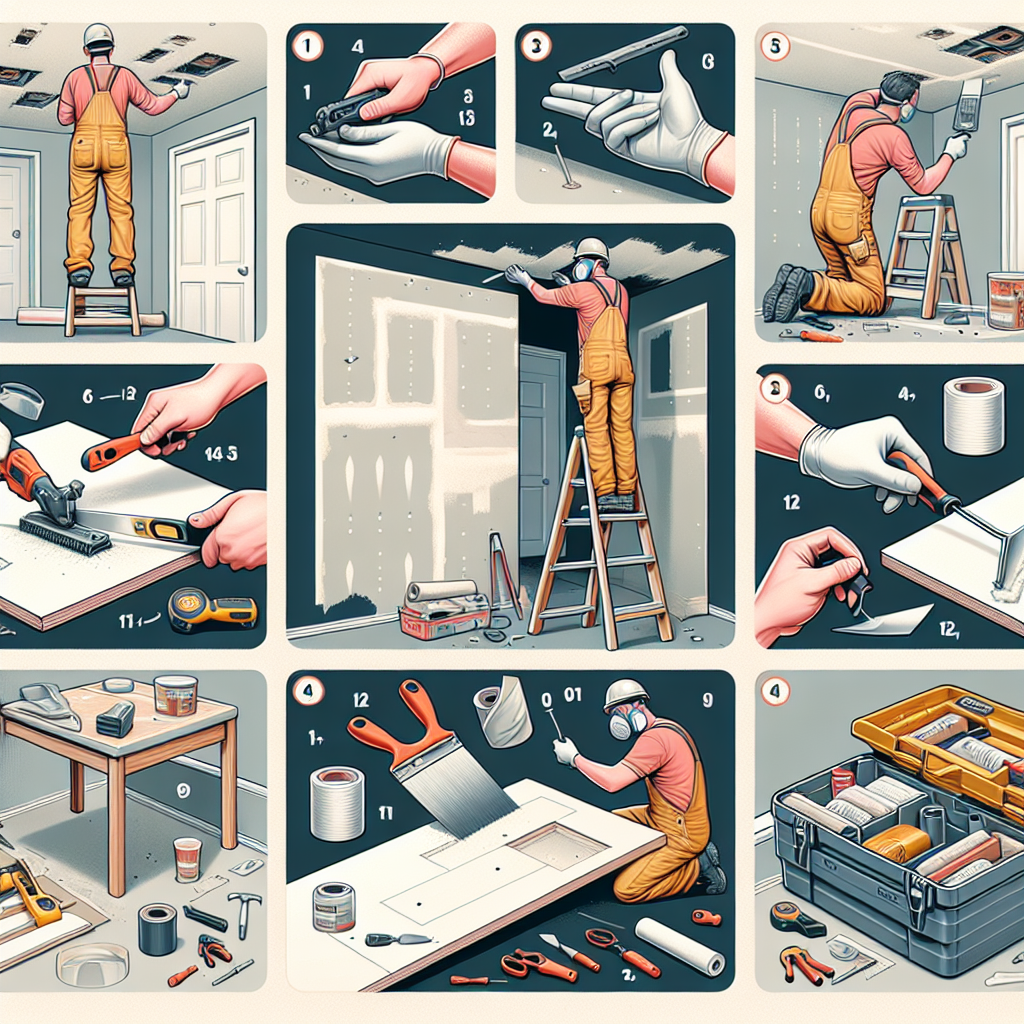
Elegant Dining Room Revitalization with Wainscoting and Crown Molding
Are you looking to transform your dining room into an elegant and sophisticated space? Look no further! In this comprehensive guide, we will walk you through the step-by-step process of revitalizing your dining room with the timeless beauty of wainscoting and crown molding. With just a few tools and materials, you can achieve a stunning transformation that will leave your guests in awe. Let’s get started!
Materials Needed
- Wainscoting panels
- Crown molding
- Measuring tape
- Pencil
- Saw
- Nail gun
- Level
- Wood glue
- Spackle
- Sandpaper
- Paint or stain
- Paintbrush
Step 1: Measure and Plan
The first step in any DIY project is careful planning. Measure the height of your walls and decide how high you want your wainscoting to be. Typically, wainscoting is installed at around one-third of the wall’s height, but you can adjust this to your preference. Mark the desired height on the walls using a pencil.
Step 2: Install Wainscoting Panels
Start by cutting the wainscoting panels to the appropriate height using a saw. Apply wood glue to the back of each panel and press them firmly against the wall, aligning them with the pencil marks. Secure the panels in place with a nail gun, making sure to drive the nails into the studs for added stability. Repeat this process until all the panels are installed.
Step 3: Add Crown Molding
Measure the length of each wall and cut the crown molding accordingly. Apply wood glue to the back of the molding and press it firmly against the top edge of the wainscoting panels. Use a nail gun to secure the molding in place, ensuring that the nails are driven into the studs. Repeat this process for each wall.
Step 4: Fill Nail Holes and Sand
Once the wainscoting and crown molding are installed, fill any nail holes or gaps with spackle. Allow the spackle to dry completely, then sand the surfaces until they are smooth and seamless. This step is crucial for achieving a professional-looking finish.
Step 5: Paint or Stain
Now comes the fun part – adding color! Choose a paint or stain that complements your dining room decor and apply it to the wainscoting and crown molding using a paintbrush. Be sure to follow the manufacturer’s instructions for proper application and drying times. Allow the paint or stain to dry completely before moving on to the next step.
Step 6: Finishing Touches
Once the paint or stain is dry, step back and admire your handiwork. Your dining room has been transformed into an elegant space with the addition of wainscoting and crown molding. To complete the look, consider adding decorative elements such as chair railings, picture frames, or a chandelier. These finishing touches will elevate the overall aesthetic and create a truly stunning dining experience.
Estimated Time
The time required to complete this project will vary depending on the size of your dining room and your level of experience. On average, it can take anywhere from a few days to a week to complete all the steps outlined above. Take your time and enjoy the process – the end result will be well worth the effort!
Conclusion
Revitalizing your dining room with wainscoting and crown molding is a DIY project that will not only enhance the aesthetic appeal of your space but also add value to your home. By following the step-by-step instructions provided in this guide, you can achieve a professional-looking finish that will impress your guests and create a warm and inviting atmosphere. So, roll up your sleeves, gather your tools, and get ready to transform your dining room into an elegant masterpiece!


