Expanding Living Space with a Finished Basement Project
Are you looking to maximize the space in your home? A finished basement project is a fantastic way to expand your living area and create a versatile space that can be used for various purposes. Whether you want to add an extra bedroom, a home office, a playroom for the kids, or a cozy entertainment area, a finished basement can provide the perfect solution.
Step 1: Planning and Design
The first step in any successful finished basement project is careful planning and design. Take the time to envision how you want your basement to look and function. Consider the needs of your household and the activities you plan to accommodate in the space. This will help you determine the layout, the number of rooms, and the overall design of your finished basement.
Once you have a clear vision, it’s time to create a detailed floor plan. Measure the dimensions of your basement and sketch out the layout, including walls, doors, windows, and any existing features that need to be incorporated into the design. This will serve as a blueprint for your project and help you stay organized throughout the construction process.
Step 2: Obtaining Permits
Before you start any construction work, it’s essential to check with your local building department to determine if you need any permits for your finished basement project. Building codes and regulations vary from one area to another, so it’s crucial to ensure that you comply with all the necessary requirements.
Contact your local building department and provide them with your detailed floor plan. They will review your plans and let you know if any permits are required. It’s important to obtain the necessary permits to avoid any legal issues and ensure that your finished basement meets all safety standards.
Step 3: Waterproofing and Insulation
Basements are prone to moisture and dampness, so it’s crucial to address any potential water issues before starting the construction process. Waterproofing your basement will help prevent water damage and mold growth, ensuring a dry and comfortable living space.
Start by inspecting your basement for any signs of water infiltration. Look for cracks in the walls or floor, condensation on pipes, or musty odors. If you notice any issues, it’s best to consult with a professional waterproofing contractor to assess the situation and recommend the appropriate solutions.
Once your basement is waterproofed, it’s time to insulate the walls and ceiling. Insulation will not only help regulate the temperature in your finished basement but also provide soundproofing and energy efficiency. Choose insulation materials that are suitable for basements, such as foam board or spray foam, and install them according to the manufacturer’s instructions.
Step 4: Framing and Electrical Work
With the waterproofing and insulation complete, it’s time to start framing the walls and installing electrical wiring. Framing will create the structure for your rooms and define the layout of your finished basement.
Begin by marking the locations of your walls on the floor and ceiling, using your detailed floor plan as a guide. Install the bottom and top plates, followed by the vertical studs. Ensure that the walls are plumb and square before securing them in place.
Next, it’s time to tackle the electrical work. Consult with a licensed electrician to design a wiring plan that meets your specific needs. Install electrical outlets, switches, and lighting fixtures according to the plan, ensuring that all wiring is up to code and safely installed.
Step 5: Plumbing and HVAC
If you plan to include a bathroom or a kitchenette in your finished basement, you’ll need to address the plumbing requirements. Consult with a licensed plumber to determine the best layout for your plumbing fixtures and ensure that all connections are properly installed.
In addition to plumbing, it’s essential to consider the heating, ventilation, and air conditioning (HVAC) needs of your finished basement. Depending on your existing HVAC system, you may need to extend ductwork or install a separate system to ensure proper temperature control and ventilation in the space.
Step 6: Drywall and Finishing
With the framing, electrical work, plumbing, and HVAC complete, it’s time to move on to the drywall installation and finishing. Drywall will provide a smooth and polished look to your finished basement, creating a blank canvas for your desired aesthetic.
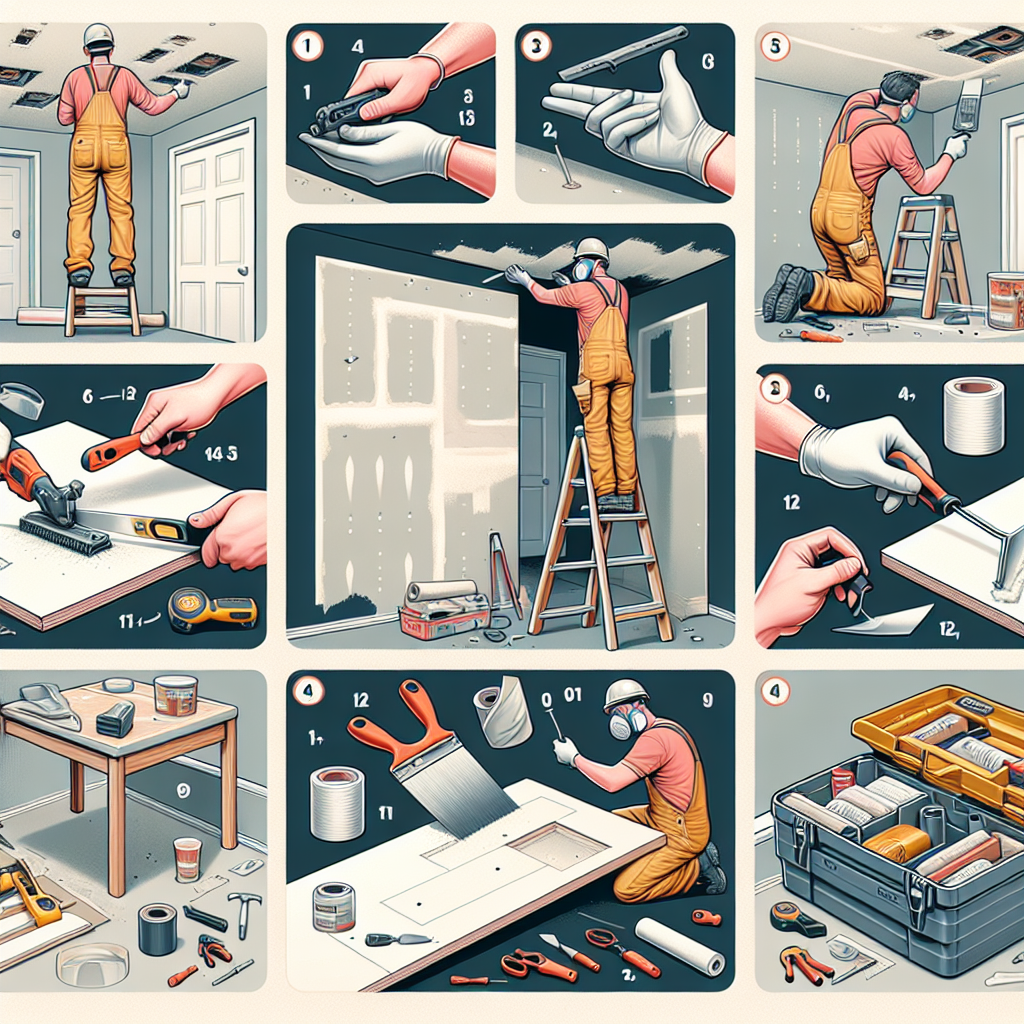
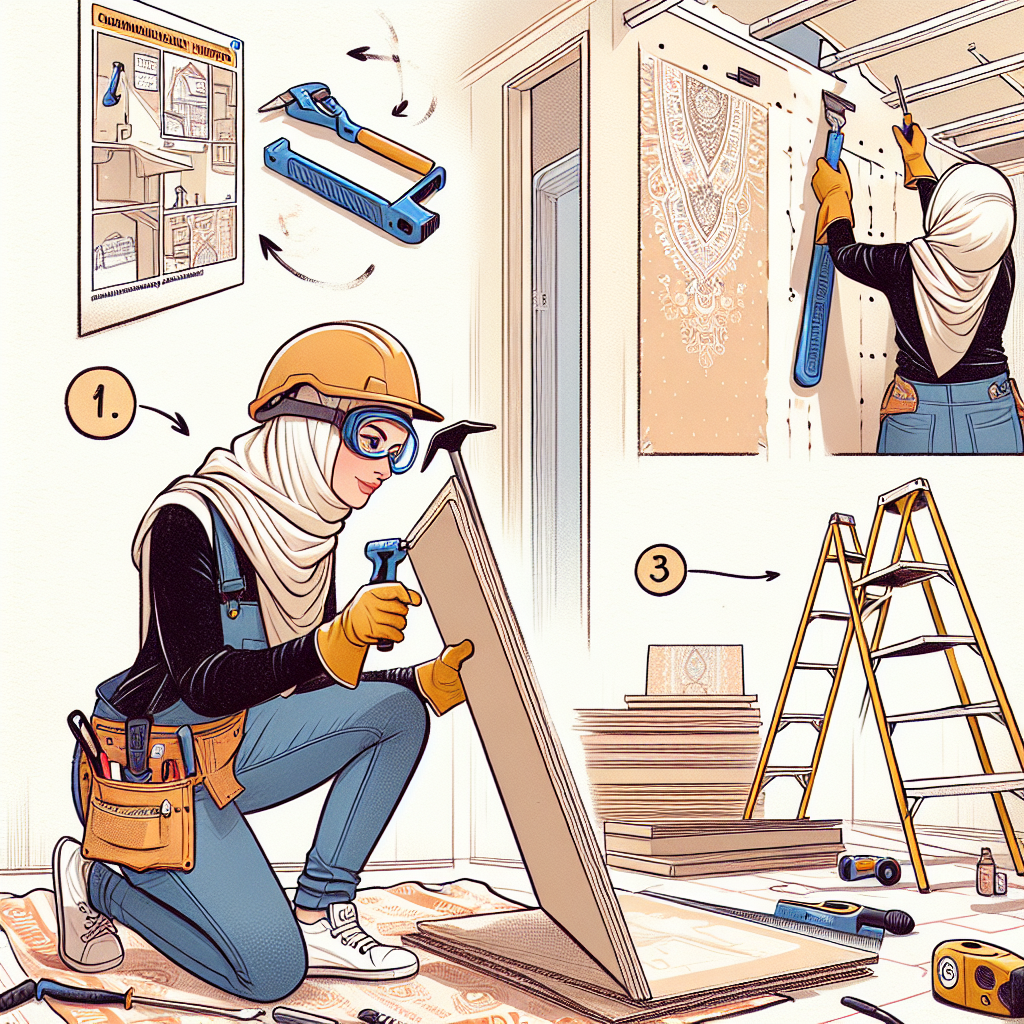
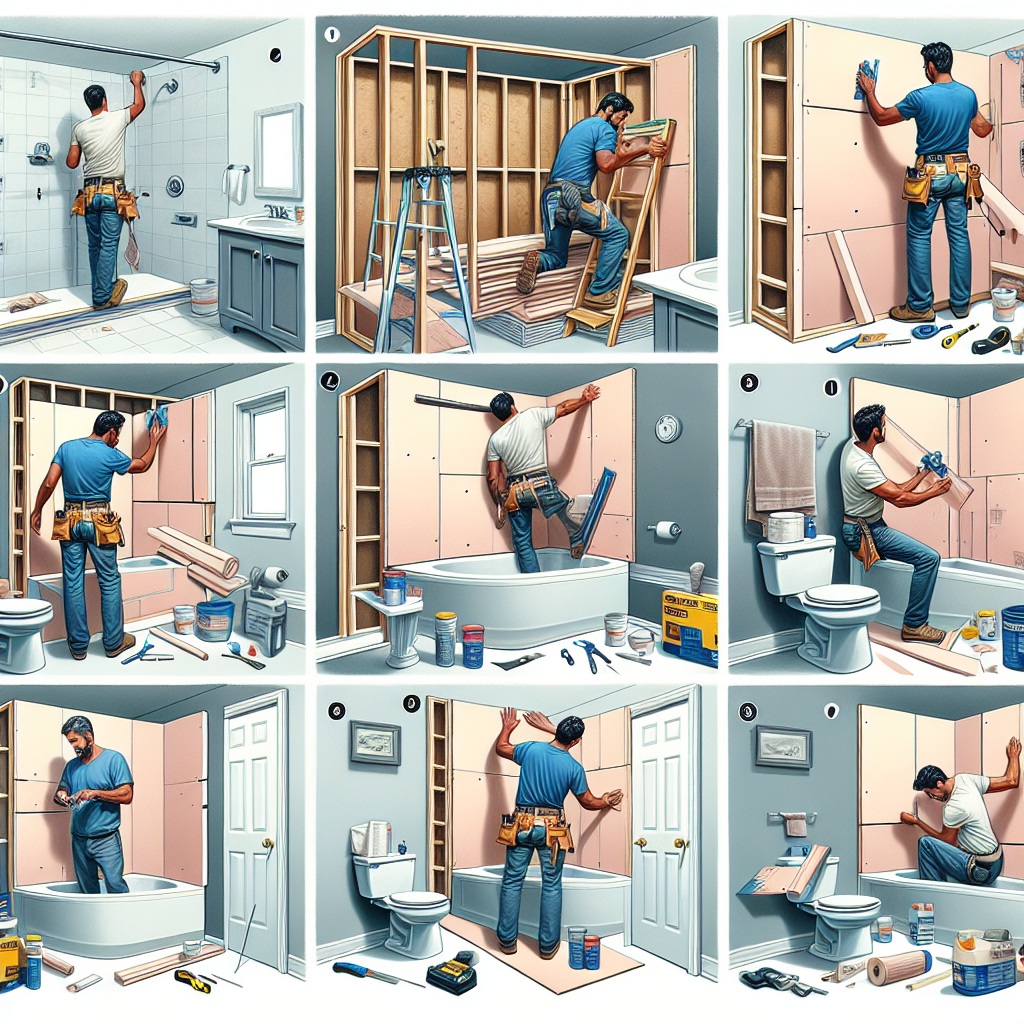
Start by measuring and cutting the drywall sheets to fit the walls and ceiling. Secure the drywall to the framing using screws, ensuring that the seams are properly taped and mudded. Once the drywall is installed, sand the surface to create a seamless finish.
After the drywall is complete, it’s time to add the finishing touches to your basement. This includes painting the walls, installing flooring, and adding any desired trim or molding. Choose colors and materials that complement your overall design vision and create a welcoming and cohesive space.
Step 7: Furnishing and Decorating
Now that your finished basement is complete, it’s time to bring in the furniture and add the final decorative touches. Consider the function of each room and choose furniture that suits your needs and enhances the overall design aesthetic.
Whether you’re creating a cozy family room, a home office, or a guest bedroom, make sure to arrange the furniture in a way that maximizes space and promotes comfort. Add rugs, curtains, artwork, and accessories to personalize the space and make it feel like a true extension of your home.
Conclusion
A finished basement project is an excellent way to expand your living space and create a versatile area that meets the needs of your household. By following these step-by-step instructions, you can successfully transform your basement into a functional and inviting space.
Remember to plan and design your finished basement carefully, obtain any necessary permits, address waterproofing and insulation, complete framing and electrical work, tackle plumbing and HVAC needs, install drywall and finishings, and finally, furnish and decorate the space to your liking.
With patience, attention to detail, and a clear vision, you can turn your basement into a valuable and enjoyable part of your home. So, roll up your sleeves, gather your tools, and get ready to embark on an exciting finished basement project that will enhance your living space for years to come!


