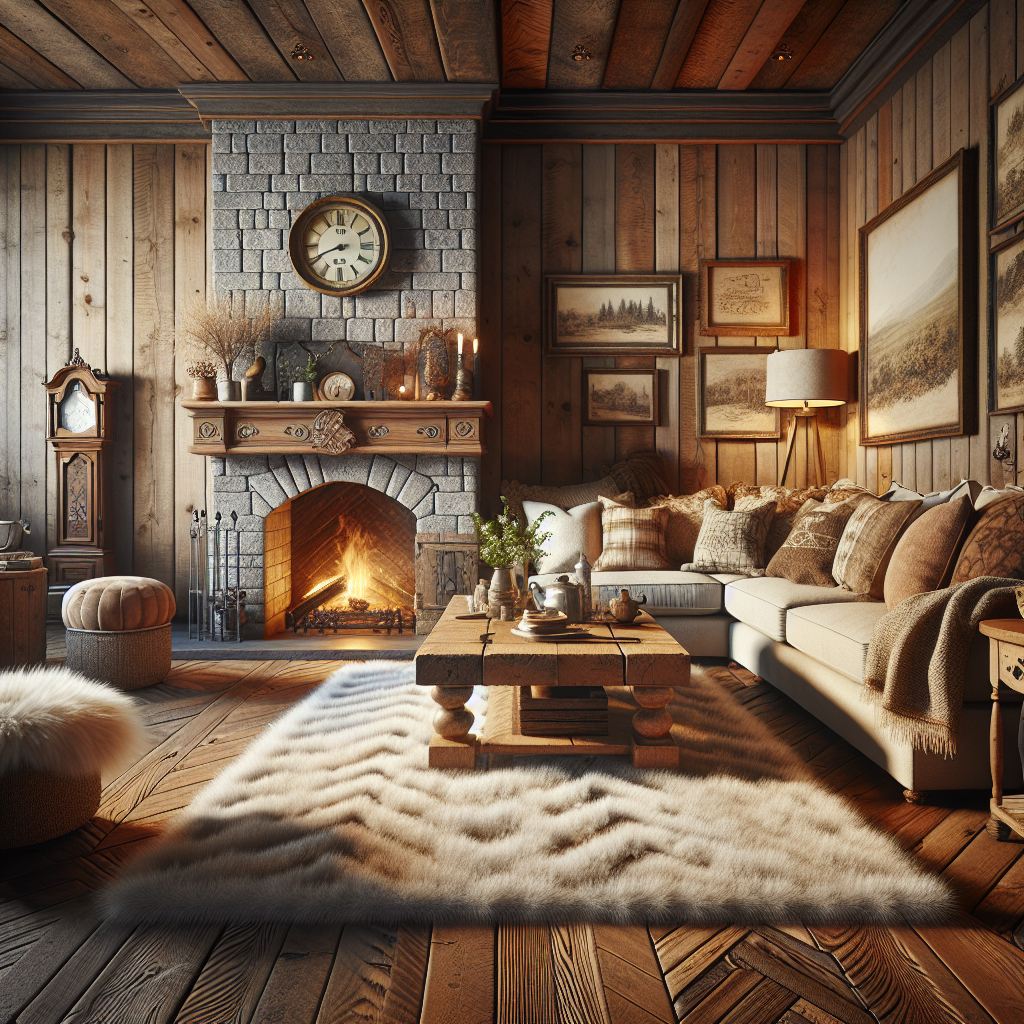
Rustic Living Room Update with a Stone Fireplace
Are you looking to add a touch of rustic charm to your living room? A stone fireplace can be the perfect addition to create a cozy and inviting atmosphere. In this step-by-step guide, we will walk you through the process of updating your living room with a stunning stone fireplace. Get ready to transform your space into a warm and inviting retreat!
Materials Needed
- Stone veneer
- Mortar mix
- Wire mesh
- Concrete board
- Construction adhesive
- Hammer
- Chisel
- Trowel
- Level
- Measuring tape
- Paintbrush
- Paint roller
- Paint tray
- Primer
- Paint
- Drop cloth
- Protective gloves
- Safety goggles
Step 1: Prepare the Wall
Start by preparing the wall where you will be installing the stone veneer. Remove any existing wallpaper or paint, and clean the surface thoroughly. If there are any holes or cracks, patch them up with spackling compound and sand the area smooth.
Step 2: Install the Concrete Board
Measure and cut the concrete board to fit the area where you will be installing the stone veneer. Use a level to ensure that the board is straight and secure it to the wall using screws. This will provide a sturdy base for the stone veneer.
Step 3: Apply the Wire Mesh
Attach the wire mesh to the concrete board using construction adhesive. Make sure the mesh is securely fastened and covers the entire area where the stone veneer will be installed. This will help the mortar adhere to the wall.
Step 4: Mix the Mortar
Follow the instructions on the mortar mix packaging to prepare the mortar. Use a trowel to mix the mortar until it reaches a thick, but spreadable consistency. Make sure there are no lumps in the mixture.
Step 5: Apply the Mortar
Using a trowel, apply a layer of mortar to the wire mesh. Start from the bottom and work your way up, making sure to cover the entire area where the stone veneer will be installed. The thickness of the mortar layer should be about 1/2 inch.
Step 6: Install the Stone Veneer
Begin installing the stone veneer from the bottom, pressing each piece firmly into the mortar. Make sure to leave a small gap between each stone for the mortar to fill. Continue working your way up, applying mortar and installing the stones until the entire area is covered.
Step 7: Let the Mortar Dry
Allow the mortar to dry for at least 24 hours before proceeding. This will ensure that the stones are securely attached to the wall.
Step 8: Prepare for Painting
If you want to paint the stone fireplace, start by applying a coat of primer to the entire surface. This will help the paint adhere better and provide a more even finish. Use a paintbrush to reach any areas that are difficult to access with a roller.
Step 9: Paint the Fireplace
Once the primer is dry, you can start painting the stone fireplace. Choose a paint color that complements your living room decor and apply it using a paint roller. Make sure to cover the entire surface evenly and let the paint dry completely between coats.
Step 10: Finishing Touches
After the paint has dried, step back and admire your newly updated rustic living room with a stone fireplace. Add some cozy furniture, soft lighting, and decorative accents to complete the look. Sit back, relax, and enjoy the warm and inviting atmosphere you have created!
Conclusion
Updating your living room with a stone fireplace can transform the space into a cozy retreat. By following these step-by-step instructions, you can create a stunning focal point that adds rustic charm to your home. Remember to gather all the necessary materials and take your time to ensure a successful project. Get ready to enjoy the warmth and beauty of a stone fireplace in your living room!


