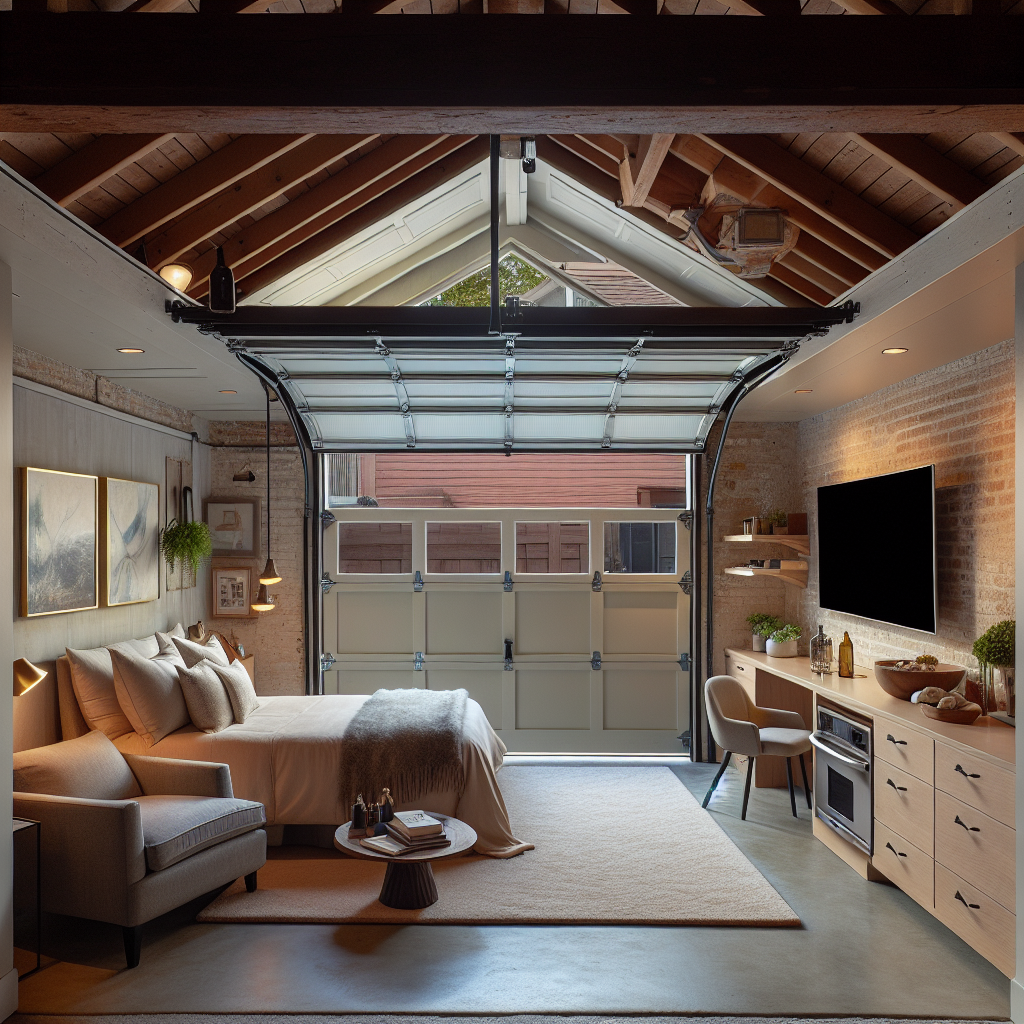
Transformative Garage to Guest Room Conversion
Are you looking to add some extra space to your home? Do you have a garage that is currently being used as a storage space for items you rarely use? Why not transform your garage into a guest room? Converting your garage into a functional and comfortable guest room is a great way to make the most of the space you already have. In this article, we will provide you with step-by-step instructions on how to complete this transformative project.
Step 1: Planning and Preparation
Before you begin the conversion process, it is important to carefully plan and prepare for the project. Here are some key steps to follow:
- Measure the space: Start by measuring the dimensions of your garage. This will help you determine how much space you have to work with and what furniture and accessories you can include in the guest room.
- Check local regulations: Depending on where you live, there may be specific regulations or permits required for converting a garage into a living space. Check with your local authorities to ensure you are in compliance with any rules or regulations.
- Create a budget: Determine how much you are willing to spend on the conversion project. This will help you make decisions on materials, furniture, and other expenses.
- Design the layout: Sketch out a rough layout of the guest room, including where the bed, storage, and other furniture will be placed. Consider the flow of the room and how guests will navigate the space.
Step 2: Clearing and Cleaning
Once you have completed the planning and preparation stage, it’s time to clear out the garage and give it a thorough cleaning. Follow these steps:
- Remove all items: Take everything out of the garage and sort them into piles of items to keep, donate, or throw away. This will help you declutter and create more space for the guest room.
- Clean the space: Sweep the floors, dust off any surfaces, and wipe down the walls. If necessary, consider painting the walls to freshen up the space.
- Repair any damage: Inspect the garage for any damage or issues that need to be addressed. This could include fixing cracks in the walls, repairing or replacing the garage door, or addressing any electrical or plumbing issues.
Step 3: Insulation and Ventilation
Proper insulation and ventilation are essential for creating a comfortable and energy-efficient guest room. Follow these steps:
- Insulate the walls: Install insulation in the walls to regulate temperature and reduce noise. This will help keep the guest room warm in the winter and cool in the summer.
- Insulate the ceiling: If your garage has a flat roof, consider insulating the ceiling as well. This will further improve the energy efficiency of the space.
- Install windows or vents: To ensure proper ventilation, consider installing windows or vents in the guest room. This will allow fresh air to circulate and prevent the room from becoming stuffy.
Step 4: Flooring and Lighting
The right flooring and lighting can greatly enhance the overall look and feel of your guest room. Follow these steps:
- Choose the flooring: Select a flooring option that is durable, easy to clean, and complements the style of the room. Popular choices include laminate, hardwood, or carpet.
- Install the flooring: Follow the manufacturer’s instructions to install the flooring in the guest room. Make sure to properly measure and cut the flooring to fit the space.
- Add lighting fixtures: Install overhead lighting and consider adding additional lamps or sconces for task lighting. This will ensure that the guest room is well-lit and inviting.
Step 5: Furnishing and Decorating
Now that the basic structure of the guest room is complete, it’s time to furnish and decorate the space. Follow these steps:
- Select furniture: Choose furniture pieces that are functional, comfortable, and fit the dimensions of the room. Consider including a bed, nightstands, a dresser, and seating options.
- Add storage solutions: Install shelves, cabinets, or a wardrobe to provide guests with storage space for their belongings. This will help keep the room organized and clutter-free.
- Decorate the walls: Hang artwork, mirrors, or photographs to add personality and style to the guest room. Consider using a fresh coat of paint or wallpaper to create a focal point.
- Accessorize: Add finishing touches such as curtains, rugs, pillows, and bedding to make the guest room feel cozy and inviting. Choose colors and patterns that complement the overall design of the space.
Step 6: Final Touches
With the major work complete, it’s time to add the final touches to your transformed garage guest room. Follow these steps:
- Clean and organize: Give the guest room a thorough cleaning and organize all the furniture and accessories. Make sure everything is in its place and the room is ready for guests.
- Test the utilities: Check that all the utilities in the guest room are functioning properly. This includes testing the electrical outlets, heating or cooling systems, and any other amenities you have installed.
- Add personal touches: Consider adding personal touches such as fresh flowers, a welcome basket, or a guest book to make your guests feel extra special and welcome.
Conclusion
Converting your garage into a guest room is a rewarding and transformative project that can add value and functionality to your home. By following the step-by-step instructions provided in this article, you can create a comfortable and inviting space for your guests to enjoy. Remember to plan and prepare carefully, take your time with each step, and add your personal touch to make the guest room truly unique. Get started on your garage to guest room conversion today and unlock the full potential of your home!


