Vintage Bathroom Restoration with Clawfoot Tub
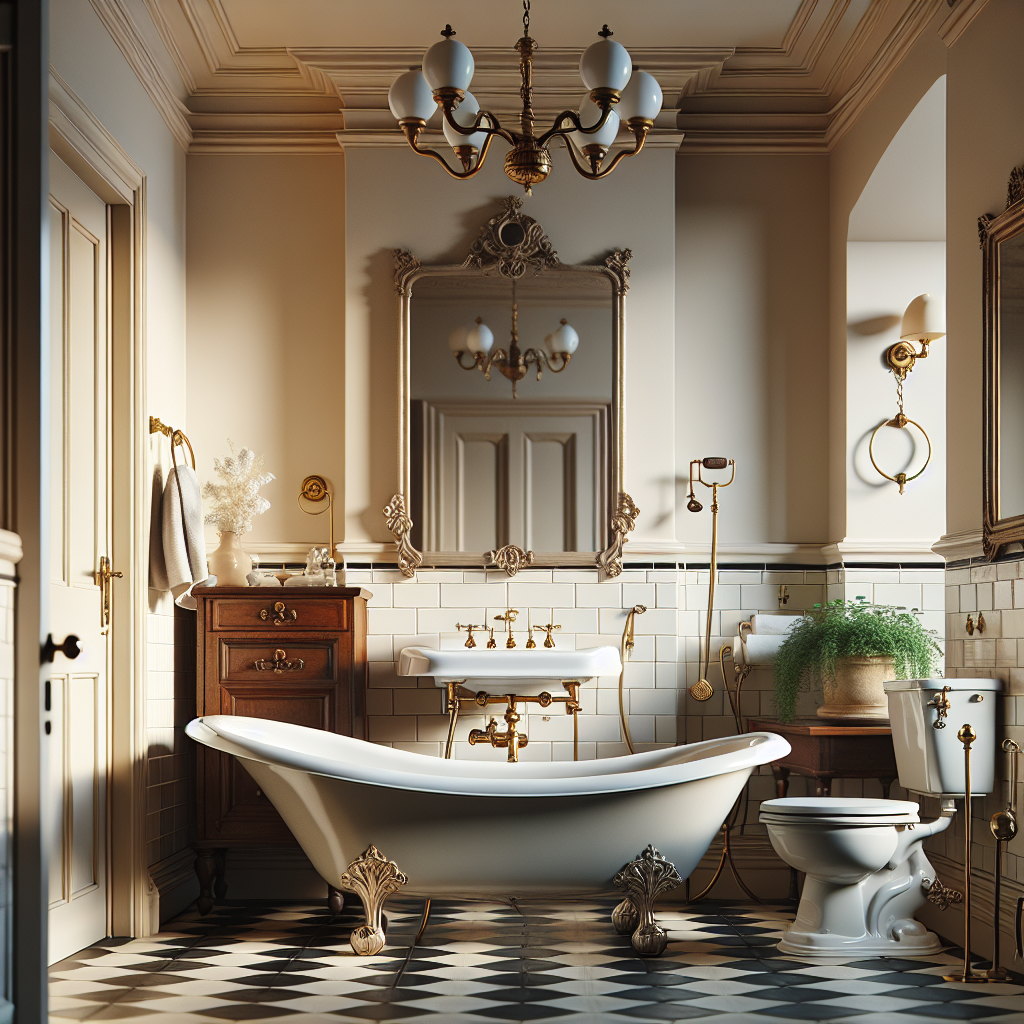
Are you looking to add a touch of vintage charm to your bathroom? A clawfoot tub is the perfect addition to create a classic and elegant look. In this step-by-step guide, we will walk you through the process of restoring a vintage bathroom with a clawfoot tub. From selecting the right tub to refinishing and installation, we will cover everything you need to know to complete this DIY project. So, let’s get started!
Step 1: Selecting the Right Clawfoot Tub
The first step in restoring a vintage bathroom with a clawfoot tub is to find the perfect tub. Here are some key factors to consider:
- Size: Measure your bathroom space to determine the appropriate size of the tub.
- Material: Clawfoot tubs are typically made of cast iron or acrylic. Consider the pros and cons of each material.
- Style: Choose a style that complements the overall aesthetic of your bathroom.
- Condition: Inspect the tub for any damage or signs of wear. Minor imperfections can be fixed during the restoration process.
Once you have found the right clawfoot tub, it’s time to move on to the next step.
Step 2: Preparing the Bathroom
Before you can install the clawfoot tub, you need to prepare the bathroom. Follow these steps:
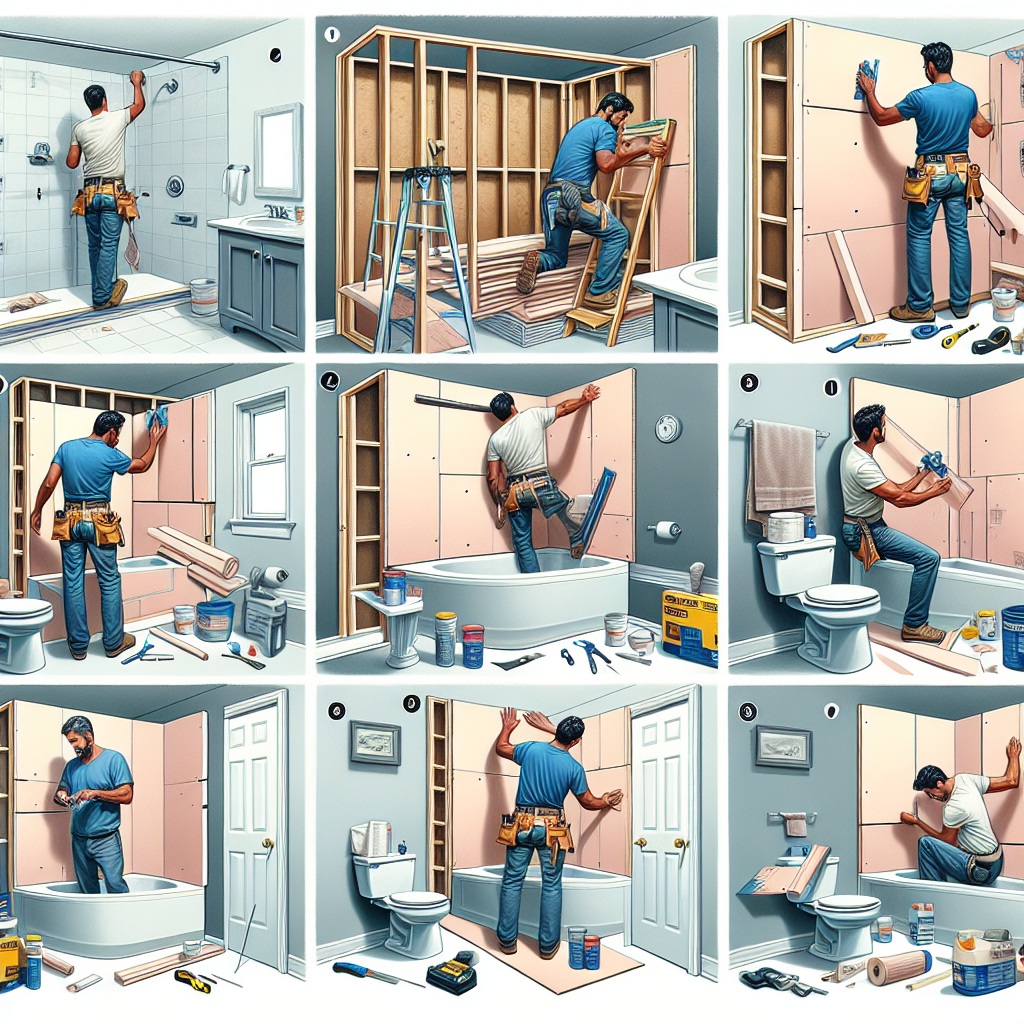
- Remove any existing fixtures, such as the old bathtub, sink, and toilet.
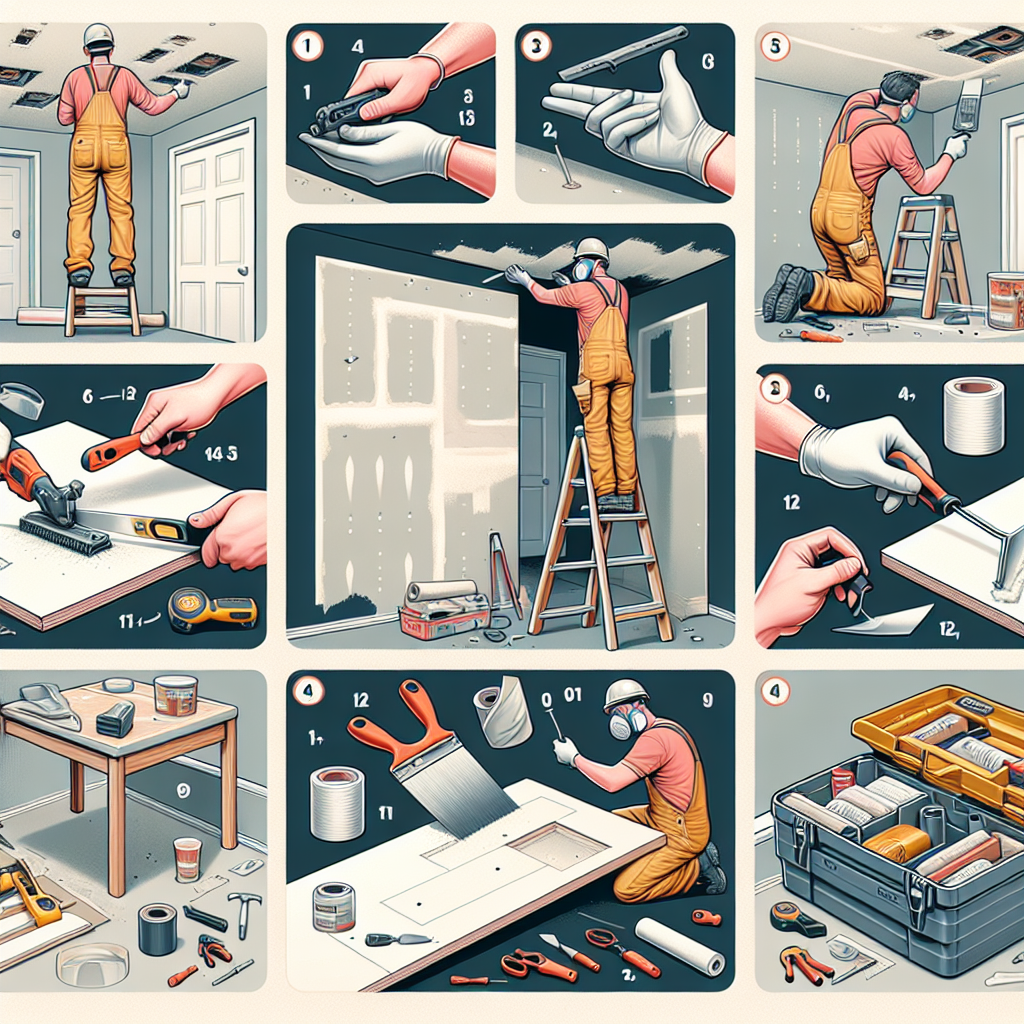
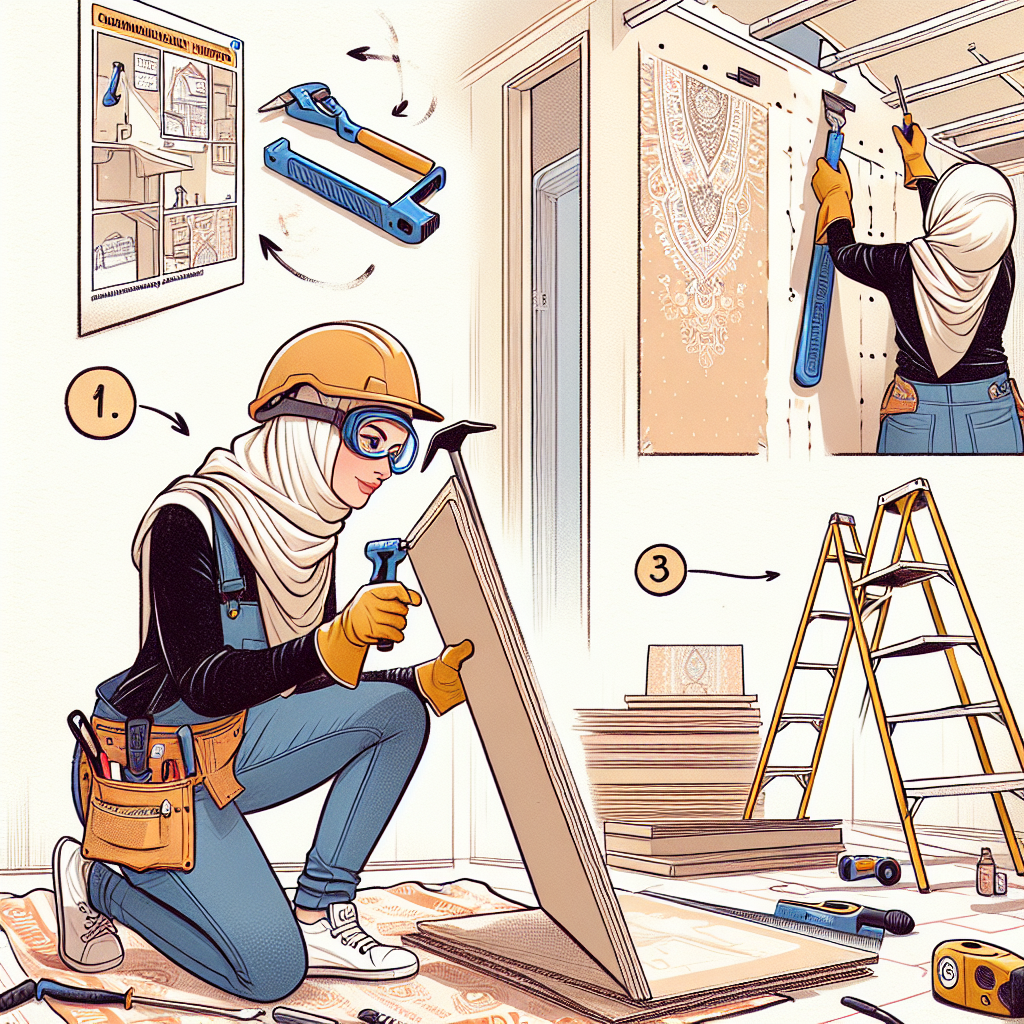
- Repair any damaged walls or flooring.
- Paint or wallpaper the walls to create the desired look.
- Install new flooring if necessary.
Once the bathroom is ready, you can start the restoration process for the clawfoot tub.
Step 3: Refinishing the Clawfoot Tub
Refinishing the clawfoot tub is an essential step to restore its original beauty. Here’s how to do it:
- Remove any existing paint or finish from the tub using a paint stripper.
- Repair any chips or cracks in the tub using a porcelain repair kit.
- Sand the surface of the tub to create a smooth and even finish.
- Apply a primer to the tub to ensure proper adhesion of the new finish.
- Choose a high-quality tub refinishing kit in the color of your choice.
- Apply multiple coats of the refinishing product, following the manufacturer’s instructions.
- Allow the tub to dry completely before moving on to the next step.
Once the tub is refinished, it’s time to install it in your vintage bathroom.
Step 4: Installing the Clawfoot Tub
Installing a clawfoot tub requires careful planning and attention to detail. Follow these steps:
- Position the tub in the desired location in the bathroom.
- Connect the tub’s drain and overflow to the plumbing system.
- Install the faucet and shower fixtures according to the manufacturer’s instructions.
- Ensure that all connections are secure and leak-free.
- Test the tub by filling it with water and checking for any leaks.
Once the tub is installed and functioning properly, you can add the finishing touches to your vintage bathroom.
Step 5: Finishing Touches
To complete the restoration of your vintage bathroom with a clawfoot tub, consider these finishing touches:
- Add a shower curtain and rod to create a functional shower space.
- Install a vintage-style vanity and mirror to enhance the overall aesthetic.
- Accessorize with vintage-inspired fixtures, such as towel bars and soap dishes.
- Hang artwork or photographs that complement the vintage theme.
With these finishing touches, your vintage bathroom with a clawfoot tub will be complete!
Conclusion
Restoring a vintage bathroom with a clawfoot tub is a rewarding DIY project that can transform your space into a timeless oasis. By following the step-by-step instructions in this guide, you can successfully complete the restoration process and create a bathroom that exudes vintage charm. Remember to take your time, pay attention to detail, and enjoy the process. Happy restoring!

