DIY Sheetrock Installation on Ceilings: A Step-by-Step Guide
Are you tired of looking at your plain, boring ceiling? Do you want to add a touch of elegance and sophistication to your home? Look no further! In this comprehensive guide, we will walk you through the process of installing sheetrock on your ceilings. With a little bit of patience and the right tools, you can transform your space into something truly remarkable. So, let’s get started!
Materials and Tools You Will Need
Before we dive into the step-by-step instructions, let’s gather all the necessary materials and tools:
- Sheetrock panels
- Drywall screws
- Tape measure
- Pencil
- Straightedge
- T-square
- Utility knife
- Drill
- Screwdriver
- Mud pan
- Taping knife
- Sanding block
- Joint compound
- Primer
- Paint
Make sure you have all these items ready before you begin the installation process. It will save you time and ensure a smooth workflow.
Step 1: Measure and Plan
The first step in any DIY project is proper planning. Measure the dimensions of your ceiling using a tape measure. Take note of any obstacles such as light fixtures or vents that may require special attention. Once you have the measurements, calculate the number of sheetrock panels you will need to cover the entire ceiling. It’s always a good idea to purchase a few extra panels in case of mistakes or future repairs.
Step 2: Prepare the Ceiling
Before you start installing the sheetrock, it’s important to prepare the ceiling. Remove any existing fixtures or decorations that may hinder the installation process. Clean the ceiling surface thoroughly to ensure proper adhesion of the sheetrock panels. If there are any cracks or holes, patch them up with joint compound and sand them down until smooth.
Step 3: Cut and Install the Sheetrock Panels
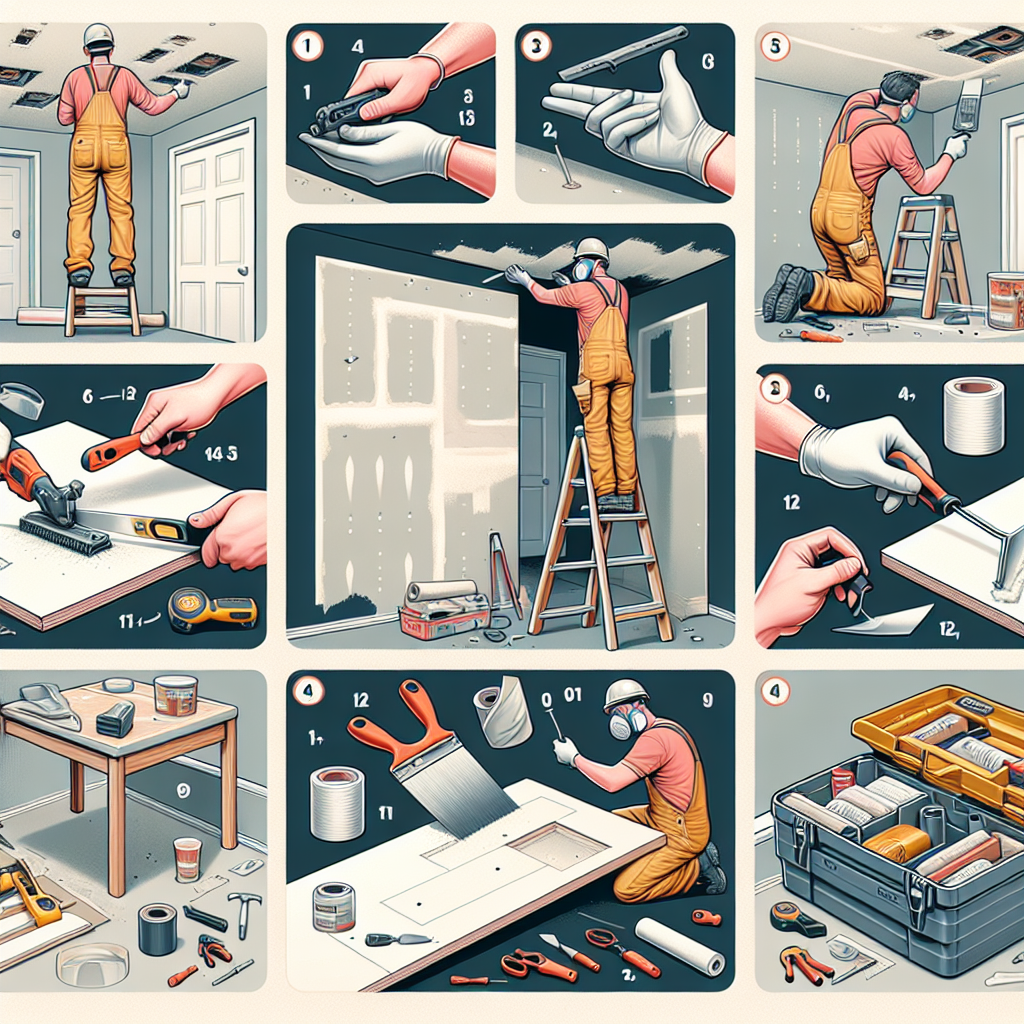
Now it’s time to cut and install the sheetrock panels. Measure the dimensions of your ceiling panels on the sheetrock using a tape measure, pencil, and straightedge. Use a utility knife to score the sheetrock along the marked lines. Once scored, gently snap the sheetrock along the scored line to create a clean break.
With the panels cut to size, it’s time to install them on the ceiling. Start at one corner of the room and position the first panel against the wall. Use a drill and drywall screws to secure the panel to the ceiling joists. Continue this process until all the panels are installed, making sure to leave a small gap between each panel for expansion.
Step 4: Tape and Mud the Seams
With the sheetrock panels in place, it’s time to tape and mud the seams. Apply a thin layer of joint compound along the seams using a taping knife. Place the drywall tape over the joint compound and press it firmly into place. Use the taping knife to smooth out any excess compound and ensure a seamless finish. Allow the compound to dry completely before moving on to the next step.
Step 5: Sand and Prime
Once the joint compound is dry, it’s time to sand the surface to achieve a smooth finish. Use a sanding block or sandpaper to gently sand the seams and any rough spots on the sheetrock. Be careful not to sand too aggressively, as it may damage the surface.
After sanding, wipe away any dust with a damp cloth and apply a coat of primer to the entire ceiling. The primer will help the paint adhere better and provide a more professional finish.
Step 6: Paint the Ceiling
Finally, it’s time to add some color to your newly installed sheetrock ceiling. Choose a paint color that complements the rest of your space and apply it evenly using a roller or paintbrush. Allow the paint to dry completely between coats, and apply as many coats as necessary to achieve the desired coverage.
Step 7: Admire Your Work
Congratulations! You have successfully installed sheetrock on your ceiling. Step back and admire your hard work. The transformation is truly remarkable, and you should be proud of your DIY skills.
Conclusion
Installing sheetrock on ceilings may seem like a daunting task, but with the right tools and a little bit of patience, it can be a rewarding DIY project. By following the step-by-step instructions outlined in this guide, you can achieve a professional-looking finish that will enhance the beauty of your home. So, roll up your sleeves, gather your materials, and get ready to transform your ceiling into a work of art!


