Installing Drywall in Basement: DIY Method
Are you looking to transform your basement into a functional and inviting space? Installing drywall is a crucial step in the process, and with the right guidance, you can easily tackle this project yourself. In this comprehensive guide, we will walk you through the step-by-step process of installing drywall in your basement, providing you with valuable insights and detailed instructions. By the end, you’ll have the knowledge and confidence to complete this project and create a beautiful finished basement.
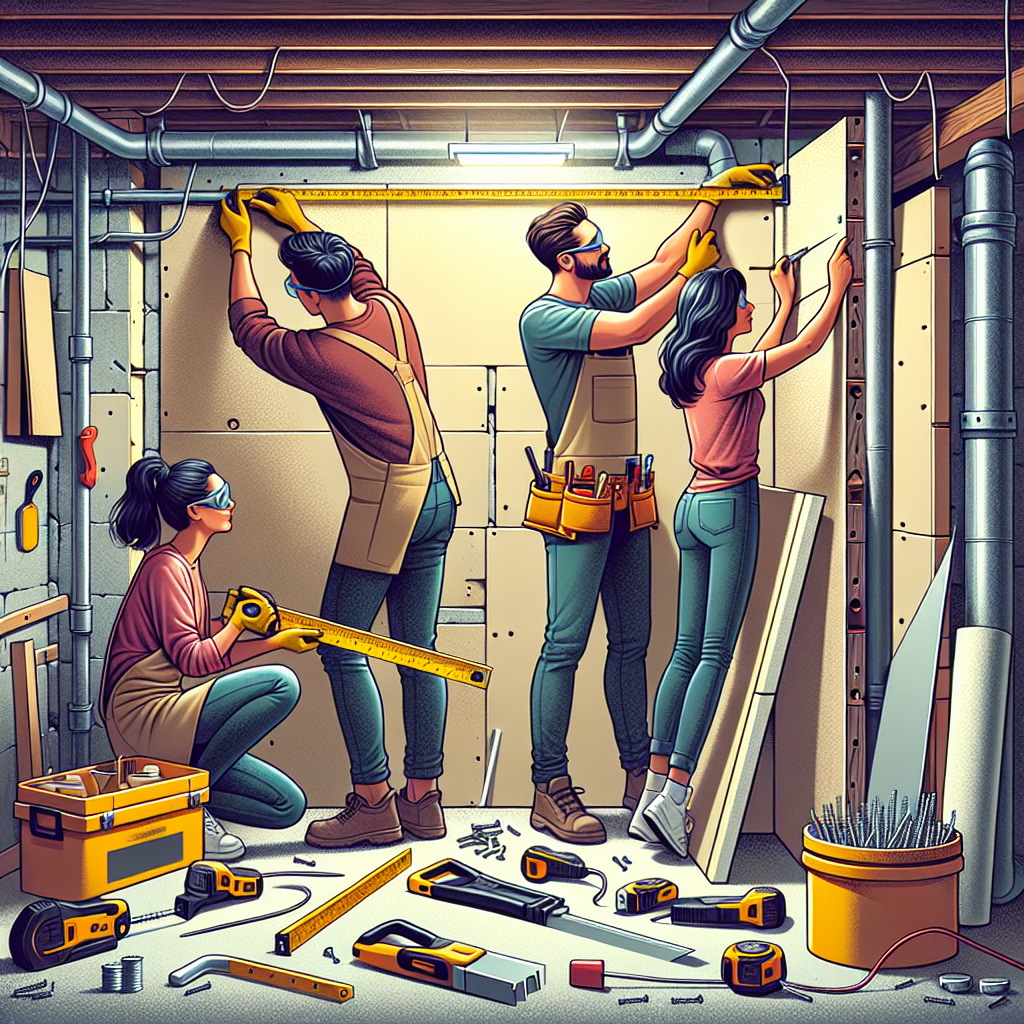
Materials and Tools You’ll Need
Before we dive into the installation process, let’s gather all the necessary materials and tools:
- Drywall sheets
- Drywall screws
- Drywall joint compound
- Drywall tape
- Utility knife
- Tape measure
- Drill
- Screwdriver
- T-square
- Joint knife
- Sanding block
- Paint roller
- Paintbrush
Make sure you have all these items ready before you begin the installation process. It’s also a good idea to wear protective gear, such as safety goggles and a dust mask, to ensure your safety.
Step 1: Measure and Plan
The first step in installing drywall in your basement is to measure the walls and plan the layout. Use a tape measure to measure the height and width of each wall, and calculate the total square footage of drywall needed. Remember to account for any windows or doors in your measurements.
Once you have the measurements, plan the layout of the drywall sheets. Start from one corner of the room and work your way across, making sure to stagger the seams between sheets for added strength and stability.
Step 2: Cut and Install the Drywall Sheets
Now that you have your measurements and layout planned, it’s time to cut and install the drywall sheets. Follow these steps:
- Using a utility knife, score the front side of the drywall sheet along the measurement line.
- Hold the scored edge of the drywall sheet and snap it along the score line.
- Use a T-square to mark any additional cuts needed, such as for windows or doors.
- Cut along the marked lines with a utility knife.
- Position the first drywall sheet against the wall, starting from the top corner.
- Secure the drywall sheet to the wall using drywall screws, placing them every 12 inches along the studs.
- Repeat the process for the remaining sheets, making sure to stagger the seams.
Remember to leave a small gap between the sheets for expansion and contraction. This gap will be covered with joint compound later.
Step 3: Tape and Mud the Joints
With the drywall sheets installed, it’s time to tape and mud the joints to create a seamless finish. Follow these steps:
- Cut a piece of drywall tape to the length of the joint.
- Apply a thin layer of joint compound over the joint using a joint knife.
- Place the drywall tape over the joint and press it into the compound.
- Smooth out any air bubbles or wrinkles in the tape.
- Apply another layer of joint compound over the tape, extending it beyond the edges.
- Repeat the process for all the joints.
Make sure to feather the edges of the joint compound to create a smooth transition between the tape and the drywall. Allow the compound to dry completely before moving on to the next step.
Step 4: Sand and Prime
Once the joint compound is dry, it’s time to sand the walls and prepare them for painting. Follow these steps:
- Use a sanding block or sandpaper to smooth out any rough spots or imperfections on the walls.
- Wipe away any dust or debris with a damp cloth.
- Apply a coat of primer to the walls using a paint roller or brush.
- Allow the primer to dry completely before applying the final coat of paint.
Sanding the walls and applying primer will ensure a smooth and professional-looking finish for your basement walls.
Step 5: Paint and Finish
Now that your drywall is installed, taped, mudded, sanded, and primed, it’s time to add the final touches and bring your basement to life. Follow these steps:
- Choose a paint color that complements the overall design and style of your basement.
- Apply the first coat of paint using a paint roller or brush, starting from the top corner and working your way down.
- Allow the first coat to dry completely before applying the second coat.
- Inspect the walls for any touch-ups or imperfections and fix them as needed.
- Once the final coat of paint is dry, step back and admire your newly finished basement!
With a fresh coat of paint, your basement will be transformed into a welcoming and functional space that you can enjoy for years to come.
Conclusion
Installing drywall in your basement is a rewarding DIY project that can significantly enhance the value and livability of your home. By following the step-by-step instructions provided in this guide, you now have the knowledge and confidence to tackle this project with ease. Remember to gather all the necessary materials and tools, measure and plan the layout, cut and install the drywall sheets, tape and mud the joints, sand and prime the walls, and finally, paint and finish your basement. With patience and attention to detail, you’ll create a beautiful finished space that you can be proud of.


