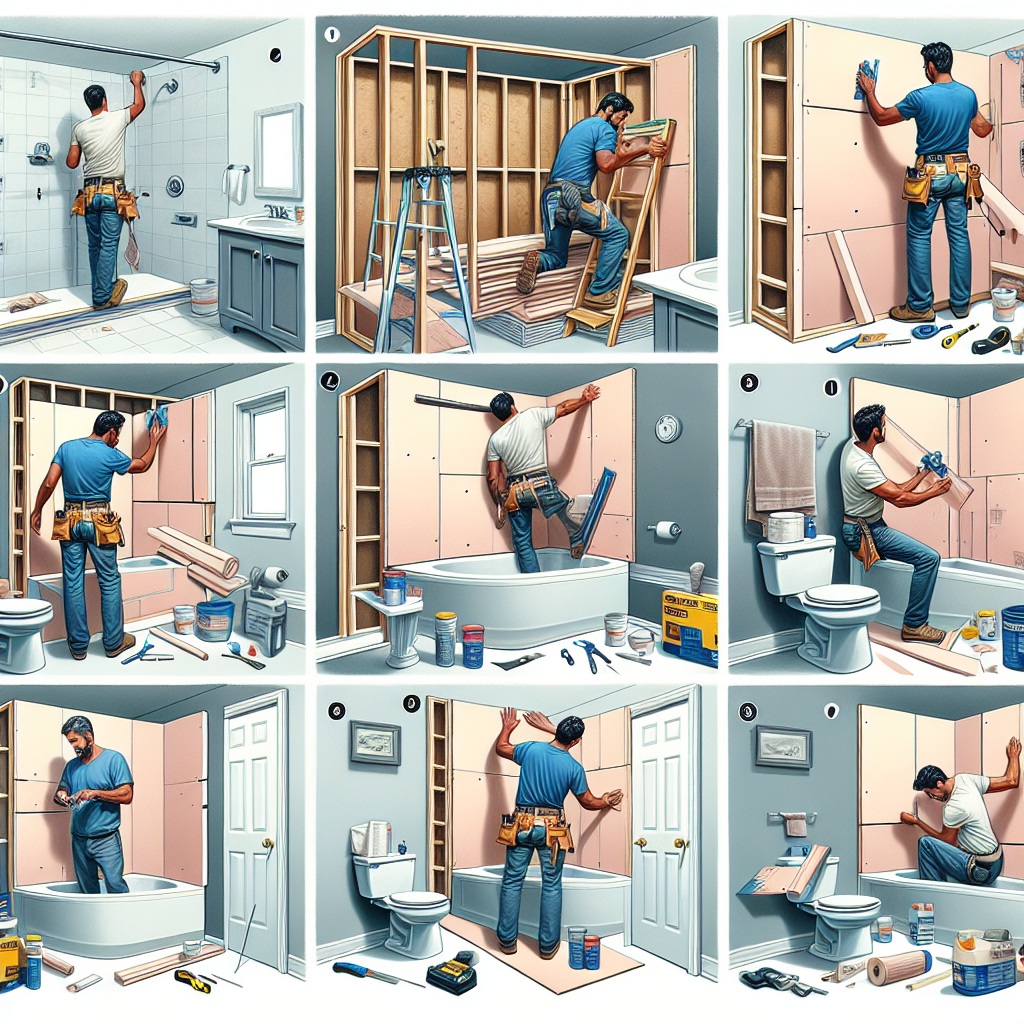
DIY Dry Wall Construction: Tips and Tricks
Are you ready to take on a new DIY project? Look no further than drywall construction! With the right tools, materials, and techniques, you can transform any space in your home. In this comprehensive guide, we will walk you through the step-by-step process of drywall construction, providing you with valuable tips and tricks along the way. So, roll up your sleeves and let’s get started!
Materials You’ll Need
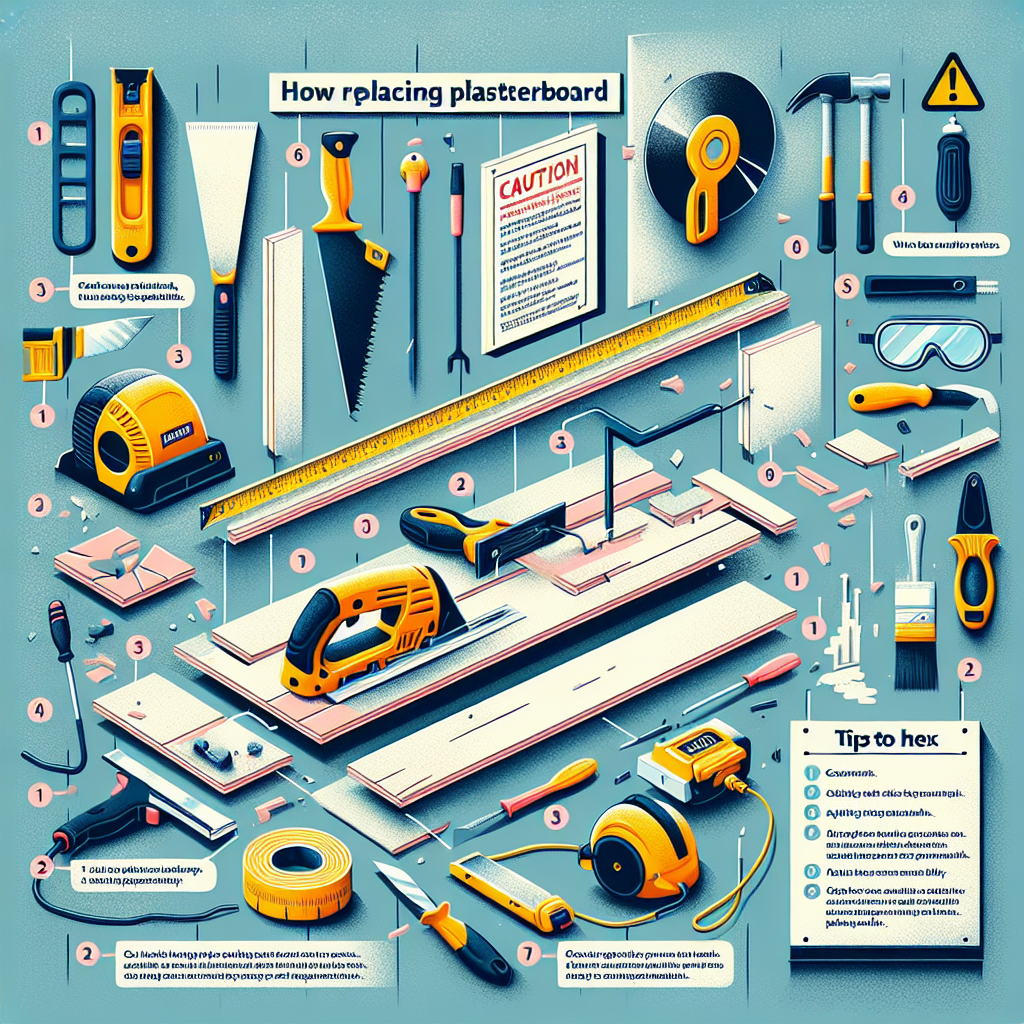
Before diving into the construction process, it’s important to gather all the necessary materials. Here’s a list of items you’ll need:
- Drywall sheets
- Drywall screws
- Drywall joint compound
- Drywall tape
- Joint knives
- Sanding block
- Utility knife
- Measuring tape
- Stud finder
- Drill
- Screwdriver
- Safety goggles
- Dust mask
Make sure to gather all these materials before starting your project to ensure a smooth construction process.
Step 1: Prepare the Area
The first step in drywall construction is to prepare the area where you’ll be installing the drywall. Follow these steps:
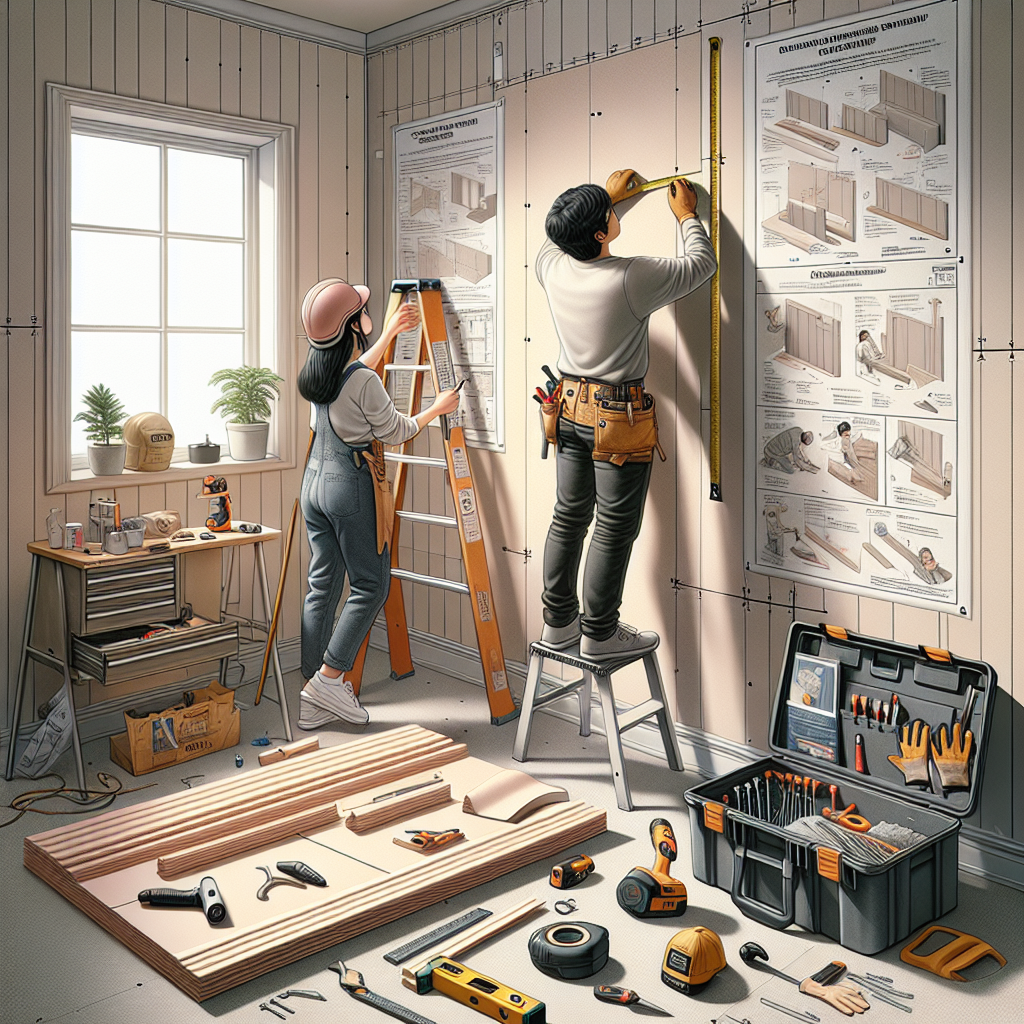
- Clear the room of any furniture or obstacles.
- Use a stud finder to locate the wall studs.
- Mark the stud locations with a pencil.
- Measure and cut the drywall sheets to fit the wall.
- Label each drywall sheet with its intended location.
By properly preparing the area, you’ll ensure that the installation process goes smoothly and efficiently.
Step 2: Install the Drywall
Now that the area is prepared, it’s time to install the drywall. Follow these steps:
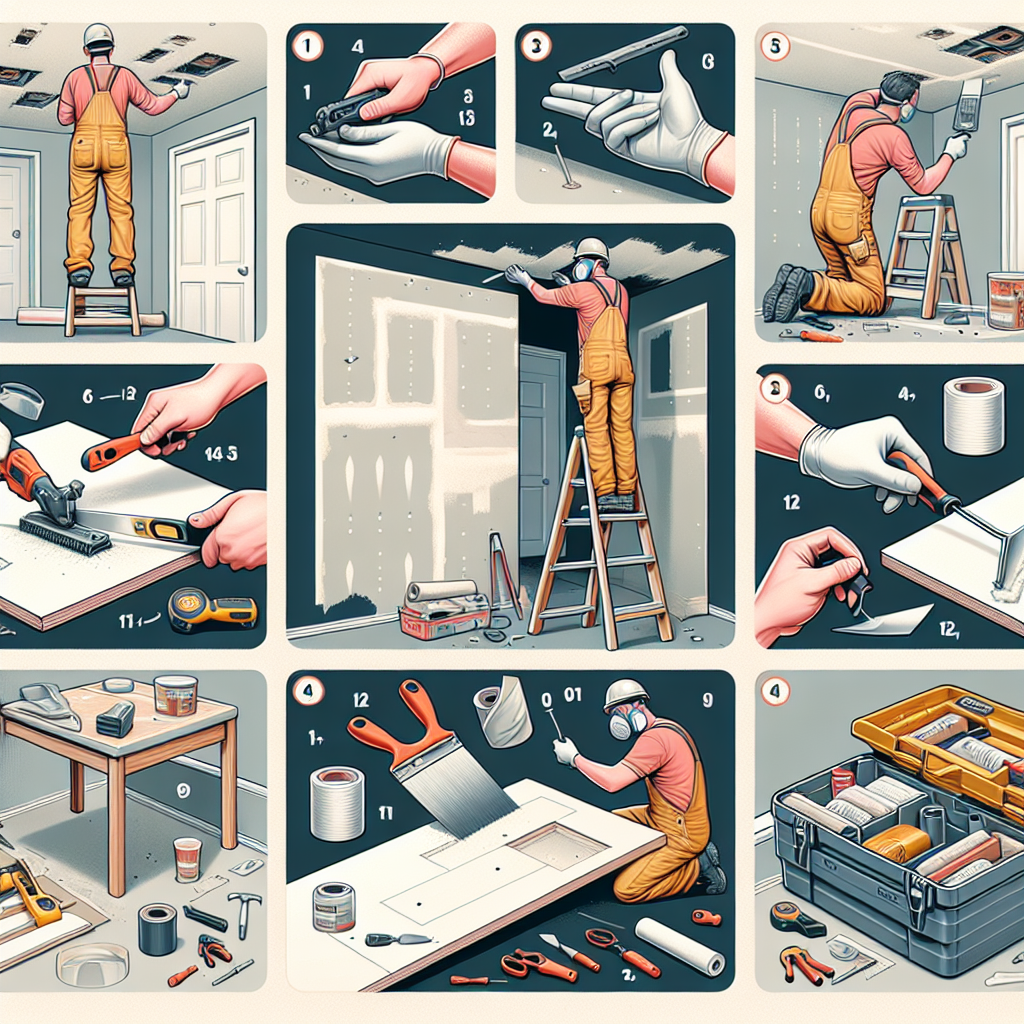
- Start with the first drywall sheet and position it against the wall, making sure it aligns with the marked stud locations.
- Using a drill or screwdriver, secure the drywall sheet to the studs with drywall screws.
- Continue installing the remaining drywall sheets, making sure to leave a small gap between each sheet for expansion.
- Trim any excess drywall using a utility knife.
By following these steps, you’ll have a solid foundation for your drywall construction project.
Step 3: Tape and Mud the Joints
Once the drywall is installed, it’s time to tape and mud the joints. This step is crucial for achieving a seamless finish. Follow these steps:
- Apply a thin layer of joint compound along the joints using a joint knife.
- Place drywall tape over the joint compound, pressing it firmly into place.
- Smooth out any air bubbles or wrinkles in the tape.
- Apply a second layer of joint compound over the tape, feathering it out to create a smooth transition.
- Allow the joint compound to dry completely.
Taping and mudding the joints may require multiple coats of joint compound, so be patient and take your time to achieve a professional-looking finish.
Step 4: Sand and Finish
After the joint compound has dried, it’s time to sand and finish the drywall. Follow these steps:
- Use a sanding block to smooth out any rough areas or imperfections in the joint compound.
- Wipe away any dust with a damp cloth.
- Apply a final layer of joint compound to fill in any remaining gaps or imperfections.
- Allow the final layer of joint compound to dry.
- Sand the drywall once again to achieve a smooth and even finish.
By following these steps, you’ll be left with a beautifully finished drywall surface.
Step 5: Paint and Enjoy
Now that your drywall construction project is complete, it’s time to add the finishing touches. Follow these steps:
- Prime the drywall surface with a high-quality primer.
- Allow the primer to dry completely.
- Apply your desired paint color to the drywall surface.
- Allow the paint to dry and cure according to the manufacturer’s instructions.
- Once the paint is dry, you can enjoy your newly constructed drywall!
With a fresh coat of paint, your drywall will blend seamlessly into your space, creating a polished and professional look.
Conclusion
Congratulations! You’ve successfully completed your DIY drywall construction project. By following the step-by-step instructions and utilizing the tips and tricks provided in this guide, you’ve transformed your space with a beautiful and functional drywall surface. Remember to always prioritize safety and take your time to ensure a high-quality finish. Now, sit back, relax, and enjoy the fruits of your labor!

