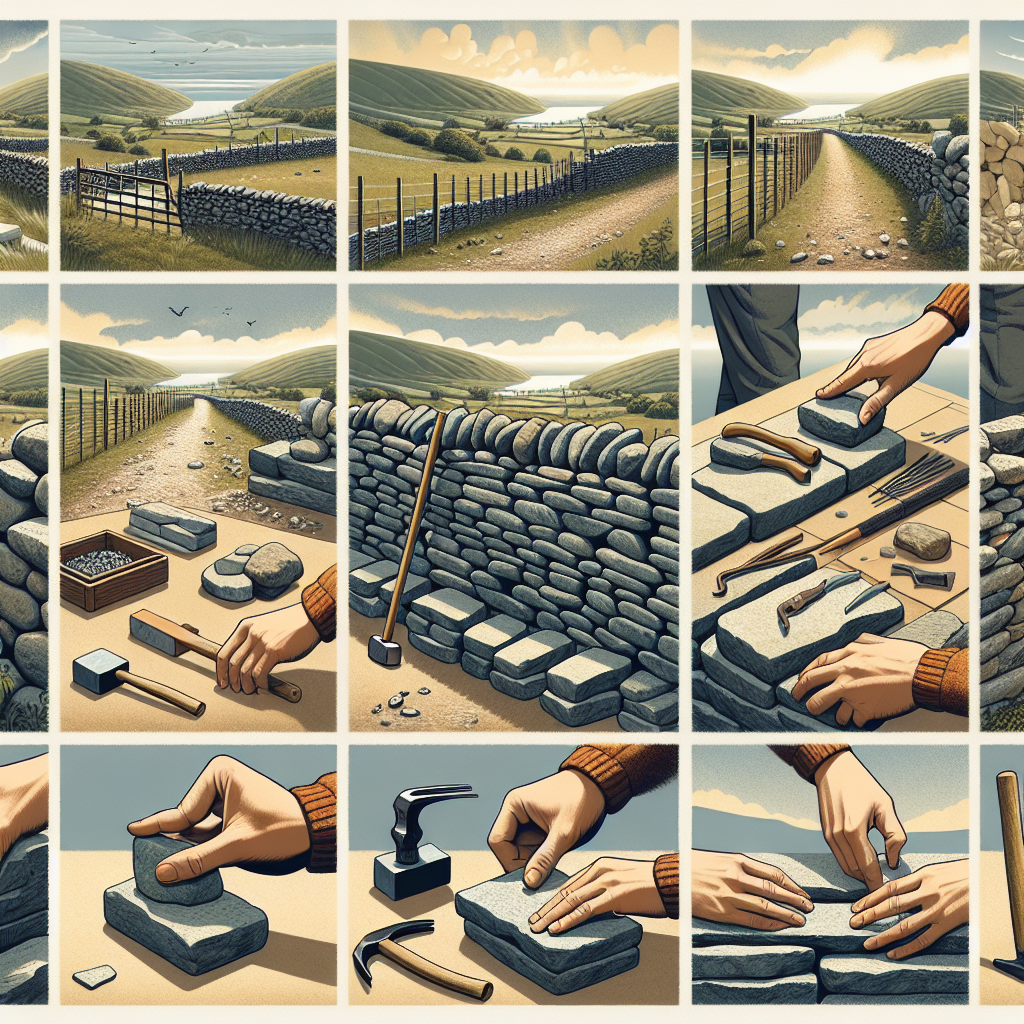
Dry Stone Wall Construction: DIY Project Guide
Are you looking to add a touch of rustic charm to your outdoor space? A dry stone wall might be just the project for you. Not only does it provide a functional boundary, but it also adds a timeless aesthetic to any garden or landscape. In this comprehensive DIY project guide, we will walk you through the step-by-step process of constructing a dry stone wall. By the end of this guide, you will have all the knowledge and skills necessary to complete this project with confidence.
Materials and Tools
Before we dive into the construction process, let’s gather all the materials and tools you will need:
- Stone: Choose a variety of stones in different shapes and sizes. Ideally, opt for locally sourced stones to maintain the authenticity of your wall.
- String and stakes: These will be used to mark the boundaries of your wall.
- Shovel: Essential for digging the foundation trench.
- Trowel: Used for applying mortar, if desired.
- Level: Ensures that your wall is straight and level.
- Hammer: Helps to shape and adjust stones.
- Safety goggles and gloves: Protect yourself while working with stones.
Step 1: Planning and Preparation
Before you start building, it’s important to plan and prepare your site. Here’s what you need to do:
- Choose the location: Determine where you want to build your dry stone wall. Consider factors such as drainage, sunlight exposure, and the purpose of the wall.
- Mark the boundaries: Use string and stakes to mark the boundaries of your wall. This will give you a clear visual guide during construction.
- Clear the area: Remove any vegetation, rocks, or debris from the site. Ensure that the ground is level and compact.
Step 2: Digging the Foundation Trench
The foundation trench provides stability and prevents the wall from shifting over time. Follow these steps to dig the trench:
- Measure and mark the width of the trench: Typically, the trench should be twice the width of your wall’s base.
- Start digging: Use a shovel to dig a trench along the marked boundaries. The depth of the trench should be approximately one-third of the height of your wall.
- Ensure a level base: Use a level to check that the bottom of the trench is even and level. Make adjustments as necessary.
Step 3: Laying the Foundation Stones
Now it’s time to lay the foundation stones, which will form the base of your dry stone wall:
- Select the largest and flattest stones: These will serve as your foundation stones.
- Place the stones in the trench: Lay the stones side by side, ensuring a tight fit. Use a level to check for evenness.
- Tap the stones with a hammer: If necessary, gently tap the stones to adjust their position and ensure stability.
Step 4: Building the Wall
With the foundation in place, it’s time to start building the wall itself. Follow these steps:
- Choose stones of various sizes and shapes: This will add visual interest and structural stability to your wall.
- Place the stones strategically: Start by placing larger stones at the corners and ends of the wall. Then, fill in the gaps with smaller stones.
- Fit the stones tightly together: Ensure that there are no large gaps between the stones. This will enhance the strength and durability of your wall.
- Check for levelness: Use a level to ensure that each layer of stones is straight and level. Make adjustments as needed.
- Continue layering: Repeat the process of placing stones and checking for levelness until you reach the desired height.
Step 5: Finishing Touches
Once you’ve reached the desired height, it’s time to add the finishing touches to your dry stone wall:
- Trim any excess mortar: If you’ve used mortar to secure your stones, trim away any excess using a trowel.
- Clean the stones: Remove any dirt or debris from the surface of your wall using a brush or hose.
- Inspect for stability: Check that your wall is stable and secure. Make any necessary adjustments to ensure its longevity.
Estimated Time and Final Thoughts
The time required to complete a dry stone wall construction project will vary depending on the size and complexity of the wall. On average, a small to medium-sized wall can be completed in a few weekends or over the course of a week.
Remember, constructing a dry stone wall requires patience, attention to detail, and a love for craftsmanship. Take your time, enjoy the process, and embrace the beauty of working with natural materials.
By following this DIY project guide, you now have the knowledge and skills to embark on your own dry stone wall construction project. Whether you’re looking to enhance your garden or create a stunning landscape feature, a dry stone wall is a timeless addition that will stand the test of time.
So gather your materials, put on your gloves, and let your creativity flow as you embark on this rewarding DIY journey. Happy building!


