Finding Metal Behind Drywall: DIY Methods
Are you planning a home improvement project that involves working with drywall? Whether you’re hanging shelves, installing a TV mount, or simply trying to locate a stud for added support, finding metal behind drywall is an essential skill for any DIY enthusiast. In this comprehensive guide, we will walk you through various methods to help you locate metal behind drywall with ease. By following these step-by-step instructions, you’ll be able to complete your project efficiently and confidently.
Why is it Important to Find Metal Behind Drywall?
Before we dive into the methods, let’s understand why it’s crucial to locate metal behind drywall. Metal studs or other metal objects hidden behind drywall can serve as a strong anchor for heavy items, ensuring stability and preventing accidents. By finding metal behind drywall, you can:
- Secure heavy objects, such as shelves or cabinets, to the wall
- Hang artwork or mirrors securely
- Install TV mounts or other wall-mounted devices
- Ensure the structural integrity of your walls
Method 1: Using a Magnetic Stud Finder
One of the easiest and most reliable methods to find metal behind drywall is by using a magnetic stud finder. This tool detects the presence of metal, such as nails or screws, in the wall. Here’s how you can use it:
Step 1: Gather Your Materials
Before you begin, make sure you have the following materials:
- Magnetic stud finder
- Masking tape
- Pencil or marker
Step 2: Prepare the Wall
Clean the area of the wall where you’ll be using the stud finder. Remove any dust or debris that might interfere with its accuracy.
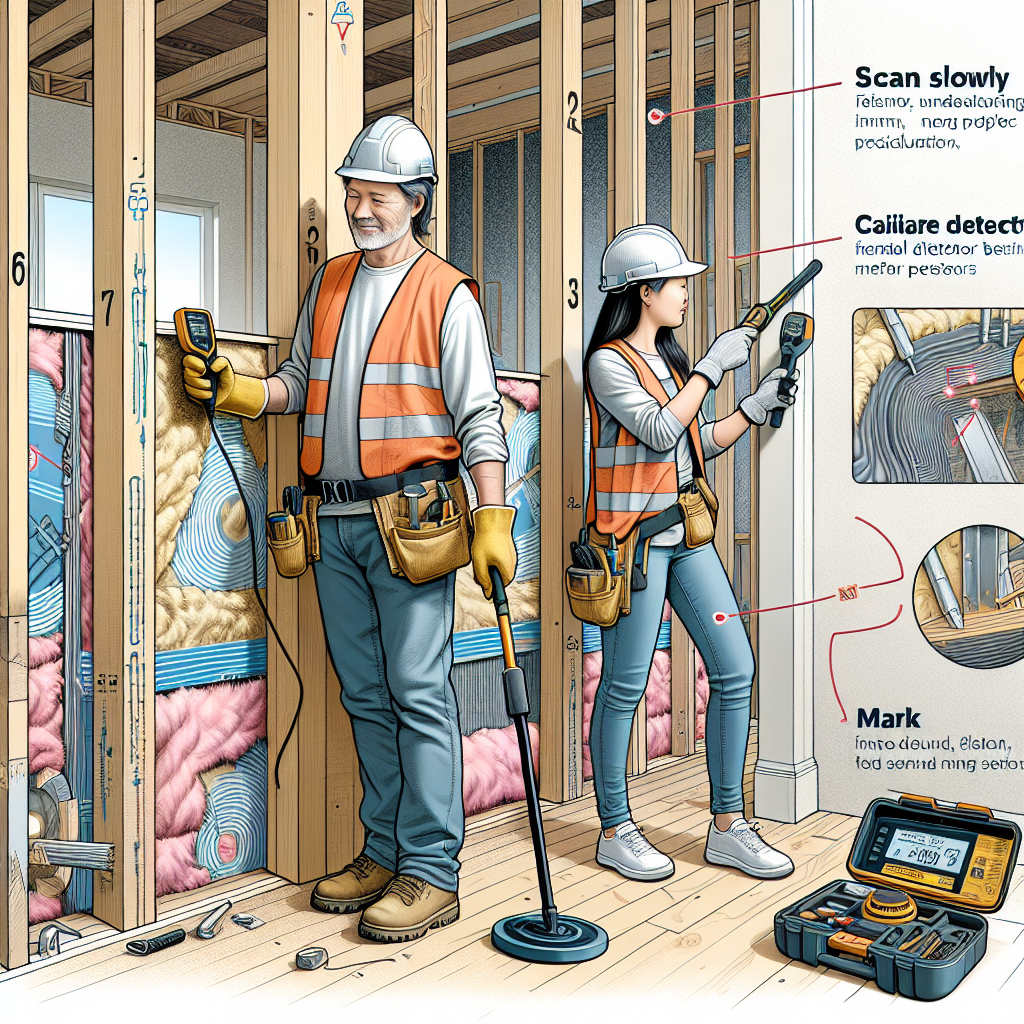
Step 3: Calibrate the Stud Finder
Follow the manufacturer’s instructions to calibrate the stud finder. This step ensures accurate readings.
Step 4: Start Scanning
Place the stud finder against the wall and slowly move it horizontally. The stud finder will beep or indicate when it detects metal behind the drywall.
Step 5: Mark the Location
When the stud finder detects metal, mark the location with masking tape. Repeat the scanning process until you’ve identified multiple metal points.
Method 2: Using a Electronic Stud Finder
If you prefer a more advanced method, an electronic stud finder can provide additional information about the hidden metal behind drywall. Here’s how to use it:
Step 1: Gather Your Materials
Before you begin, make sure you have the following materials:
- Electronic stud finder
- Masking tape
- Pencil or marker
Step 2: Prepare the Wall
Clean the area of the wall where you’ll be using the stud finder. Remove any dust or debris that might interfere with its accuracy.
Step 3: Calibrate the Stud Finder
Follow the manufacturer’s instructions to calibrate the electronic stud finder. This step ensures accurate readings.
Step 4: Start Scanning
Place the stud finder against the wall and slowly move it horizontally. The electronic stud finder will display information about the hidden metal, such as its width and depth.
Step 5: Mark the Location
When the electronic stud finder detects metal, mark the location with masking tape. Repeat the scanning process until you’ve identified multiple metal points.
Method 3: Using a Knocking Technique
If you don’t have access to a stud finder, you can still locate metal behind drywall using a simple knocking technique. Here’s how:
Step 1: Gather Your Materials
Before you begin, make sure you have the following materials:
- Masking tape
- Pencil or marker
Step 2: Prepare the Wall
Clean the area of the wall where you’ll be performing the knocking technique. Remove any dust or debris that might interfere with the sound.
Step 3: Start Knocking
Using your knuckles or a small hammer, gently tap the wall. Listen for a solid, dull sound, which indicates the presence of metal behind the drywall.
Step 4: Mark the Location
When you hear a solid sound, mark the location with masking tape. Repeat the knocking process until you’ve identified multiple metal points.
Method 4: Using a Wall Scanner
If you’re looking for a more advanced and precise method, consider using a wall scanner. This tool can detect not only metal but also electrical wires and other objects behind drywall. Here’s how to use it:
Step 1: Gather Your Materials
Before you begin, make sure you have the following materials:
- Wall scanner
- Masking tape
- Pencil or marker
Step 2: Prepare the Wall
Clean the area of the wall where you’ll be using the wall scanner. Remove any dust or debris that might interfere with its accuracy.
Step 3: Calibrate the Wall Scanner
Follow the manufacturer’s instructions to calibrate the wall scanner. This step ensures accurate readings.
Step 4: Start Scanning
Place the wall scanner against the wall and slowly move it horizontally. The wall scanner will display information about the hidden metal, electrical wires, and other objects.
Step 5: Mark the Location
When the wall scanner detects metal, mark the location with masking tape. Repeat the scanning process until you’ve identified multiple metal points.
Conclusion
Locating metal behind drywall is a crucial skill for any DIY enthusiast. By using methods such as magnetic stud finders, electronic stud finders, knocking techniques, or wall scanners, you can confidently complete your home improvement projects. Remember to gather the necessary materials, prepare the wall, and mark the locations for future reference. With these techniques, you’ll be able to secure heavy objects, hang artwork securely, and ensure the structural integrity of your


