ONI Drywall: DIY Installation & Repair Tips
Are you looking to install or repair drywall in your home? Look no further! In this comprehensive guide, we will walk you through the step-by-step process of ONI drywall installation and repair. Whether you are a seasoned DIY enthusiast or a beginner, this article will provide you with valuable insights and detailed instructions to successfully complete your project.
Materials and Tools
Before we dive into the installation and repair process, let’s gather all the necessary materials and tools:
- ONI drywall sheets
- Drywall screws
- Drywall joint compound
- Drywall tape
- Drywall knife
- T-square
- Utility knife
- Sanding block
- Measuring tape
- Drill
- Screwdriver
- Safety goggles
- Dust mask
Make sure you have all these items ready before you begin your project. Now, let’s move on to the installation process.
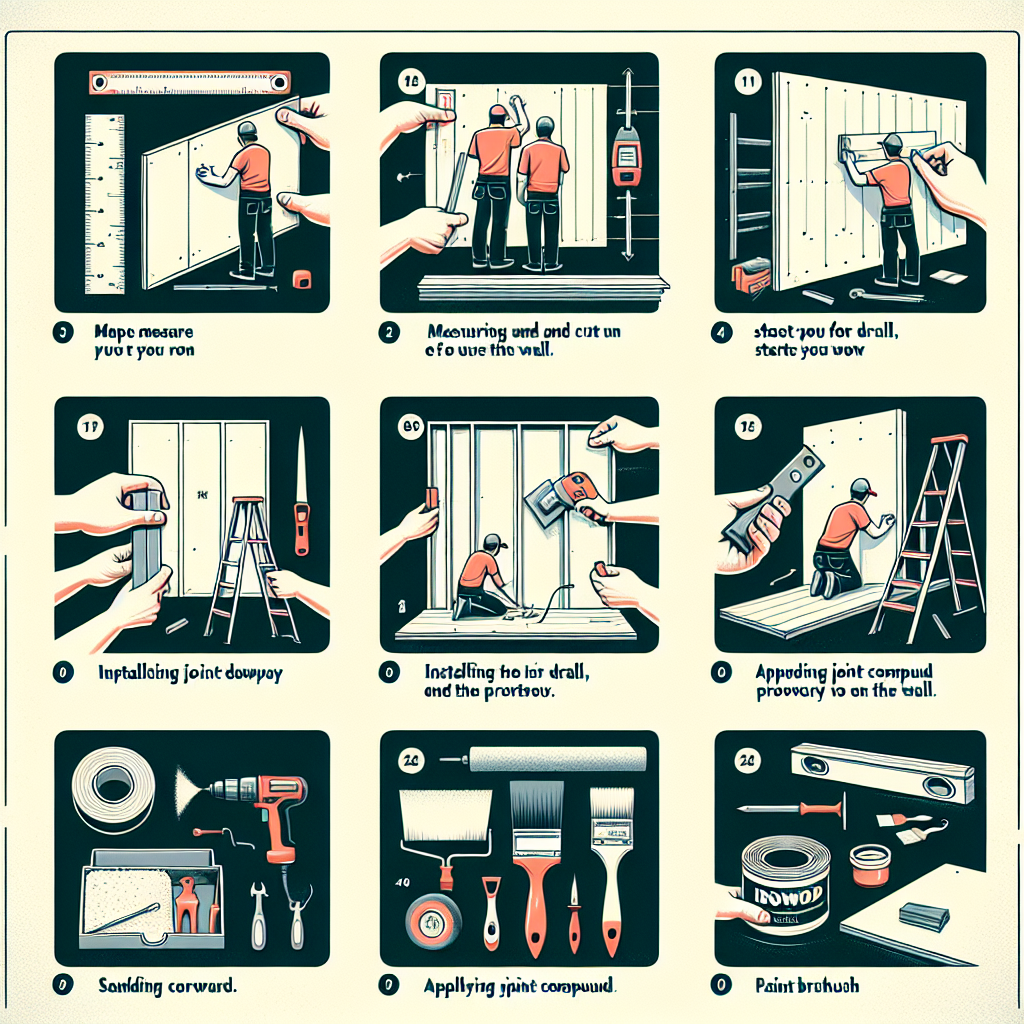
Installation Process
Step 1: Prepare the Area
Start by clearing the area where you will be installing the drywall. Remove any existing wall coverings, such as wallpaper or old drywall. Ensure that the surface is clean and free from any debris.
Step 2: Measure and Cut the Drywall Sheets
Measure the dimensions of the area where you will be installing the drywall. Use a T-square and a utility knife to mark and cut the drywall sheets to the appropriate size. Be precise in your measurements to ensure a perfect fit.
Step 3: Attach the Drywall Sheets
Using a drill and drywall screws, attach the drywall sheets to the wall studs. Start from one corner and work your way across the wall. Make sure to leave a small gap between the sheets for expansion.
Step 4: Apply Drywall Tape and Joint Compound
Apply drywall tape over the seams between the drywall sheets. Use a drywall knife to spread a thin layer of joint compound over the tape. Smooth out any excess compound and let it dry completely.
Step 5: Sand and Finish
Once the joint compound is dry, use a sanding block to smooth out any rough edges or imperfections. Apply another layer of joint compound if necessary and repeat the sanding process. Continue until you achieve a smooth and seamless finish.
Repair Tips
If you are looking to repair damaged drywall, follow these additional steps:
Step 1: Assess the Damage
Identify the extent of the damage to determine the appropriate repair method. Common types of drywall damage include holes, cracks, and water damage.
Step 2: Patch the Holes or Cracks
For small holes or cracks, use a utility knife to create a clean, even edge around the damaged area. Cut a piece of drywall slightly larger than the hole or crack and fit it into the opening. Secure it with drywall screws and apply joint compound over the patch. Follow the same steps as the installation process to finish the repair.
Step 3: Repair Water Damage
If you have water-damaged drywall, it is important to address the underlying issue before repairing the drywall. Once the source of the water damage is fixed, cut out the damaged section of drywall and replace it with a new piece. Follow the installation process outlined above to complete the repair.
Project Completion
Congratulations! You have successfully completed your ONI drywall installation or repair project. Take a step back and admire your handiwork. Your walls now have a fresh and polished look.
Remember, practice makes perfect. Don’t be discouraged if your first attempt doesn’t turn out exactly as planned. With time and experience, you will become a drywall expert.
Summary
In this article, we provided you with detailed instructions on how to install and repair ONI drywall. We covered the necessary materials and tools, step-by-step installation process, and additional tips for repairing damaged drywall. By following these instructions, you can achieve professional-looking results and transform the walls of your home.
Remember to prioritize safety by wearing goggles and a dust mask during the installation and repair process. Take your time and be patient, as drywall work requires precision and attention to detail.
Now that you have all the knowledge and guidance you need, it’s time to embark on your ONI drywall project. Good luck, and enjoy the satisfaction of completing a DIY project that enhances the beauty of your home!


