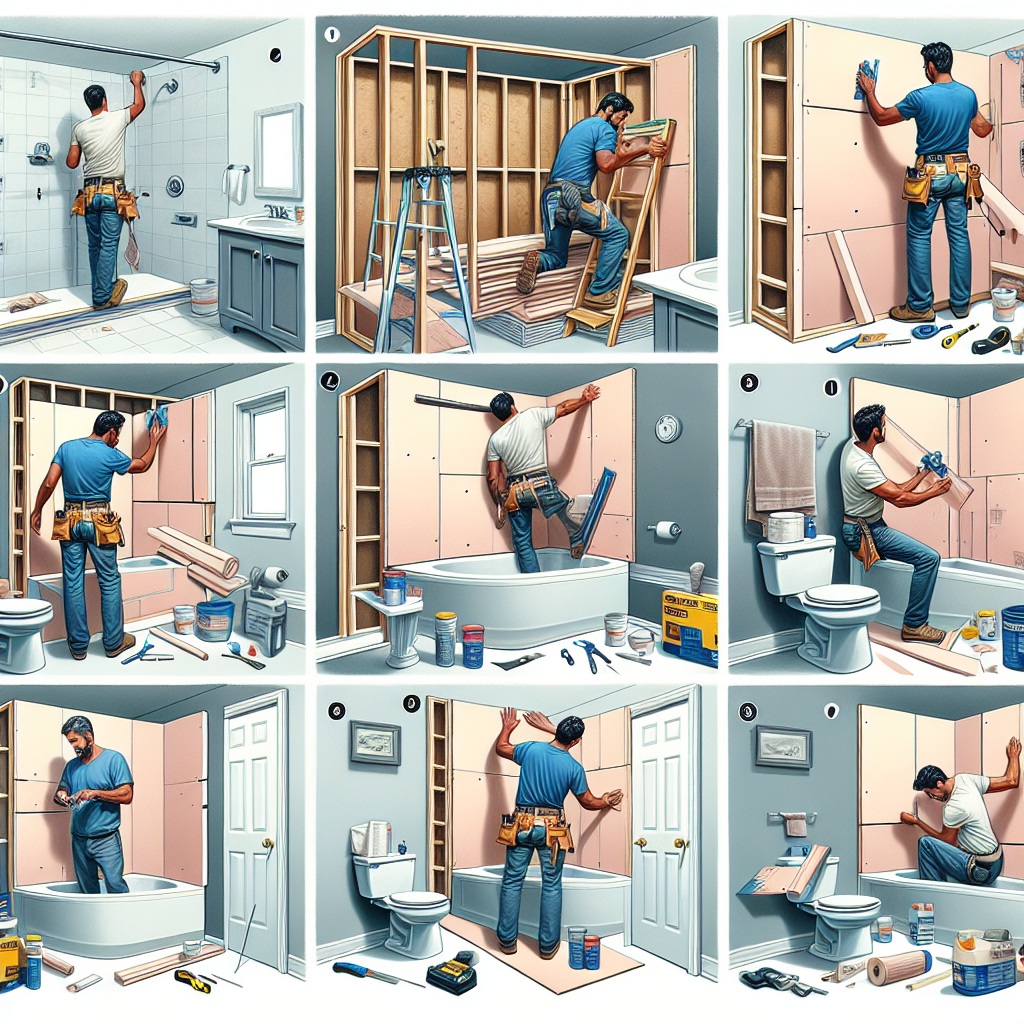
DIY Plasterboard Bulkhead: Easy Steps
Are you looking to add a touch of elegance and sophistication to your home? A plasterboard bulkhead is the perfect solution. Not only does it add a stylish element to any room, but it also serves a practical purpose by hiding unsightly wires and pipes. In this step-by-step guide, we will walk you through the process of creating your own plasterboard bulkhead. With a little bit of time and effort, you can transform your space into something truly remarkable.
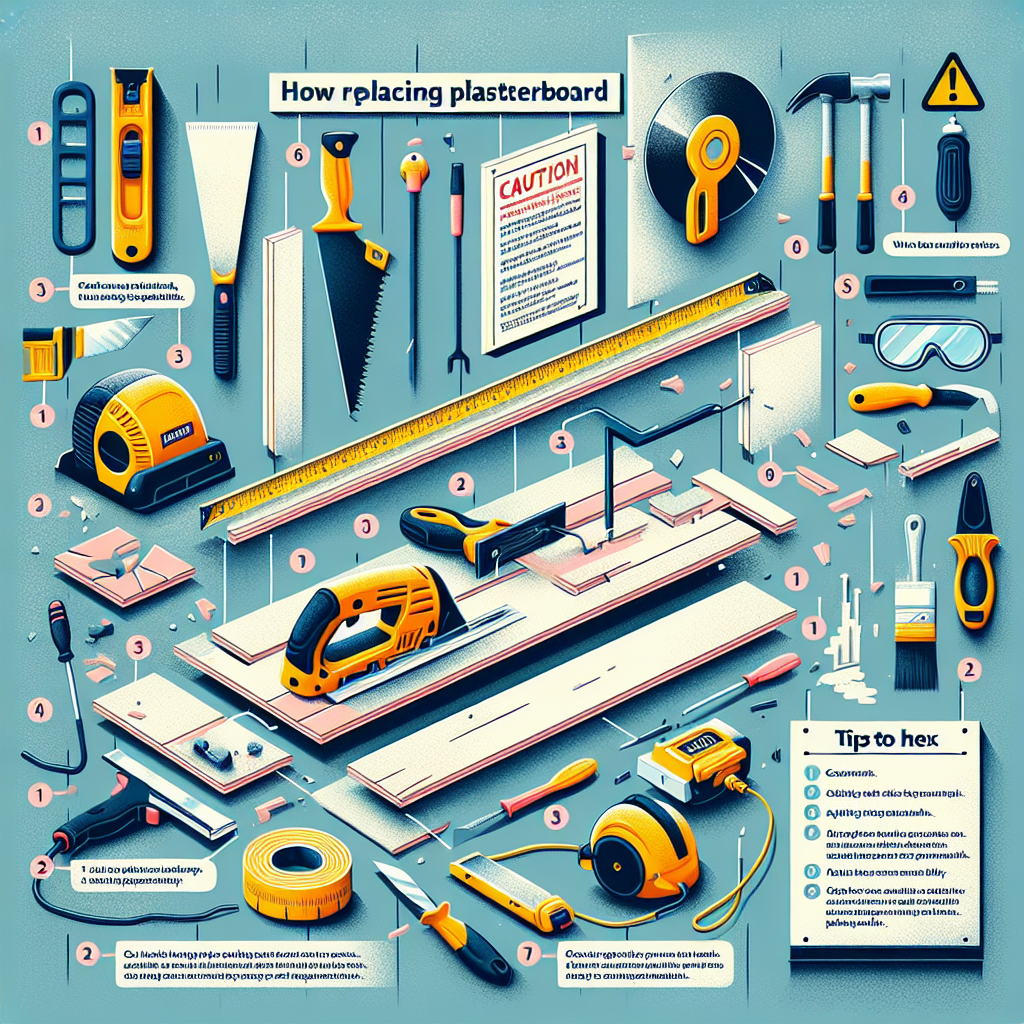
Materials Needed
- Plasterboard sheets
- Timber battens
- Screws
- Plasterboard adhesive
- Jointing tape
- Jointing compound
- Sanding block
- Paint or wallpaper
- Paintbrushes or rollers
- Measuring tape
- Pencil
- Level
- Drill
- Saw
- Screwdriver
- Safety goggles
- Dust mask
Step 1: Planning
Before you begin, it’s important to plan out your plasterboard bulkhead. Measure the area where you want to install it and determine the desired height and width. Consider any obstacles such as light fixtures or vents that may need to be worked around. Sketch out a rough design and make note of any specific measurements.
Step 2: Marking the Wall
Using a pencil and a level, mark the desired height and width of your plasterboard bulkhead on the wall. Make sure the lines are straight and level. This will serve as a guide for the installation process.
Step 3: Installing the Timber Battens
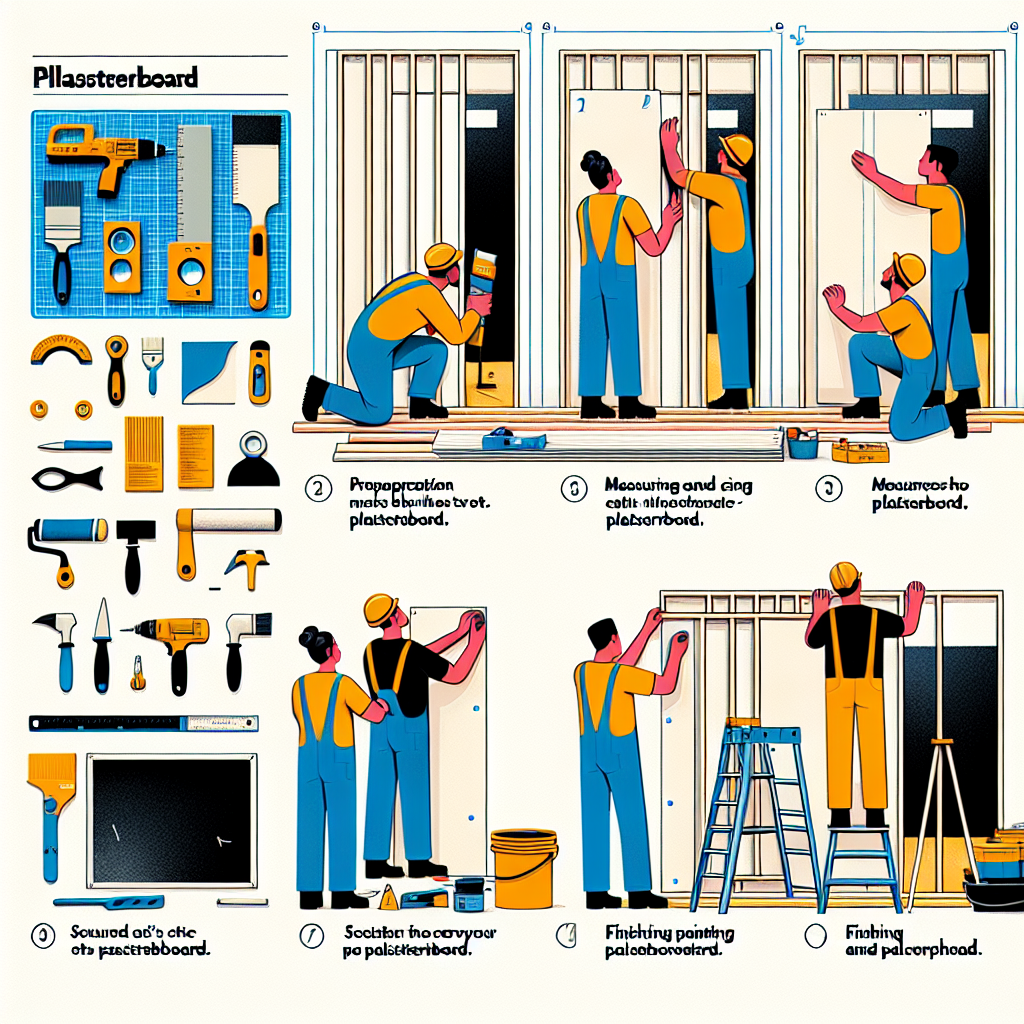
Measure and cut the timber battens to the appropriate length for the width of your bulkhead. Attach them to the wall using screws, making sure they are level and secure. These battens will provide support for the plasterboard sheets.
Step 4: Cutting and Installing the Plasterboard Sheets
Measure and cut the plasterboard sheets to fit the height and width of your bulkhead. Use a saw to make clean, straight cuts. Apply plasterboard adhesive to the back of each sheet and press them firmly onto the timber battens. Make sure the edges of the sheets are flush with the marked lines on the wall.
Step 5: Securing the Plasterboard Sheets
Once the plasterboard sheets are in place, secure them to the timber battens using screws. Make sure to countersink the screws slightly so they are flush with the surface of the plasterboard. This will allow for a smooth finish.
Step 6: Jointing and Finishing
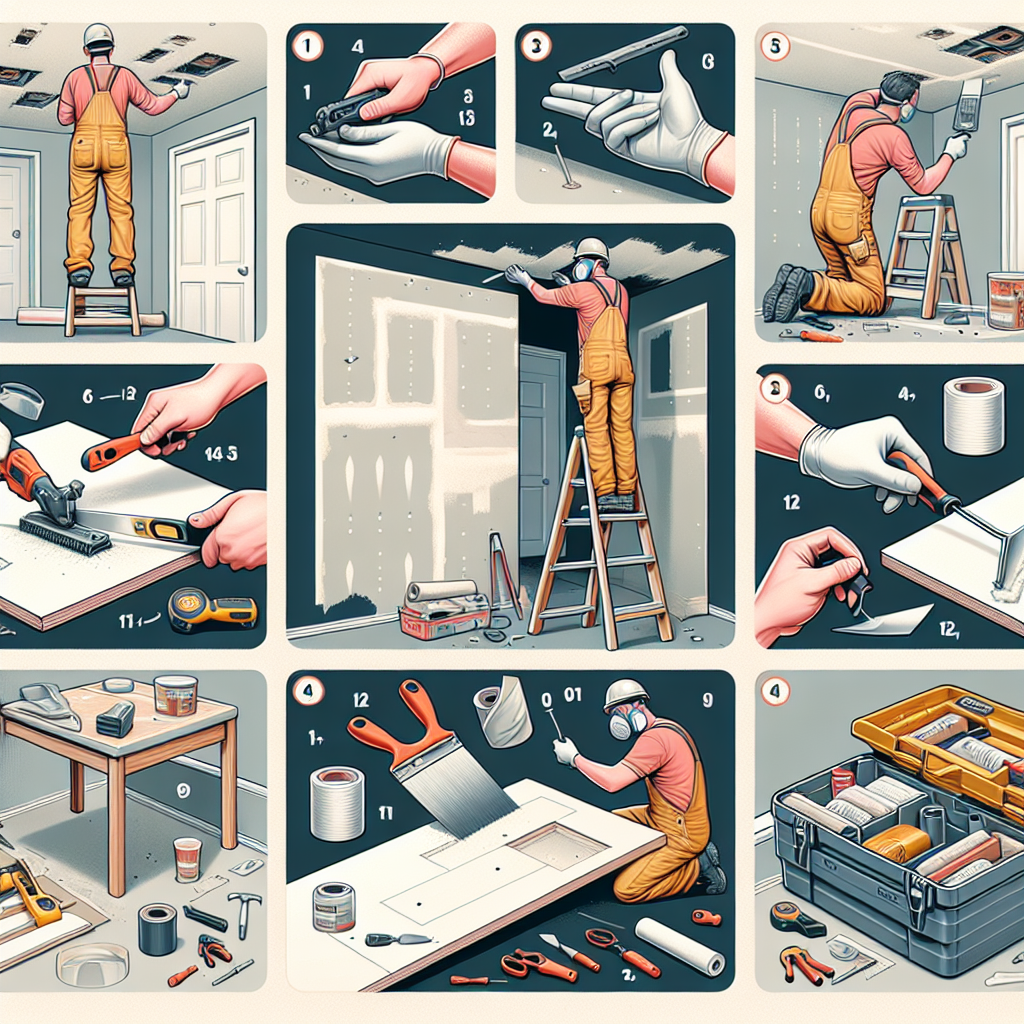
Apply jointing tape to the seams between the plasterboard sheets, pressing it firmly into place. Mix jointing compound according to the manufacturer’s instructions and apply it over the tape using a trowel. Smooth out the compound and allow it to dry completely. Once dry, sand the surface with a sanding block to create a smooth finish.
Step 7: Painting or Wallpapering
Now that your plasterboard bulkhead is complete, it’s time to add the finishing touches. You can choose to paint the bulkhead with your desired color or apply wallpaper for a more decorative look. Use paintbrushes or rollers to apply paint evenly, or follow the instructions on the wallpaper for proper installation.
Step 8: Final Touches
Once the paint or wallpaper has dried, step back and admire your handiwork. Your DIY plasterboard bulkhead is now complete and ready to enhance the beauty of your space. Take a moment to clean up any debris and enjoy the transformation you have made.
Conclusion
Creating a plasterboard bulkhead may seem like a daunting task, but with the right materials and a little bit of patience, it can be a rewarding DIY project. By following these easy steps, you can add a touch of elegance and functionality to any room in your home. So why wait? Get started on your plasterboard bulkhead today and see the amazing results for yourself!

