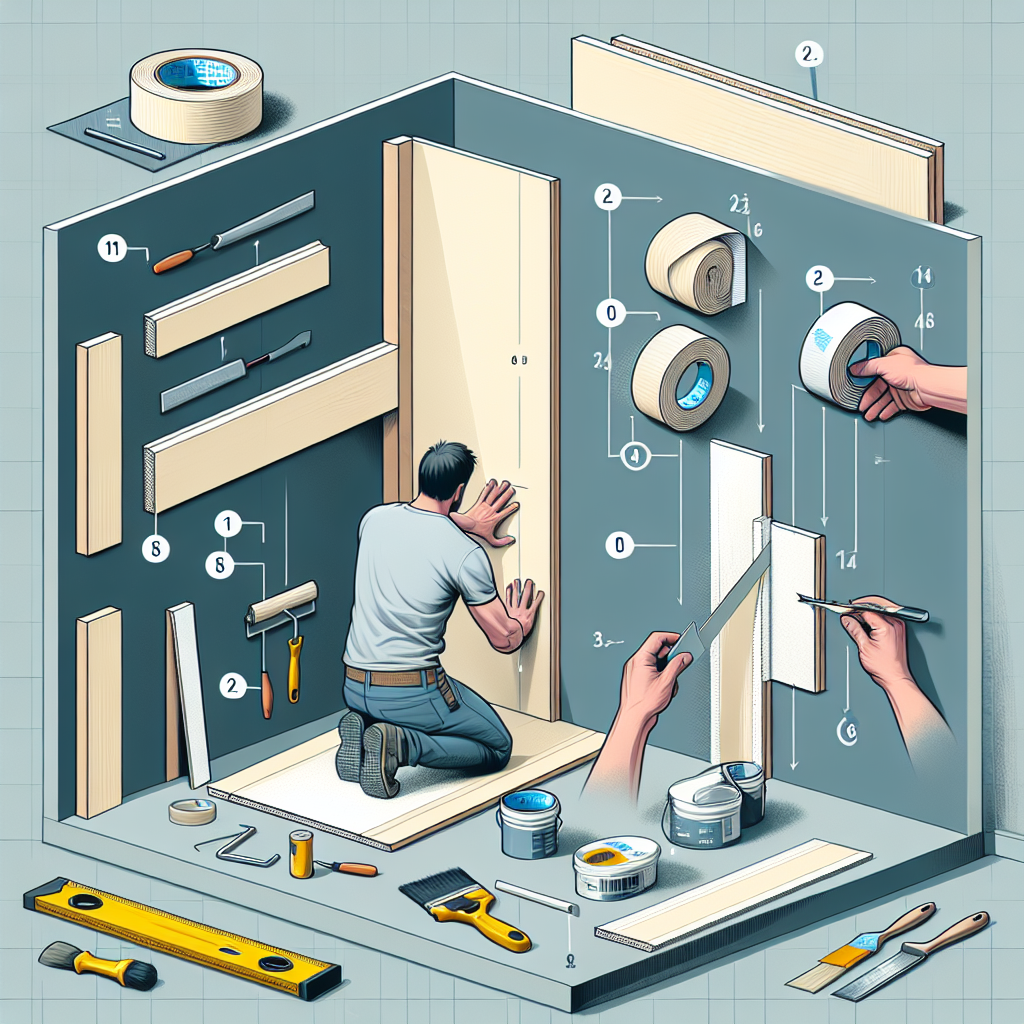
Plasterboard External Corner: DIY Made Easy
Are you looking to add a touch of elegance and sophistication to your home? One way to achieve this is by installing plasterboard external corners. These corners not only provide a seamless finish to your walls but also protect them from damage. In this comprehensive guide, we will walk you through the step-by-step process of installing plasterboard external corners, ensuring that you have all the necessary information and tools to complete this project successfully.
Materials and Tools
Before we dive into the installation process, let’s gather all the materials and tools you will need:
- Plasterboard external corners
- Plasterboard adhesive
- Joint compound
- Plasterboard screws
- Plasterboard tape
- Utility knife
- Tape measure
- Pencil
- Sanding block
- Paint or wallpaper (optional)
Step 1: Measure and Cut
The first step in installing plasterboard external corners is to measure the length of the corner where you will be installing the corner bead. Use a tape measure to accurately measure the length, and mark the measurement on the plasterboard corner bead using a pencil.
Next, use a utility knife to cut the plasterboard corner bead to the desired length. Make sure to cut it at a 45-degree angle to ensure a seamless corner.
Step 2: Apply Adhesive
Once you have cut the plasterboard corner bead, it’s time to apply adhesive to the back of the bead. Use a plasterboard adhesive and apply a thin, even layer on the back of the bead. Make sure to cover the entire surface area.
Step 3: Position and Secure
Now that the adhesive is applied, carefully position the plasterboard corner bead on the external corner of the wall. Press it firmly against the wall to ensure proper adhesion. Use plasterboard screws to secure the bead in place. Make sure to place the screws at regular intervals along the length of the bead.
Step 4: Apply Joint Compound
Once the plasterboard corner bead is securely in place, it’s time to apply joint compound. Use a putty knife to spread a thin layer of joint compound over the entire surface of the bead. Make sure to cover the screws as well.
Allow the joint compound to dry completely before moving on to the next step. This usually takes around 24 hours, but it’s best to check the manufacturer’s instructions for specific drying times.
Step 5: Sand and Smooth
After the joint compound has dried, use a sanding block to smooth out any rough edges or imperfections. Start with a coarse-grit sandpaper and gradually move to a finer-grit sandpaper for a smooth finish. Be careful not to sand too aggressively, as this can damage the plasterboard corner bead.
Step 6: Apply Finishing Touches
Once you have achieved a smooth finish, you can choose to paint or wallpaper the walls to further enhance the appearance of your newly installed plasterboard external corners. Select a color or pattern that complements your existing decor and apply it according to the manufacturer’s instructions.
Step 7: Enjoy Your Beautiful Walls
Congratulations! You have successfully installed plasterboard external corners and transformed your walls into a work of art. Take a step back and admire your handiwork. The seamless finish and added protection provided by the plasterboard corners will surely impress your friends and family.
Summary
Installing plasterboard external corners is a DIY project that can elevate the look of your home. By following the step-by-step instructions outlined in this guide, you can achieve a professional-looking finish and protect your walls from damage. Remember to gather all the necessary materials and tools, measure and cut the plasterboard corner bead, apply adhesive, position and secure the bead, apply joint compound, sand and smooth, and finally, apply finishing touches. With a little time and effort, you can create a stunning and durable corner that will enhance the overall aesthetic of your space.


