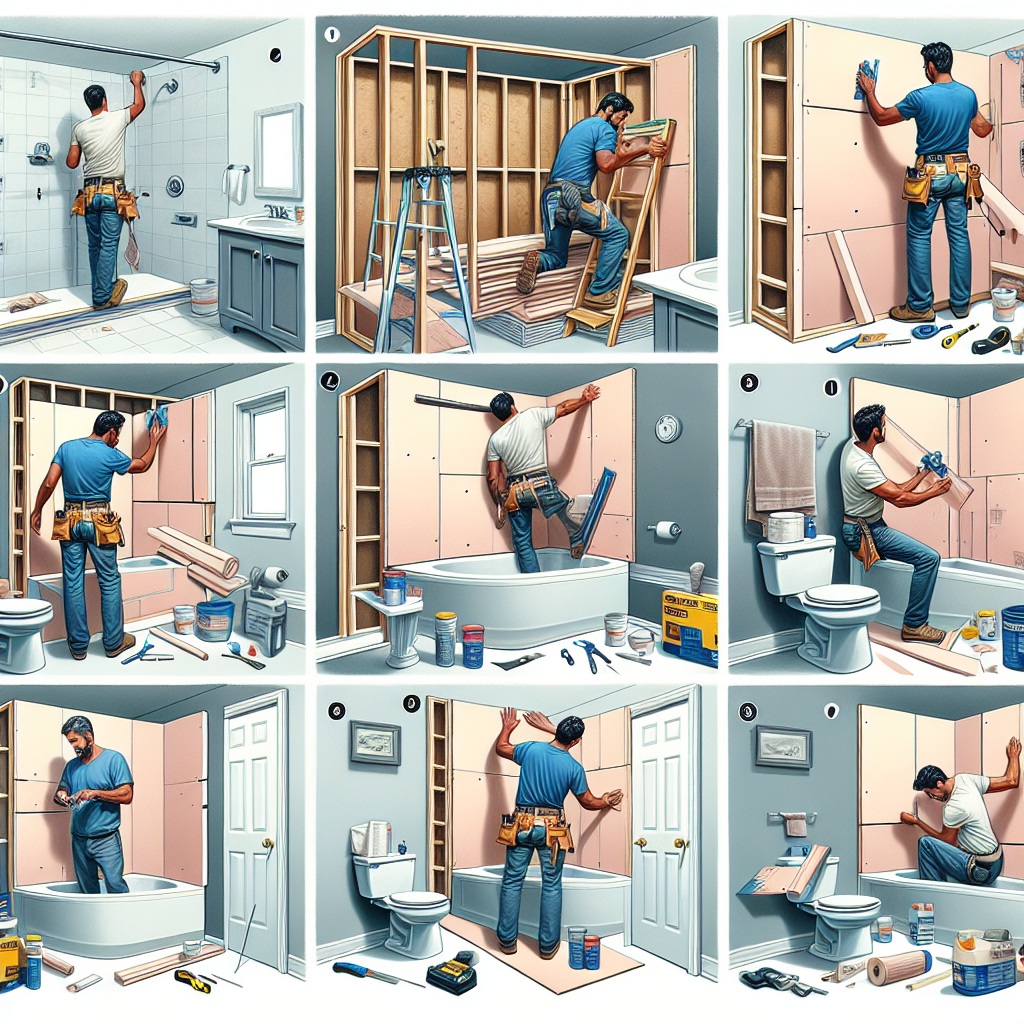
Pre Drywall Prep: DIY Tips for Success
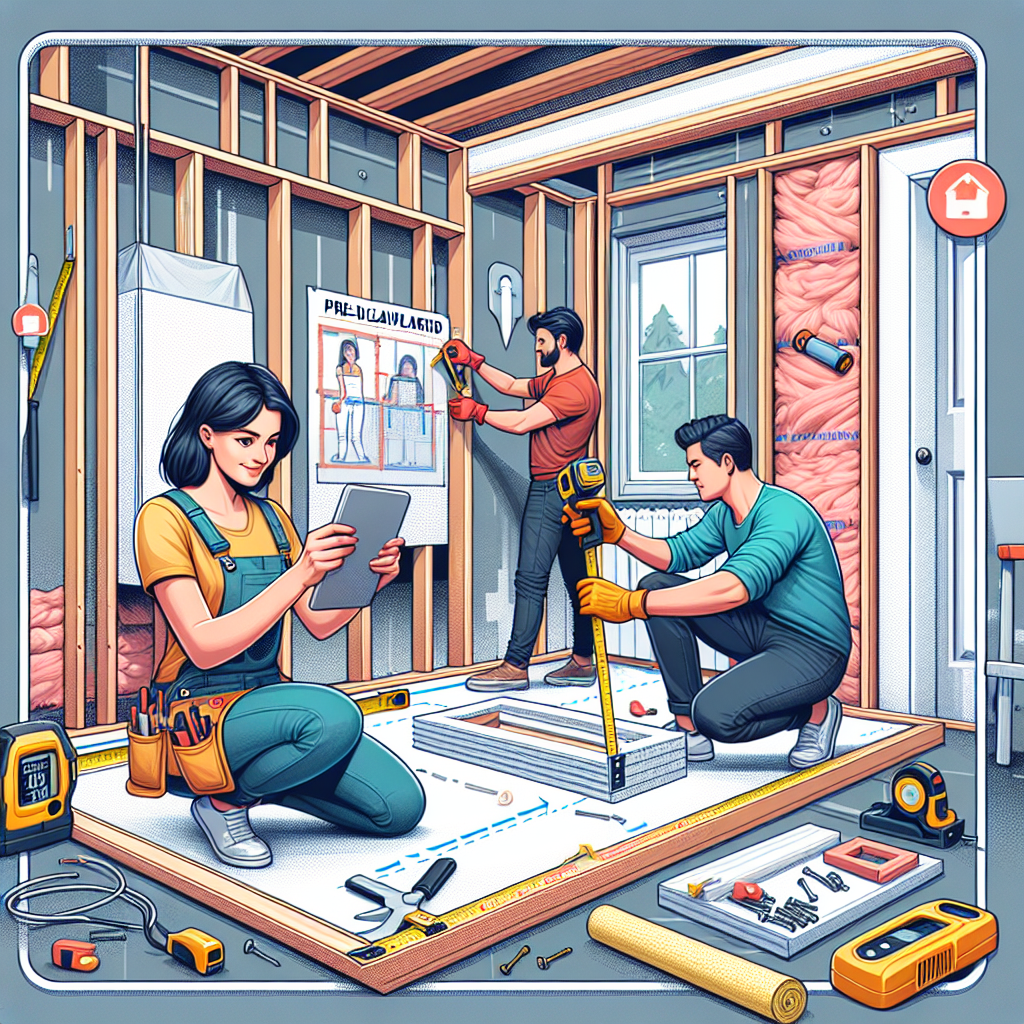
Are you ready to take on a new DIY project? Preparing your walls for drywall installation is an essential step in any home renovation or construction project. By following these expert tips and step-by-step instructions, you can ensure a successful and professional-looking result. So, roll up your sleeves and let’s get started!
Step 1: Gather the Necessary Tools and Materials
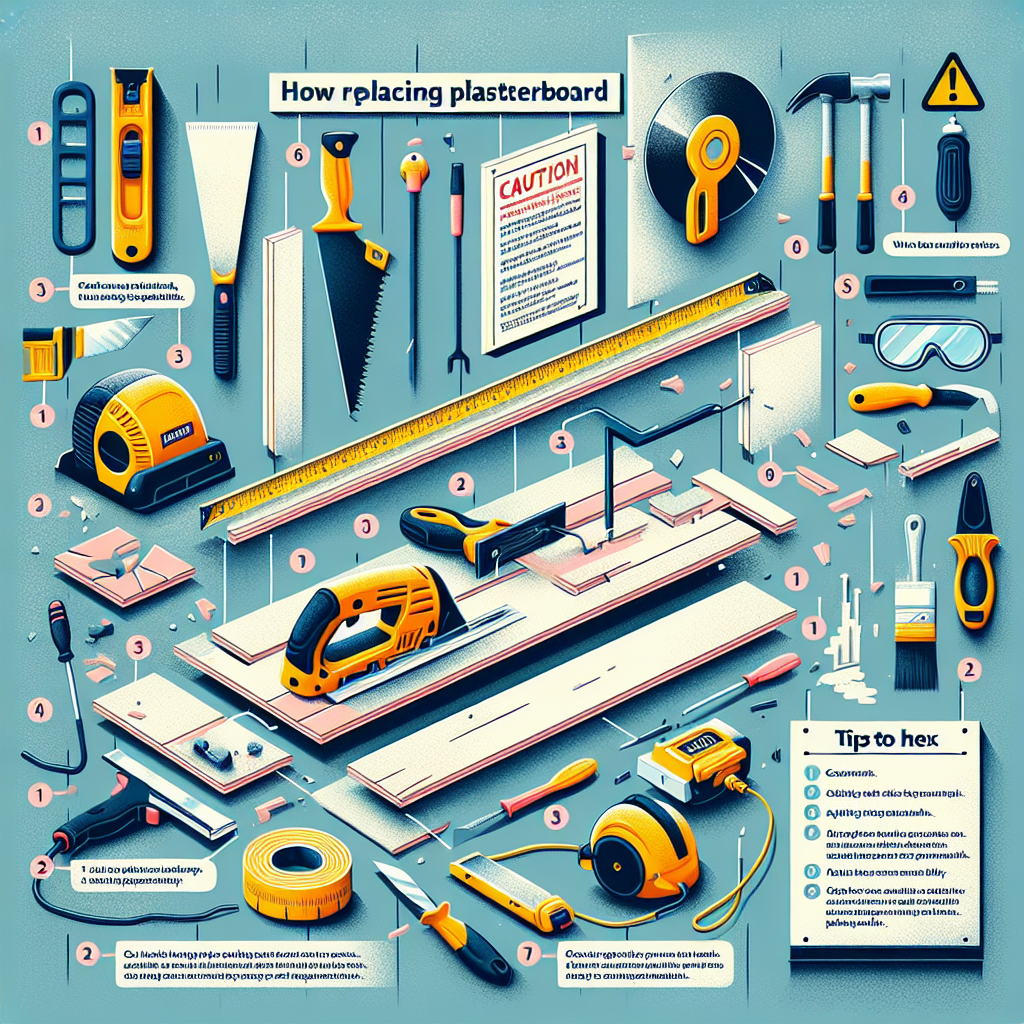
Before you begin, it’s important to gather all the tools and materials you’ll need for the pre-drywall prep. Here’s a list of the essentials:
- Drywall sheets
- Drywall screws
- Drywall joint compound
- Drywall tape
- Tape measure
- Utility knife
- Screw gun
- T-square
- Sanding block
- Joint knife
- Corner bead
- Sanding sponge
- Primer
- Paint
Make sure you have all these items on hand before you begin your project. It will save you time and frustration later on.
Step 2: Measure and Cut the Drywall Sheets
The first step in pre-drywall prep is to measure and cut the drywall sheets to fit your walls. Start by measuring the height and width of each wall, and then transfer those measurements onto the drywall sheets. Use a T-square to ensure accurate cuts.
Once you have your measurements marked, use a utility knife to score the drywall along the lines. Then, gently snap the drywall along the scored line to create a clean break. Finally, use the utility knife to cut through the paper backing on the other side of the drywall.
Step 3: Install the Drywall Sheets
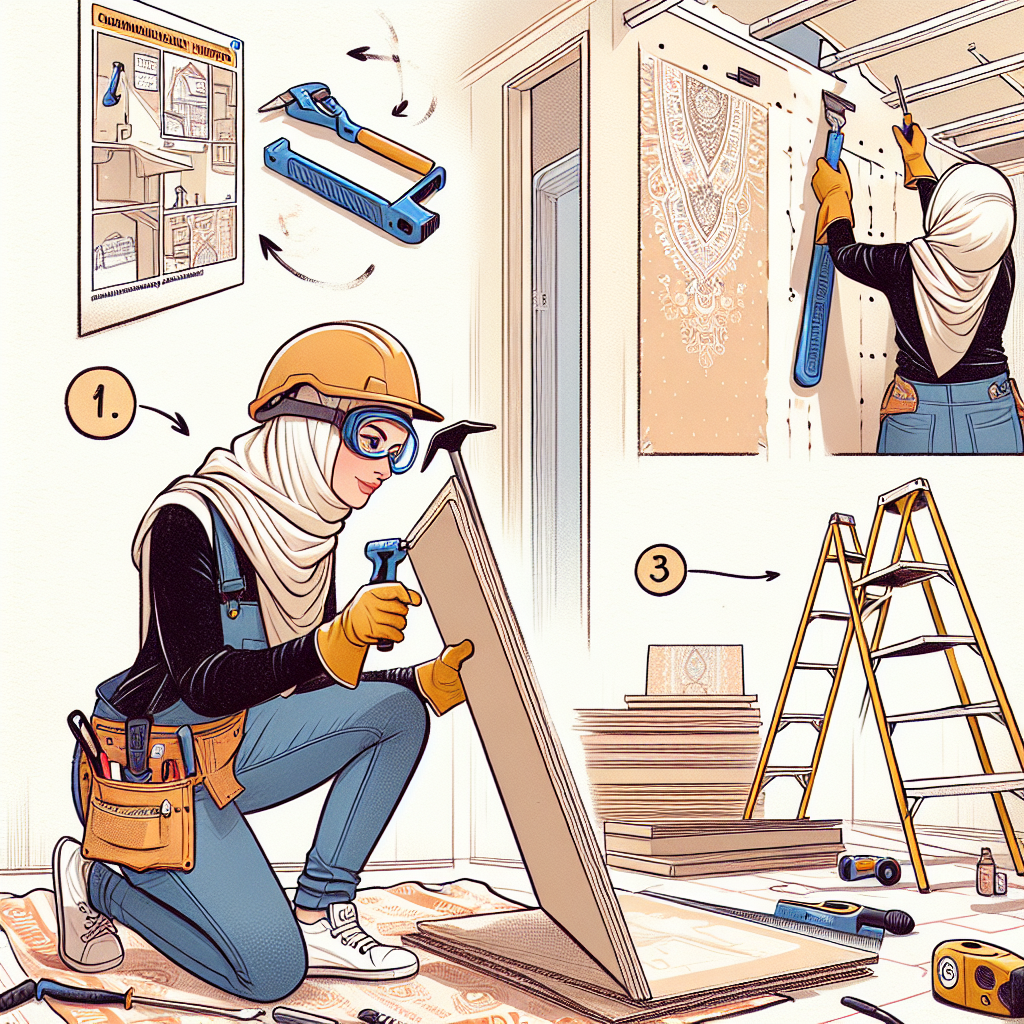
Now that you have your drywall sheets cut to size, it’s time to install them on your walls. Start by positioning the first sheet against the wall, making sure it’s level and plumb. Use a screw gun to secure the drywall to the studs with drywall screws.
Continue installing the remaining sheets, making sure to leave a small gap between each sheet for expansion. Use a T-square to ensure the edges are straight and aligned. Secure each sheet with screws every 12 inches along the studs.
Step 4: Tape and Mud the Joints
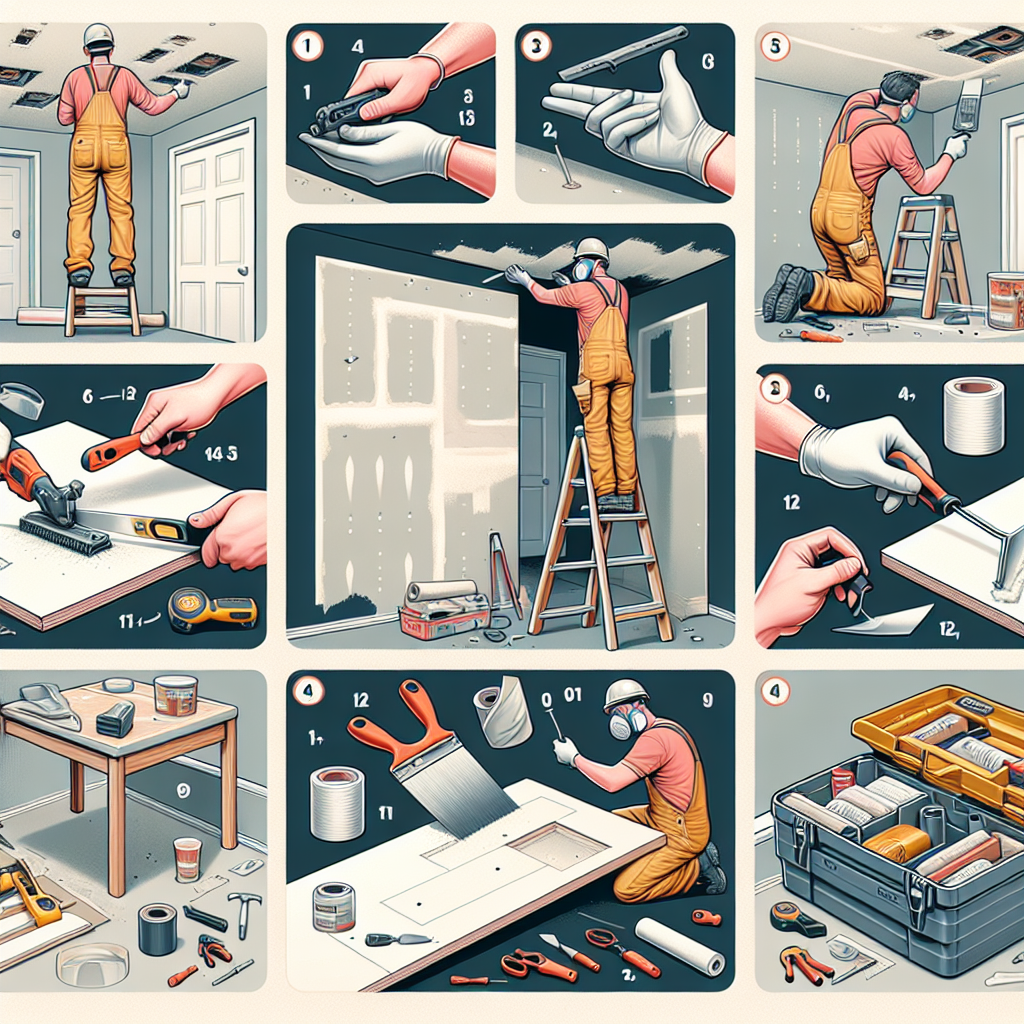
Once all the drywall sheets are installed, it’s time to tape and mud the joints. Start by applying a thin layer of joint compound along each joint using a joint knife. Then, place a strip of drywall tape over the joint and press it into the compound.
Use the joint knife to smooth out any excess compound and ensure the tape is fully embedded. Repeat this process for all the joints, including the corners. Allow the compound to dry completely before moving on to the next step.
Step 5: Apply Corner Bead
To reinforce the corners and create a clean edge, it’s important to install corner bead. Measure and cut the corner bead to fit each corner, and then secure it in place with drywall screws or nails.
Apply a thin layer of joint compound over the corner bead, making sure to cover the entire surface. Use a joint knife to smooth out the compound and create a seamless transition between the corner bead and the drywall. Allow the compound to dry completely before moving on to the next step.
Step 6: Sand and Prime the Walls
Once the joint compound is dry, it’s time to sand the walls to create a smooth and even surface. Use a sanding block or sanding sponge to gently sand the joints and any rough spots on the drywall. Be careful not to sand too aggressively, as it can damage the drywall.
After sanding, wipe down the walls with a damp cloth to remove any dust or debris. Then, apply a coat of primer to the walls to seal the drywall and create a smooth surface for painting. Allow the primer to dry completely before moving on to the final step.
Step 7: Paint the Walls
Finally, it’s time to add some color to your walls! Choose a paint color that complements your overall design scheme and apply it to the walls using a roller or brush. Start with a coat of paint and allow it to dry before applying additional coats, if necessary.
Once the paint is dry, step back and admire your handiwork. You’ve successfully completed the pre-drywall prep and now have a beautiful and professional-looking wall ready for any finishing touches.
Conclusion
Pre-drywall prep is a crucial step in any DIY project involving drywall installation. By following these expert tips and step-by-step instructions, you can ensure a successful and professional-looking result. Remember to gather all the necessary tools and materials, measure and cut the drywall sheets, install them properly, tape and mud the joints, apply corner bead, sand and prime the walls, and finally, paint the walls to complete the project.
With a little patience and attention to detail, you can transform your walls into a beautiful and functional space. So, what are you waiting for? Get started on your pre-drywall prep project today and enjoy the satisfaction of a job well done!

