Creating a Home Office Oasis with Built-In Shelving
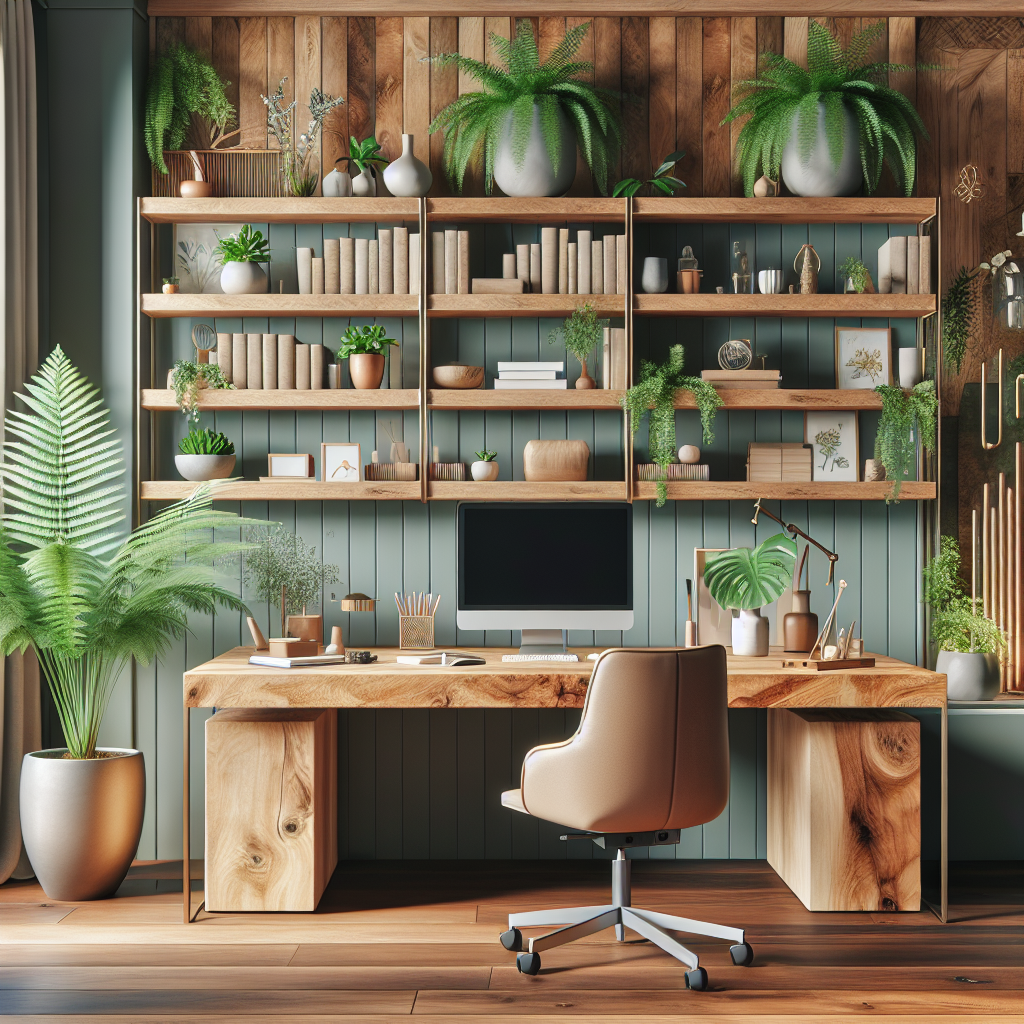
Working from home has become increasingly popular in recent years, and having a dedicated space for your home office is essential for productivity and focus. If you’re looking to transform your home office into a serene and organized oasis, built-in shelving is the perfect solution. Not only does it provide ample storage for your books, files, and office supplies, but it also adds a touch of elegance and sophistication to your workspace. In this article, we will guide you through the step-by-step process of creating your own home office oasis with built-in shelving.
Step 1: Planning and Design
The first step in creating your home office oasis is to carefully plan and design your built-in shelving. Consider the size and layout of your office space, as well as your storage needs. Measure the dimensions of the wall where you want to install the shelving and sketch out a rough design. Think about the number of shelves you need, the spacing between them, and any additional features such as drawers or cabinets.
Once you have a clear vision of your design, it’s time to gather the necessary materials and tools. Here’s a list of items you’ll need:
- Measuring tape
- Pencil
- Level
- Saw
- Screwdriver
- Wood screws
- Wood glue
- Sanding paper
- Paint or stain
Depending on the complexity of your design, you may also need additional materials such as plywood, brackets, or decorative trim.
Step 2: Preparing the Wall
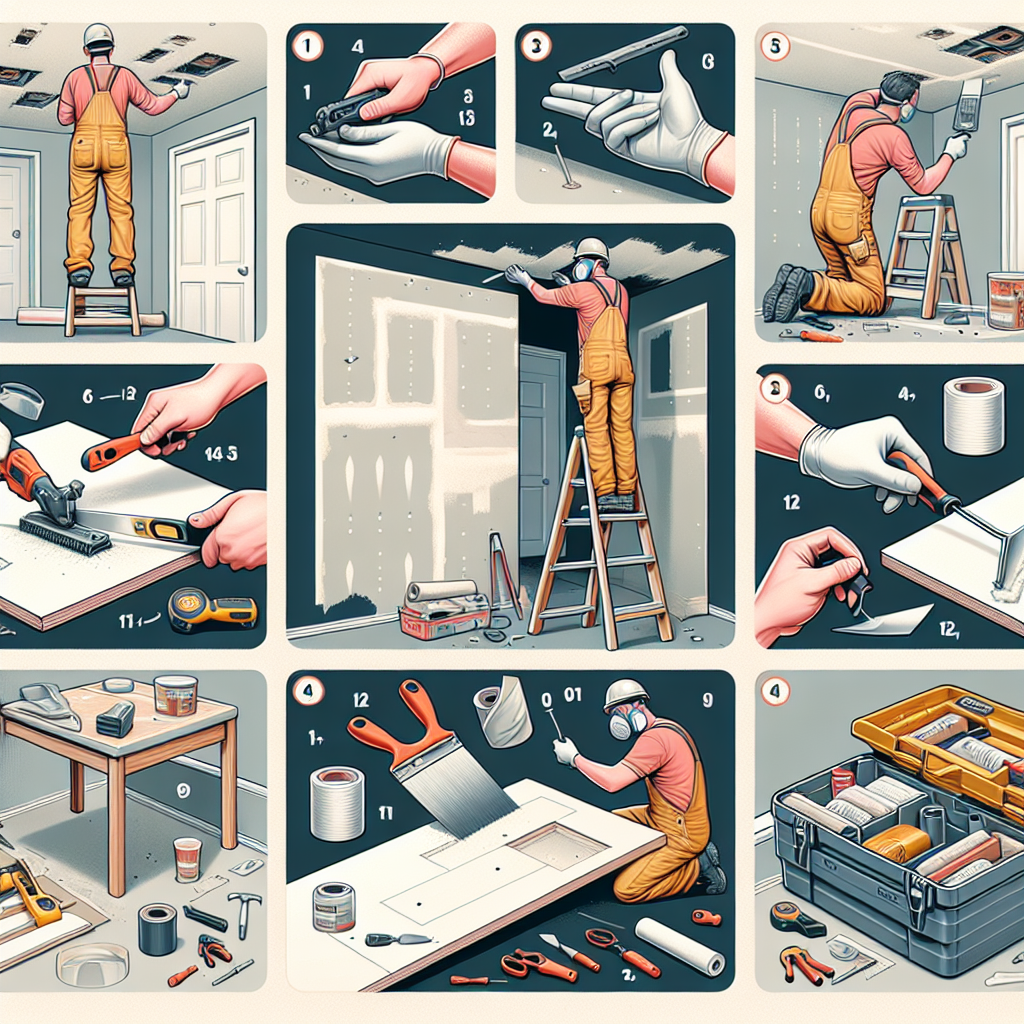
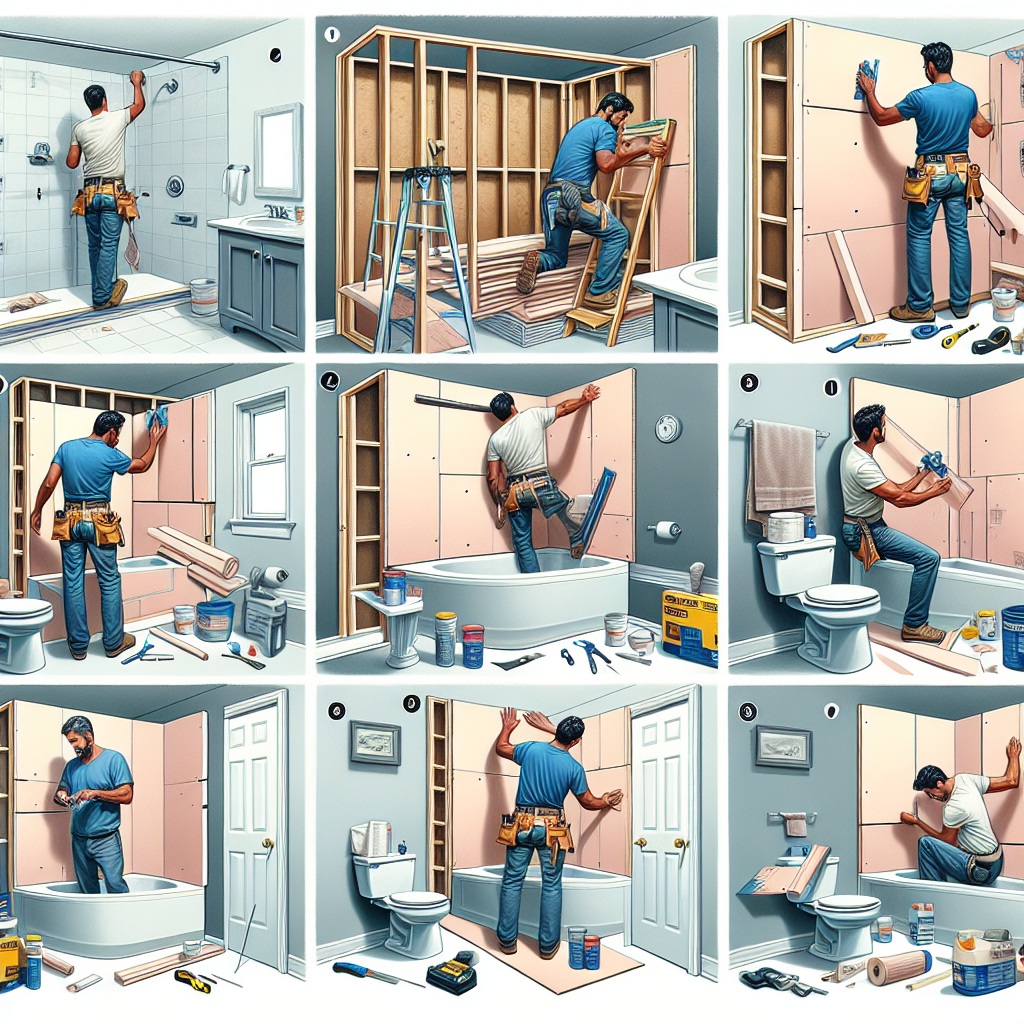
Before you can start building your built-in shelving, you need to prepare the wall where it will be installed. Remove any existing shelves, artwork, or wall decorations. Fill any holes or cracks with spackling compound and sand the wall smooth. If you plan to paint the wall, now is the time to do it. Allow the paint to dry completely before proceeding to the next step.
Step 3: Building the Frame
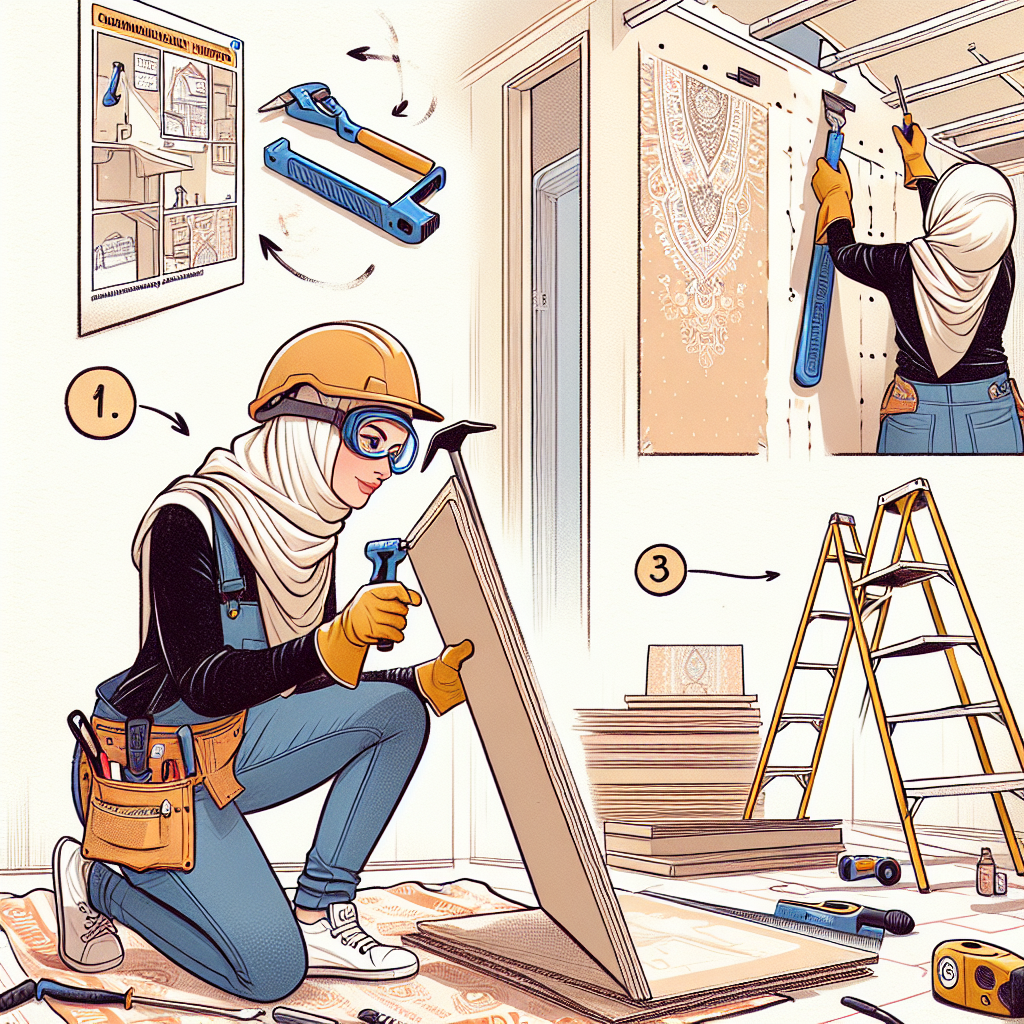
Now it’s time to start building the frame for your built-in shelving. Begin by measuring and marking the desired height of your shelves on the wall. Use a level to ensure that your marks are straight and even. Next, cut pieces of plywood or lumber to the width and depth of your shelves. These will serve as the vertical supports for your shelving unit.
Attach the vertical supports to the wall using wood screws. Make sure to secure them into the wall studs for maximum stability. Use a level to ensure that the supports are perfectly vertical. Once the supports are in place, cut additional pieces of plywood or lumber to the width of your shelves and attach them horizontally between the vertical supports. These will serve as the shelf supports.
Step 4: Installing the Shelves
With the frame in place, it’s time to install the shelves. Cut pieces of plywood or lumber to the desired width and depth of your shelves. Sand the edges to ensure a smooth finish. Apply wood glue to the top of the shelf supports and carefully place the shelves on top. Use clamps to hold the shelves in place while the glue dries. Alternatively, you can also secure the shelves with wood screws from underneath.
Step 5: Finishing Touches
Once the shelves are securely in place, it’s time to add the finishing touches to your home office oasis. Sand the entire shelving unit to remove any rough edges or imperfections. Apply a coat of paint or stain in the color of your choice. Consider adding decorative trim or molding to enhance the aesthetic appeal of your shelves.
Finally, organize your books, files, and office supplies on the shelves. Use decorative baskets or storage boxes to keep smaller items organized and hidden from view. Add a few personal touches such as plants, artwork, or inspirational quotes to make your home office truly feel like an oasis.
Conclusion
Creating a home office oasis with built-in shelving is a rewarding and fulfilling DIY project. By following the step-by-step instructions outlined in this article, you can transform your home office into a serene and organized space that inspires productivity and creativity. Remember to plan and design your shelving carefully, prepare the wall properly, build a sturdy frame, install the shelves securely, and add the finishing touches that reflect your personal style. With a little time and effort, you can create a home office oasis that you’ll love spending time in.

