Sheetrock on Walls: Easy DIY Installation Guide
Are you tired of looking at plain, boring walls in your home? Do you want to add a touch of elegance and sophistication to your living space? Look no further! In this comprehensive guide, we will walk you through the step-by-step process of installing sheetrock on your walls. With just a few tools and some patience, you can transform your walls into a work of art. So, roll up your sleeves and let’s get started!
Materials You Will Need
- Sheetrock panels
- Drywall screws
- Tape measure
- Pencil
- Utility knife
- Screw gun
- T-square
- Joint compound
- Joint tape
- Sanding block
- Paint and paintbrush
Step 1: Measure and Plan
The first step in any DIY project is proper planning. Measure the dimensions of your walls using a tape measure and make a note of the measurements. This will help you determine how many sheetrock panels you will need to purchase. It’s always a good idea to buy a few extra panels in case of any mistakes or mishaps.
Step 2: Prepare the Walls
Before installing the sheetrock, make sure your walls are clean and free from any debris. Remove any existing wallpaper or loose paint using a scraper or sandpaper. Fill in any holes or cracks with spackling compound and let it dry completely. Once the walls are smooth and even, you’re ready to move on to the next step.
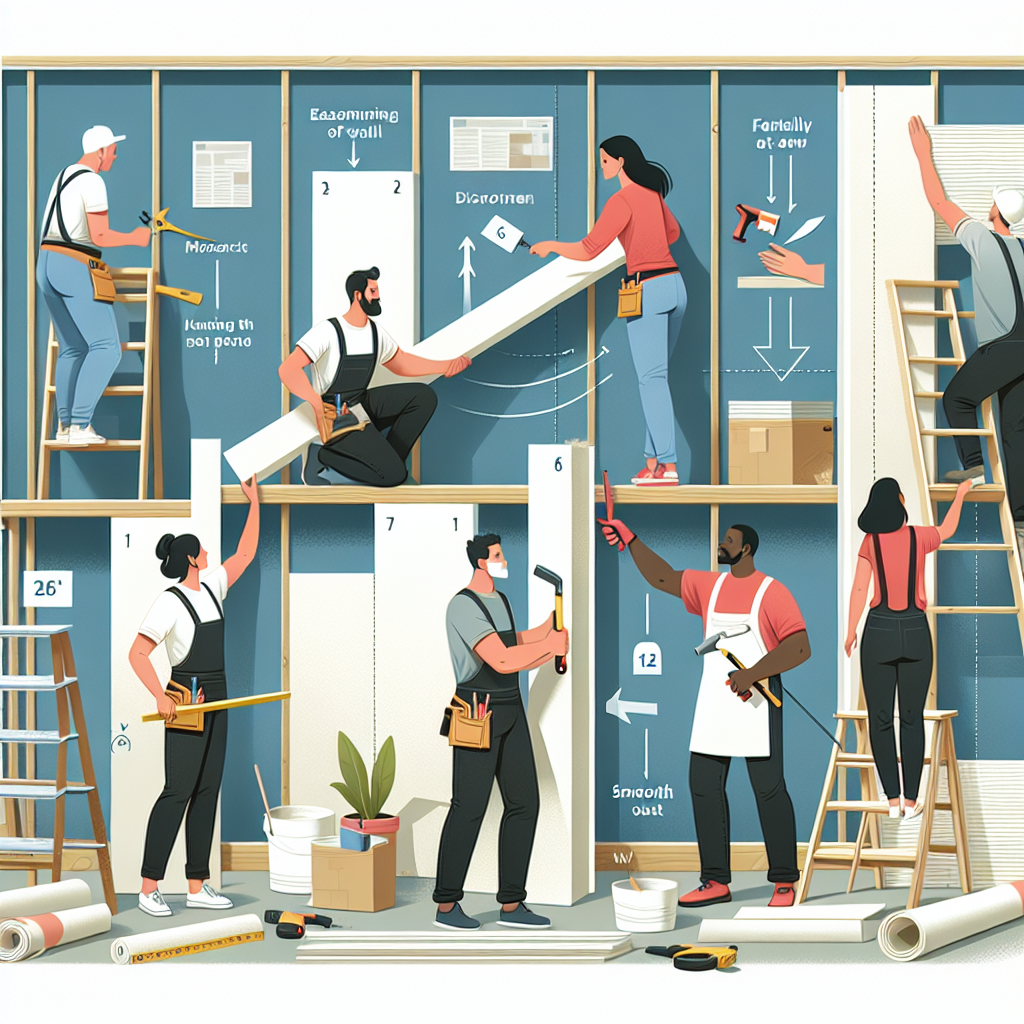
Step 3: Cut and Install the Sheetrock
Using a pencil and a T-square, mark the measurements of your walls on the sheetrock panels. Use a utility knife to score the panels along the marked lines. Carefully snap the panels along the scored lines to create clean edges. Lift each panel and position it against the wall, making sure it fits snugly. Use a screw gun to secure the panels to the wall with drywall screws, placing them every 12 inches along the edges and every 16 inches in the center.
Step 4: Tape and Mud the Joints
Once all the sheetrock panels are installed, it’s time to tape and mud the joints. Apply a thin layer of joint compound along the seams between the panels using a putty knife. Place joint tape over the compound and press it firmly into place. Use the putty knife to smooth out any excess compound and let it dry completely. Repeat this process for all the joints.
Step 5: Sand and Repeat
After the joint compound has dried, use a sanding block to smooth out any rough edges or imperfections. Be sure to wear a dust mask to protect yourself from the fine dust particles. Once you’re satisfied with the smoothness of the walls, apply a second coat of joint compound and repeat the sanding process. This will ensure a flawless finish.
Step 6: Paint and Enjoy
Now that your sheetrock is installed and the joints are perfectly smooth, it’s time to add some color to your walls. Choose a paint color that complements your decor and apply it evenly using a paintbrush or roller. Allow the paint to dry completely before moving any furniture back into the room. Step back and admire your newly transformed walls!
Summary
Installing sheetrock on your walls is a rewarding and relatively easy DIY project that can instantly elevate the look of your home. By following these step-by-step instructions and using the right tools and materials, you can achieve professional-looking results. Remember to measure and plan, prepare the walls, cut and install the sheetrock, tape and mud the joints, sand and repeat, and finally, paint and enjoy. With a little time and effort, you can create a beautiful and inviting space that you’ll be proud to show off to your friends and family.


